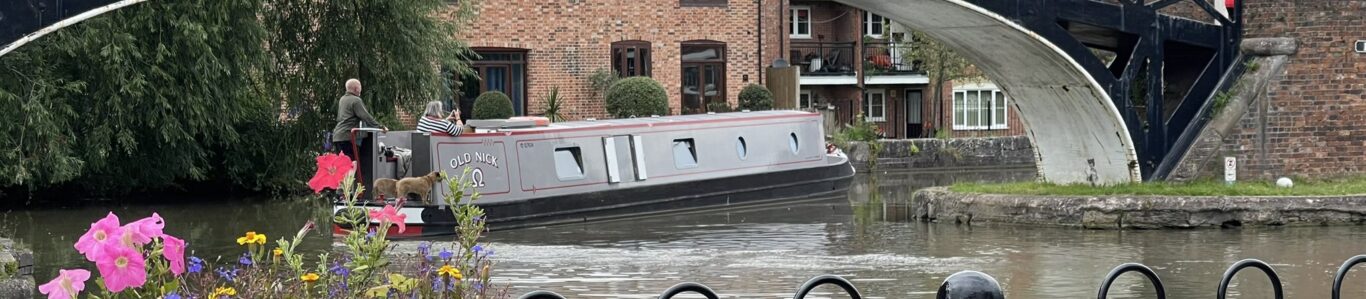
Even on a relatively new boat, there always seem to be things that need to be done. “Old Nick’s” To Do List, although not too long, had some key tasks on it that we wanted to get done this winter.
The top three, that this post will cover, were…
- Fitting draft excluder around the hatch, to stop wind and rain from whistling through.
- Fitting fairleads to stop the mooring ropes removing patches of paint.
- Re-black the hull to cover up last year’s scratches and make room for new ones!
Fitting Draft Excluder
A narrowboat’s sliding hatch, by its nature, will always have an air gap and on “Old Nick” we found that when the wind started to gust at Droitwich Spa Marina, or in heavy rain, that cold air or droplets of water would find their way in.
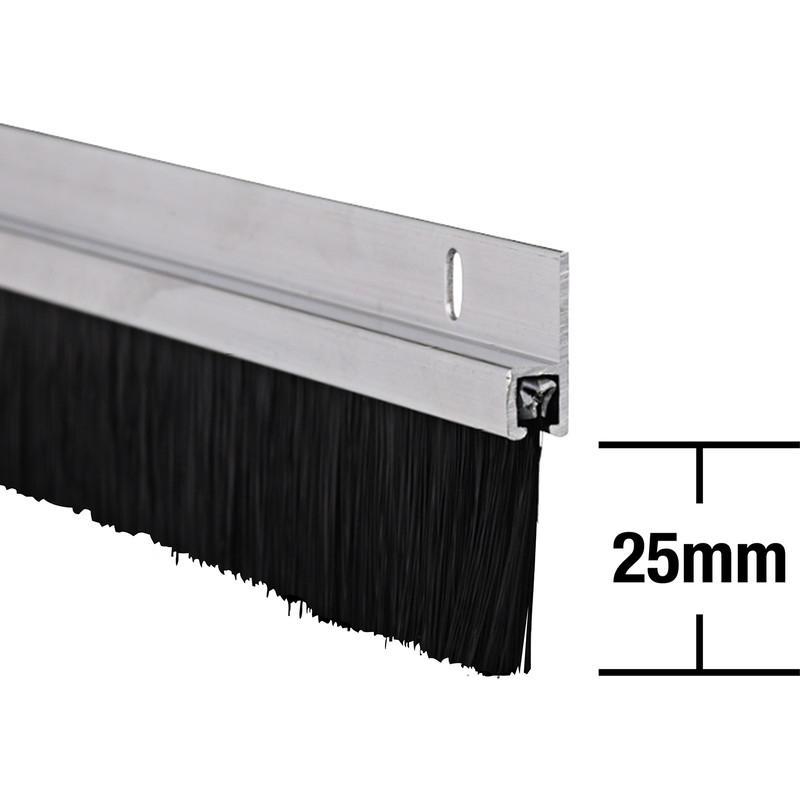
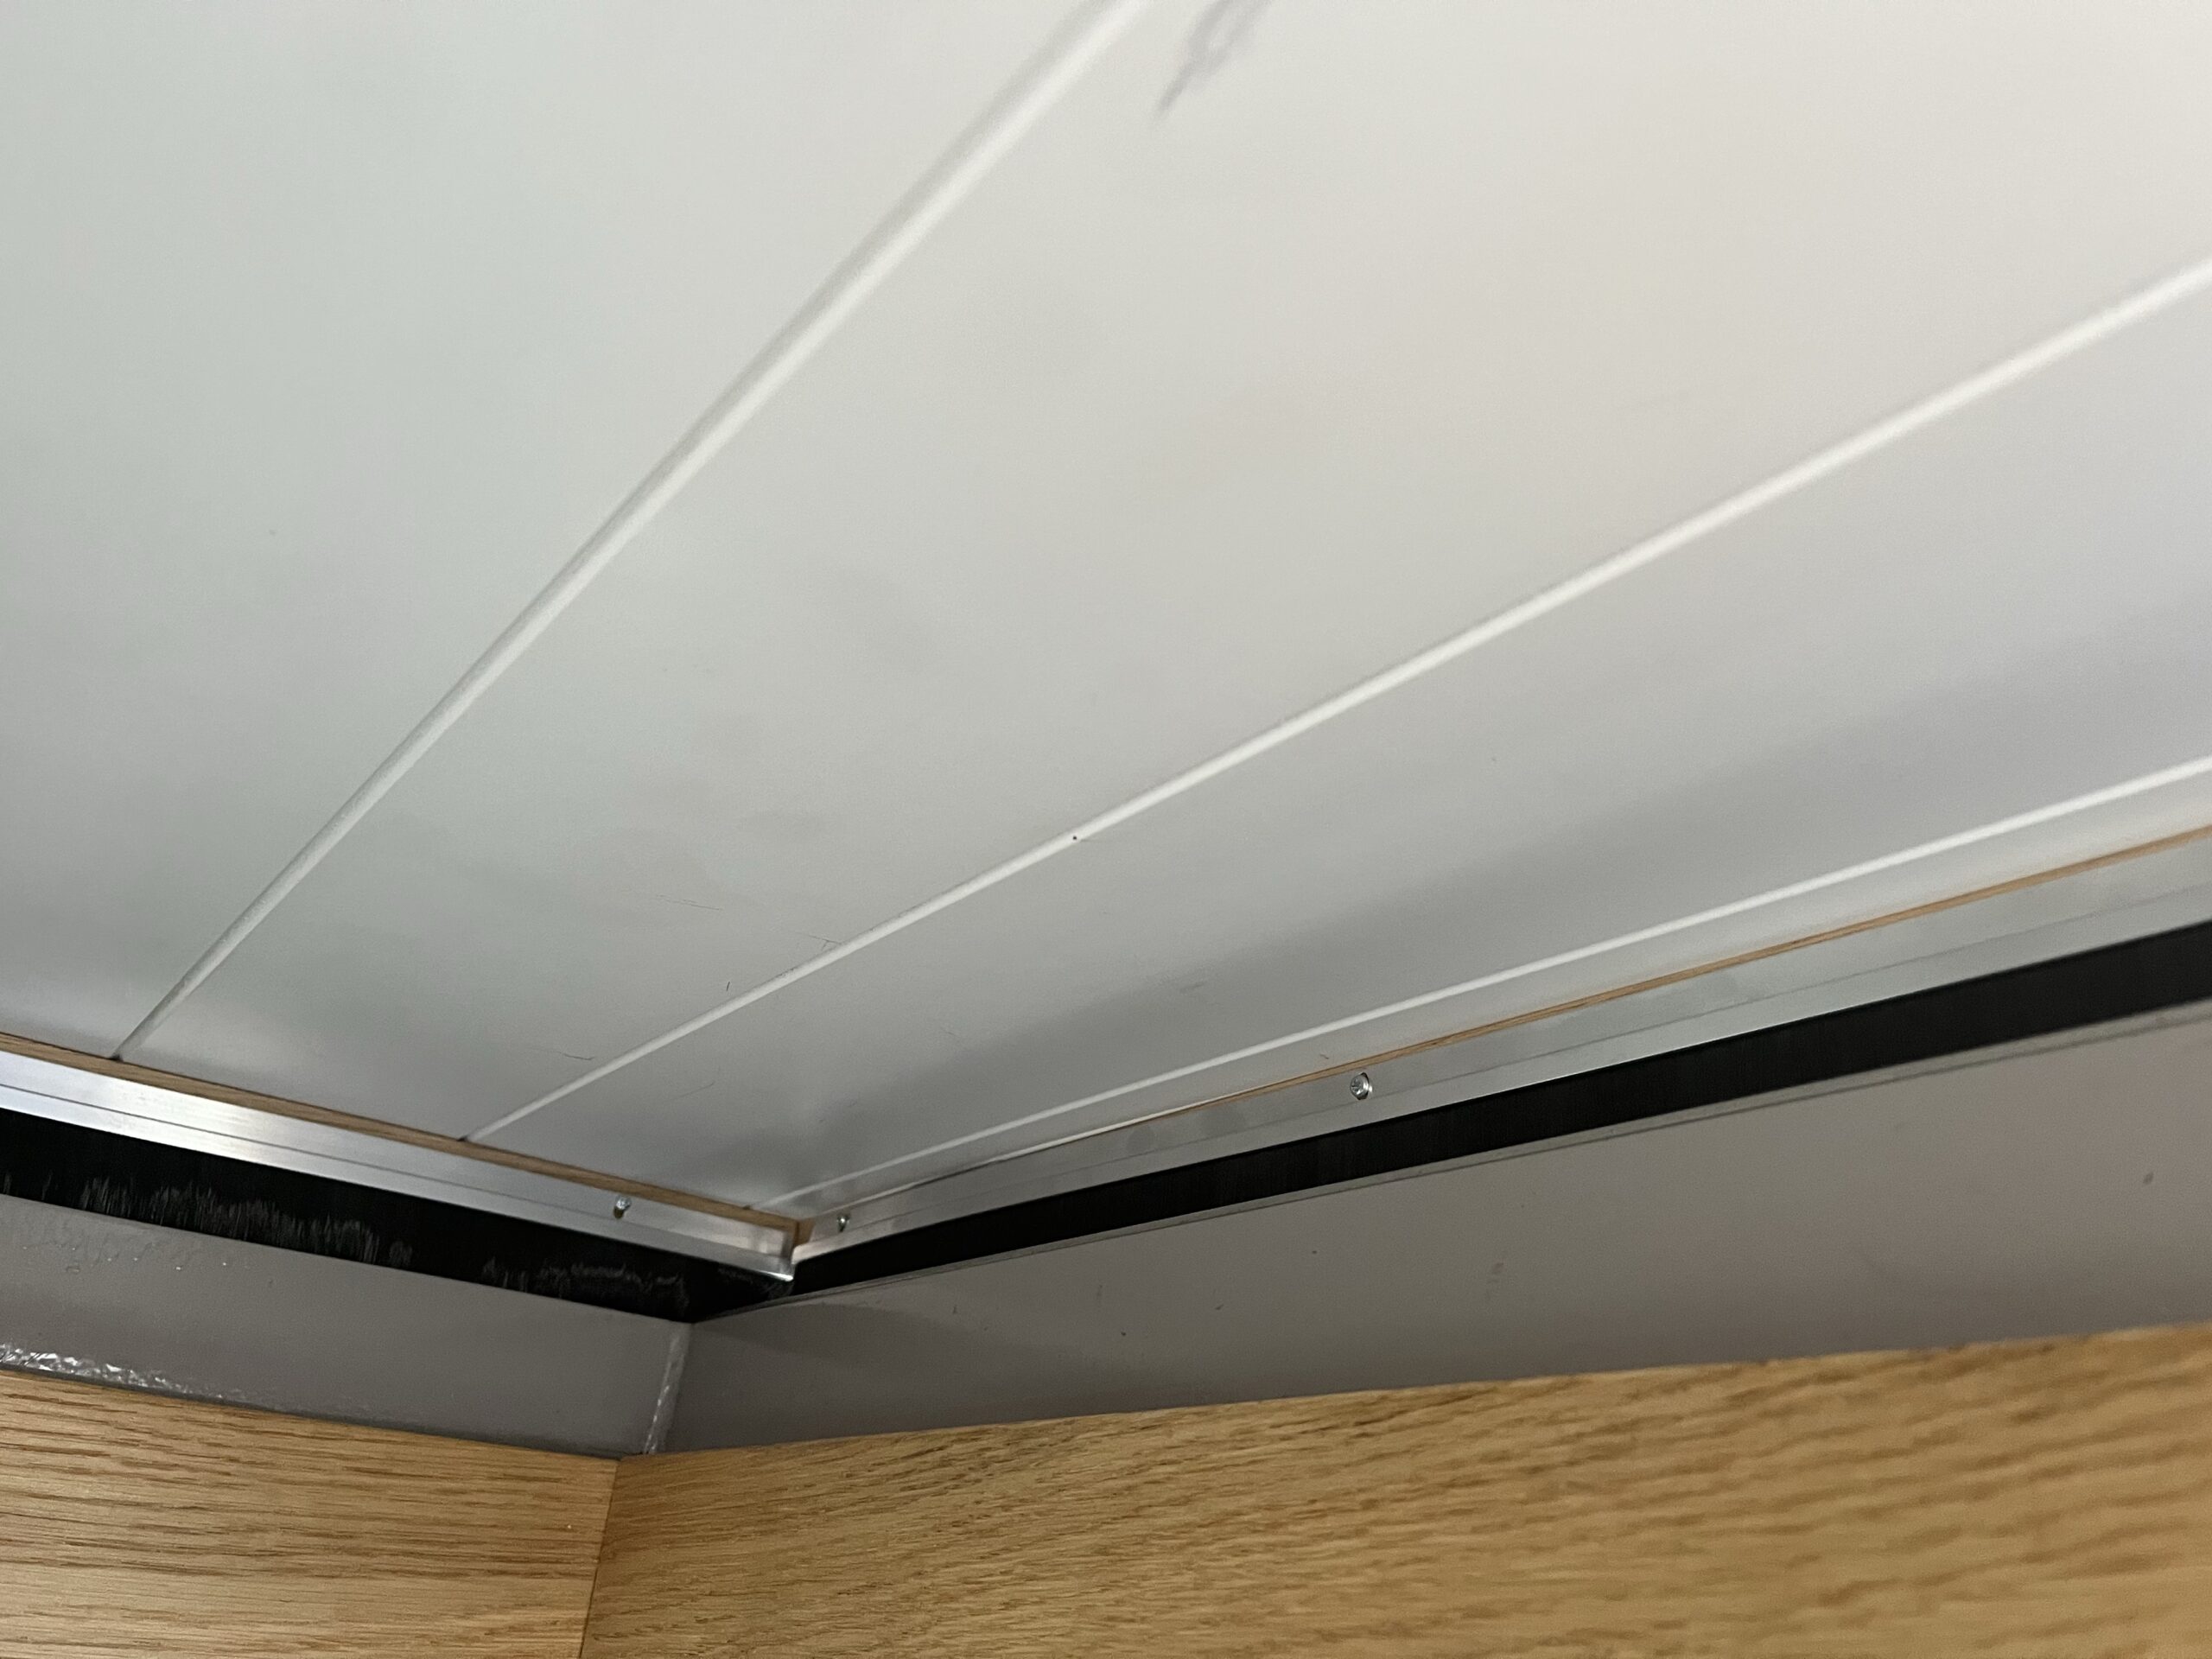
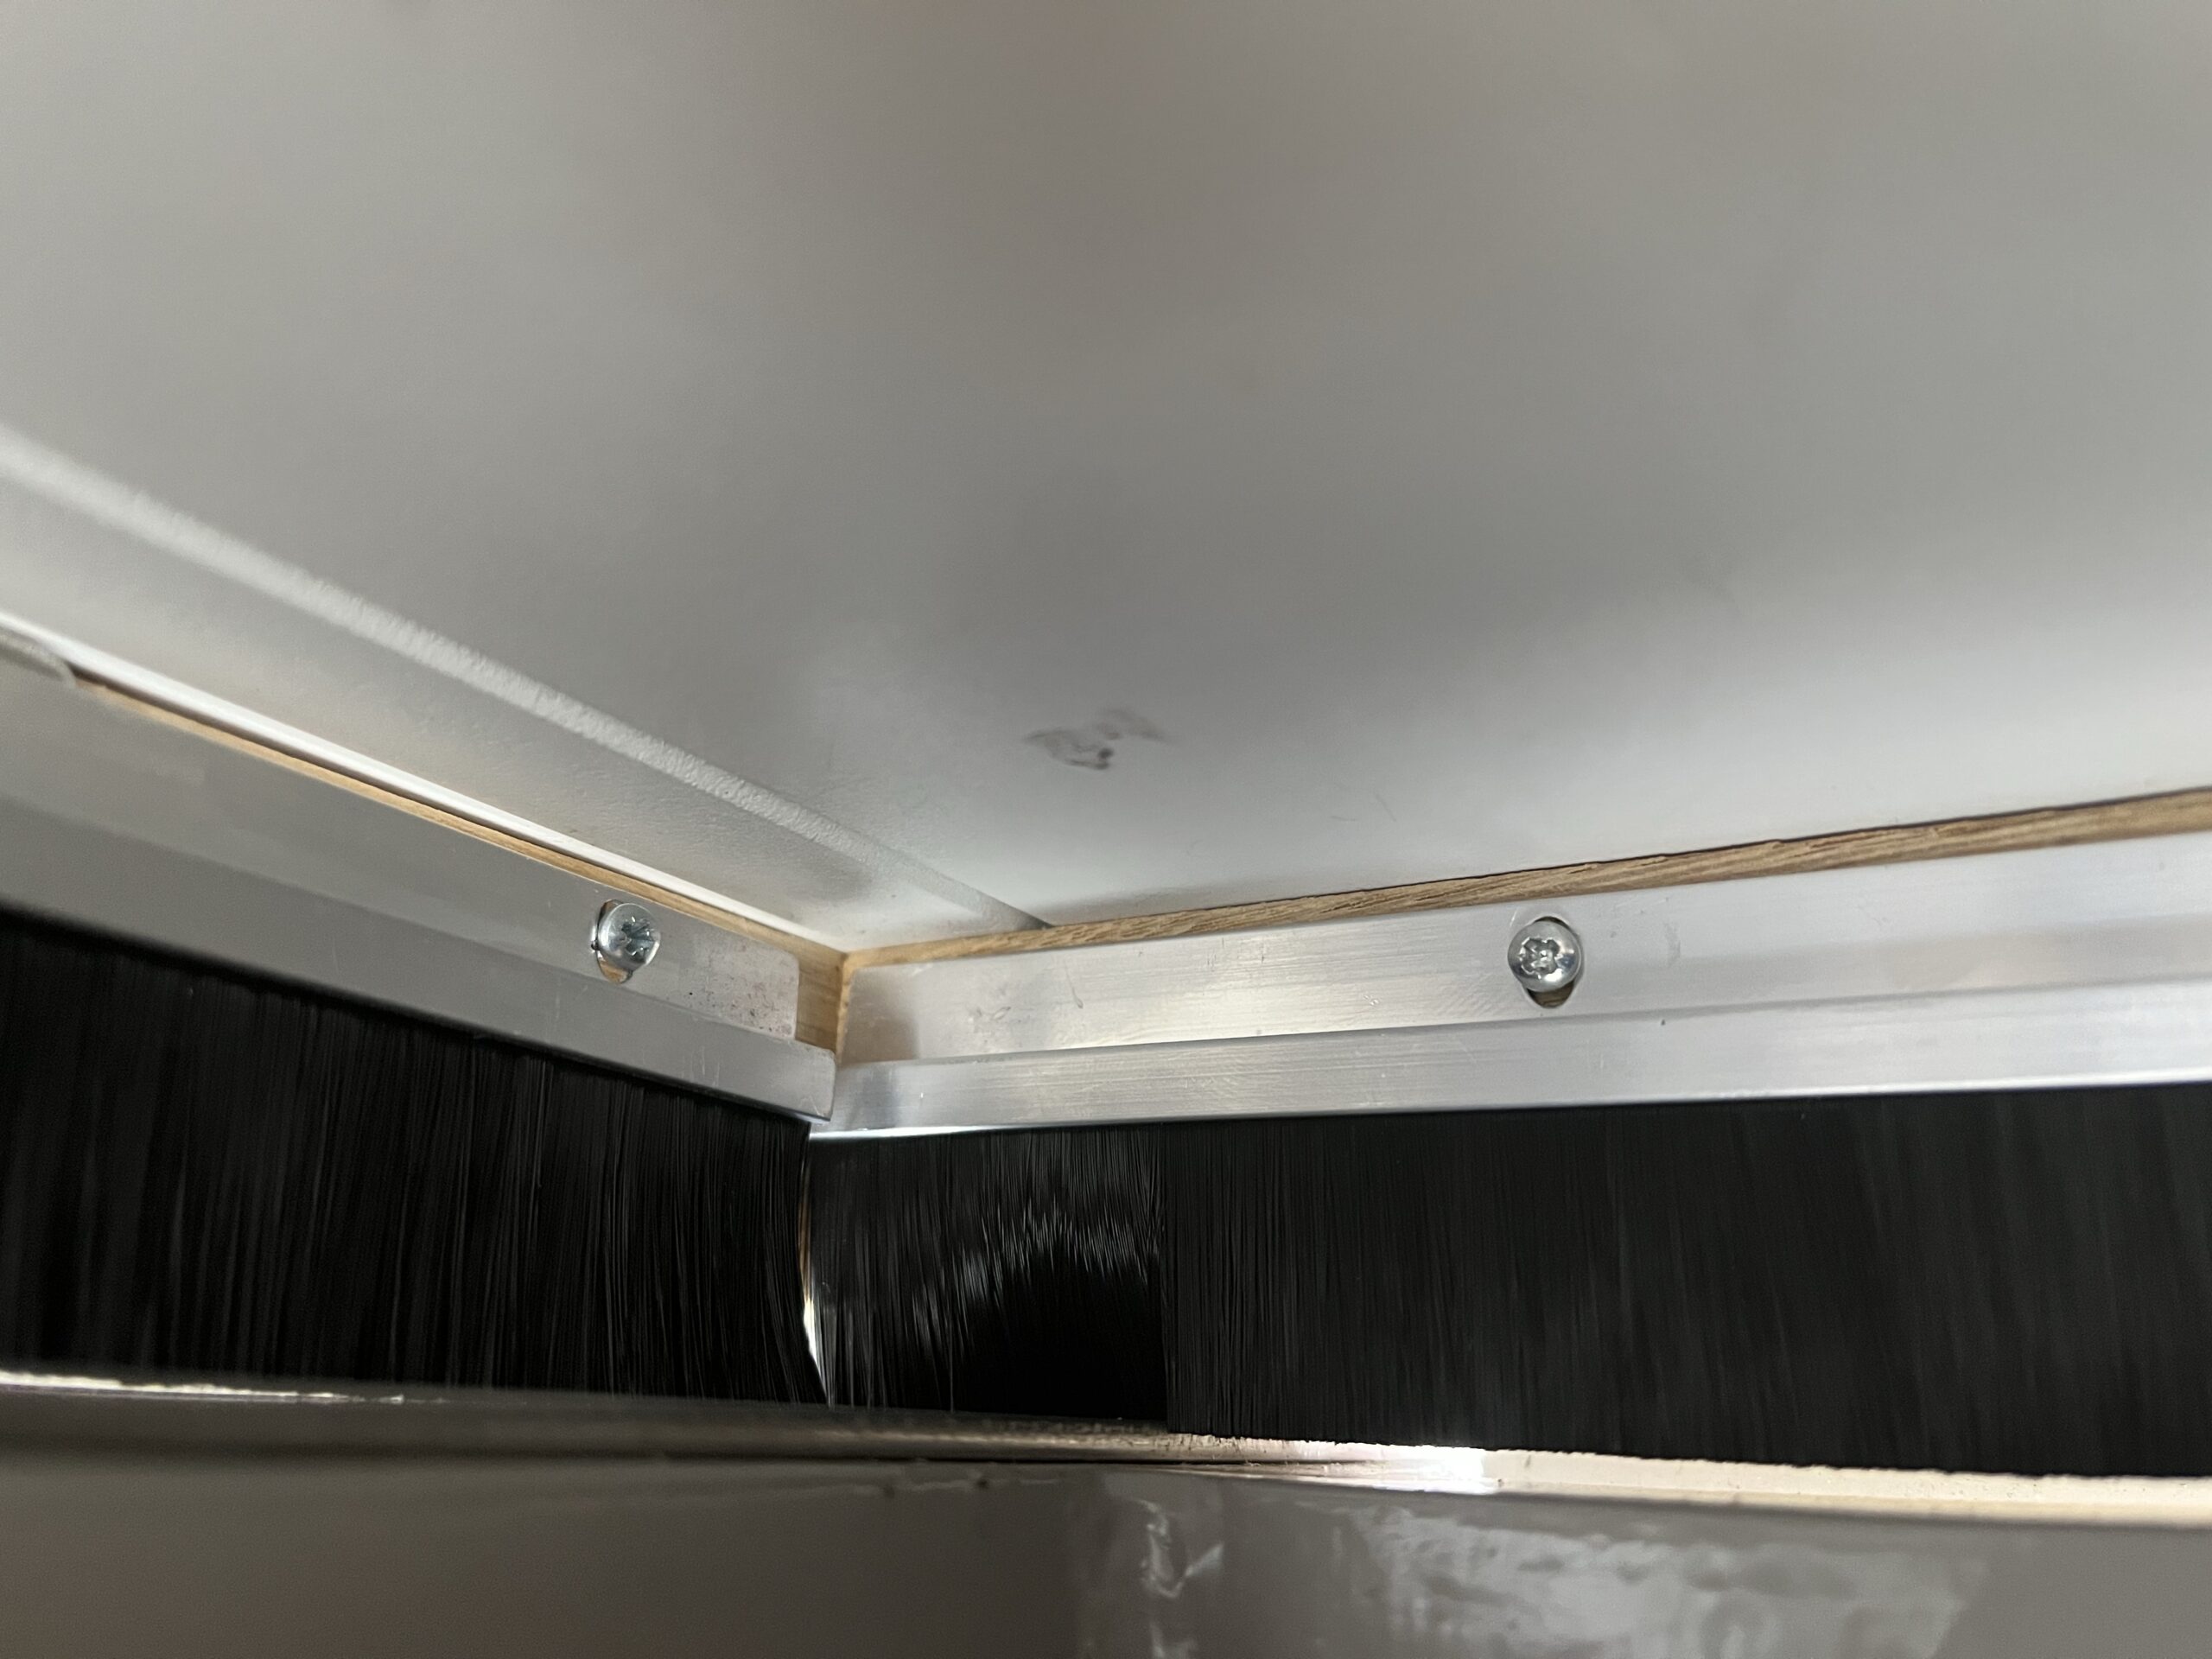
After a bit of head scratching and browsing for draught excluder online, we decided that some lengths of the aluminium strips of brush (see below) that are often found fitted to the bottom of wooden doors, should do the trick. The local Tool Station branch had some in stock and using their useful “Click and Collect” service, we soon had three 1m lengths for the hatch.
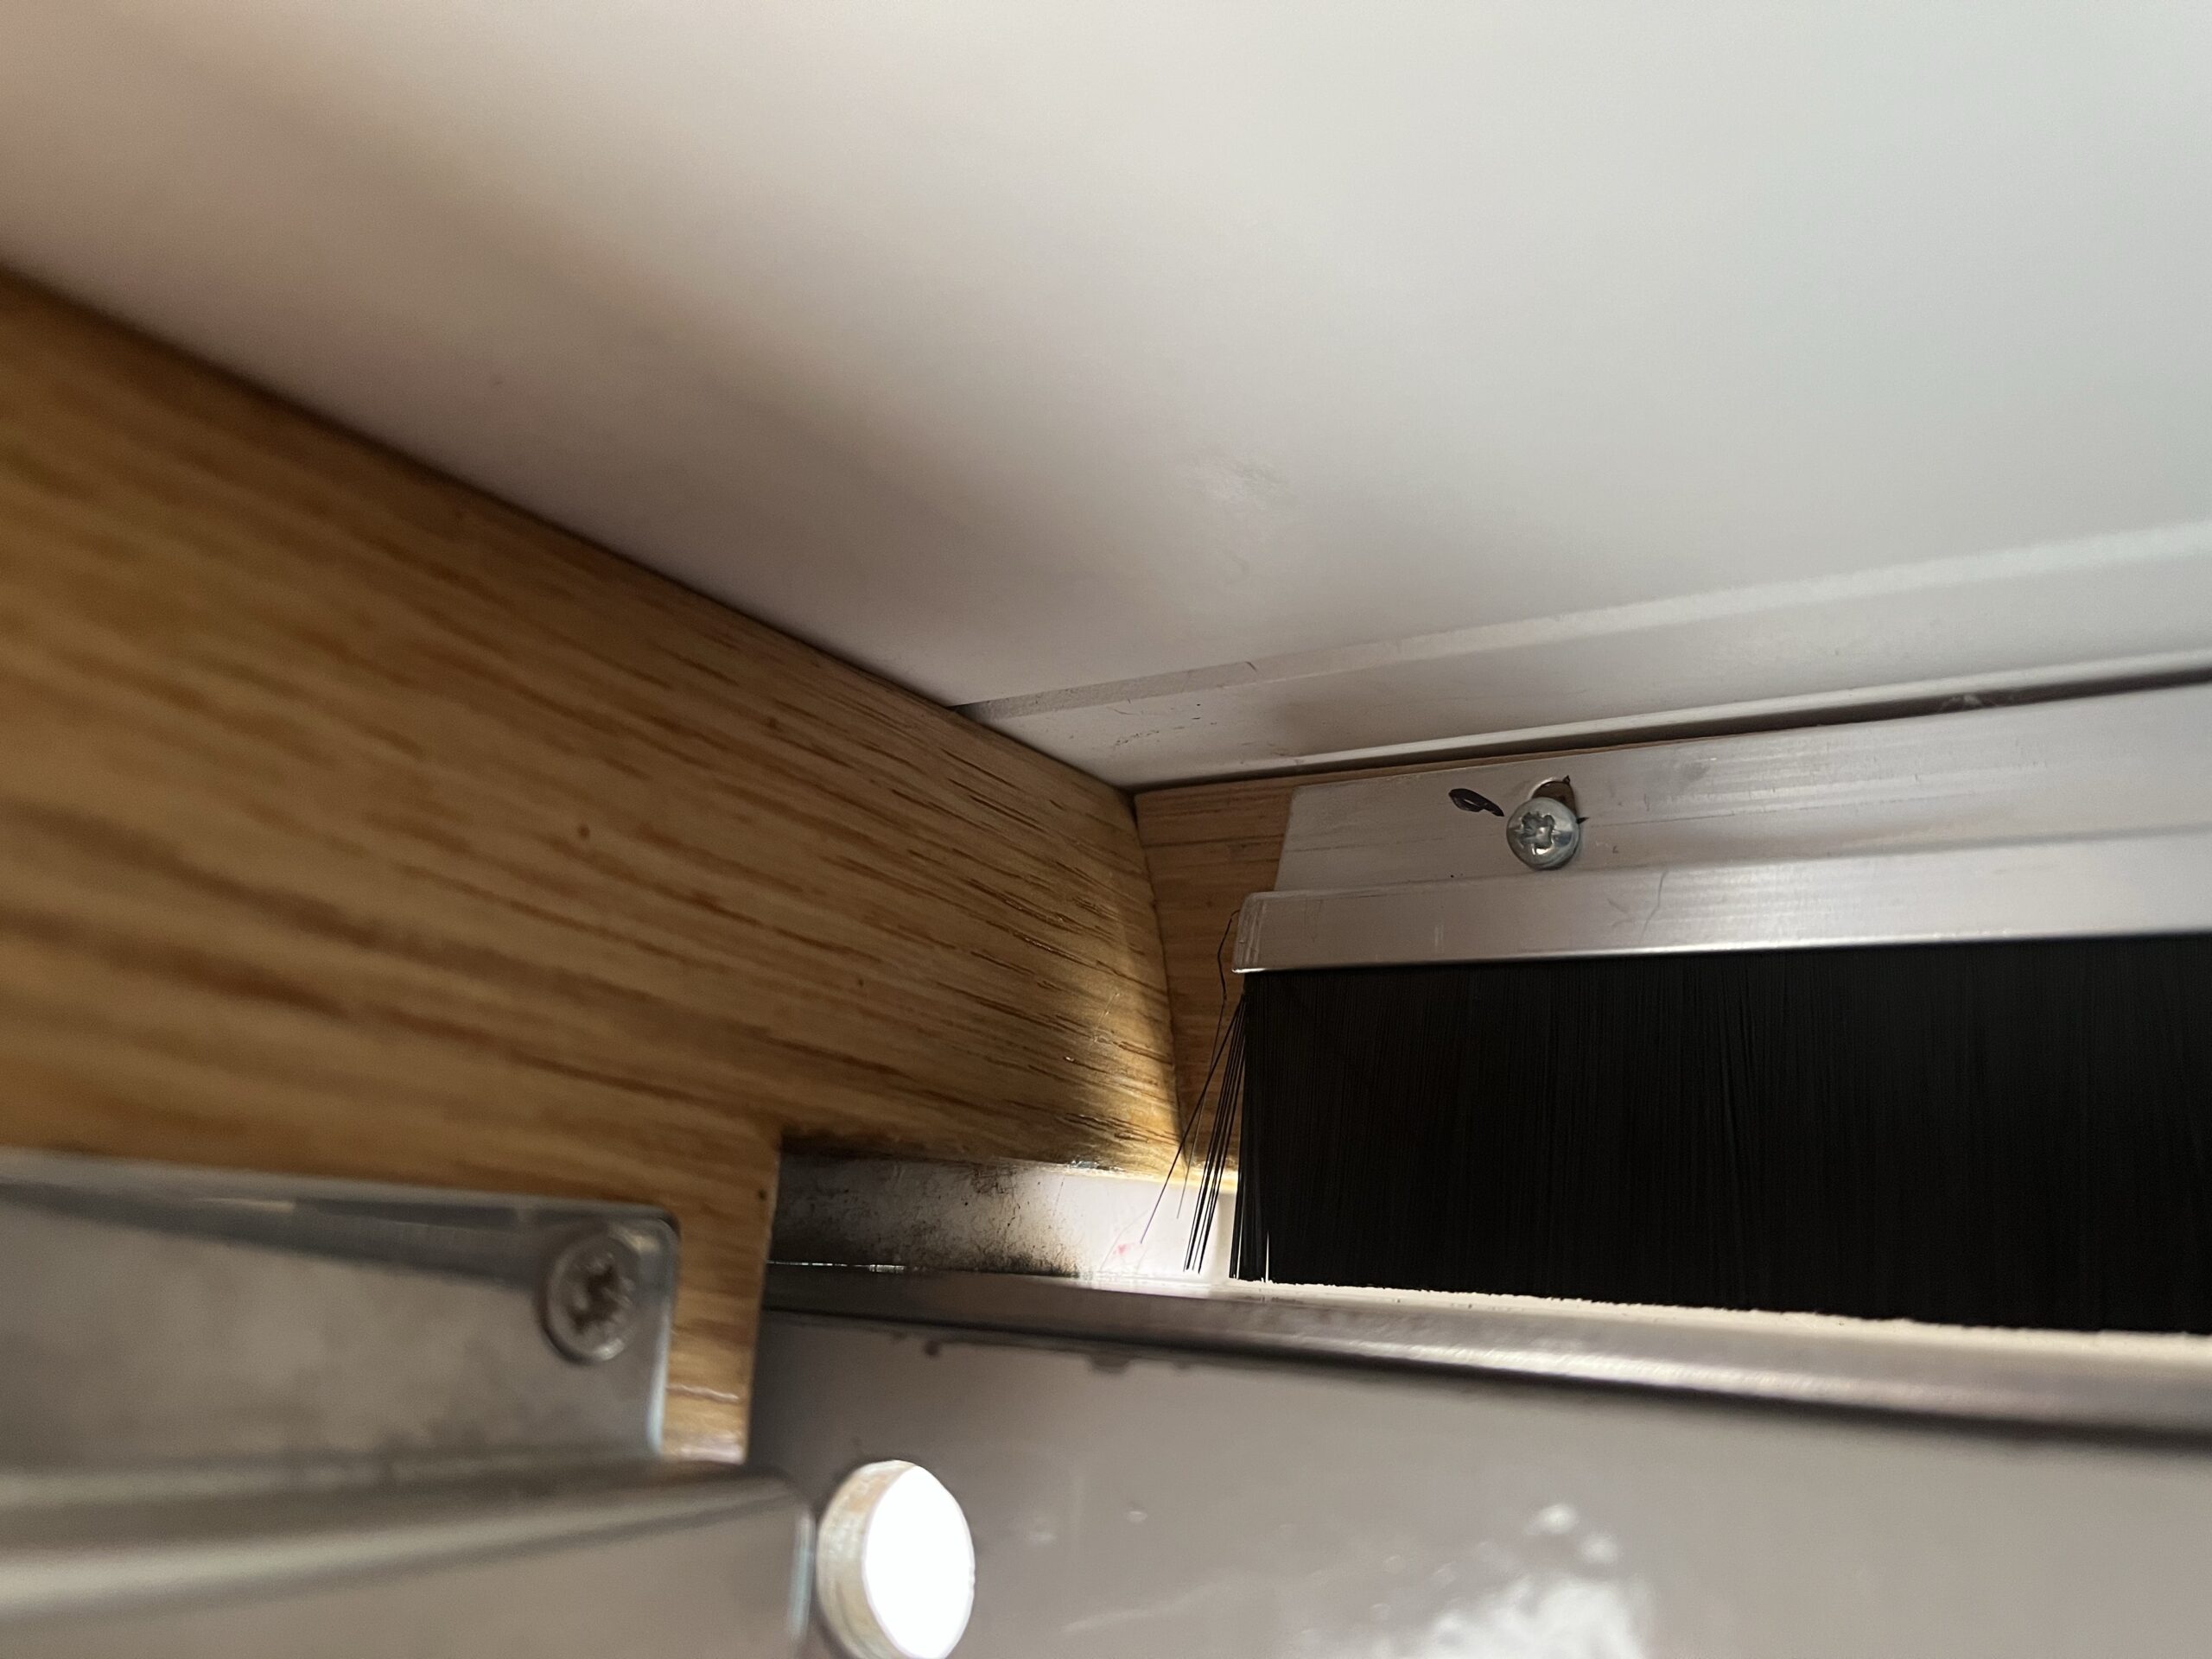
The fitting was fairly straight forward, but did involve cutting a length off both ends of the 1m strip to ensure that the screw holes were centralised. Also drilling the starter holes with a small 2mm drill was quite difficult with the angles being very tight and care had to be taken not to break the drill.
The effort was worth it though and with the three strips in place, we later found out, thanks to “Storm Eunice”, that all drafts and rain splash back were completely stopped.
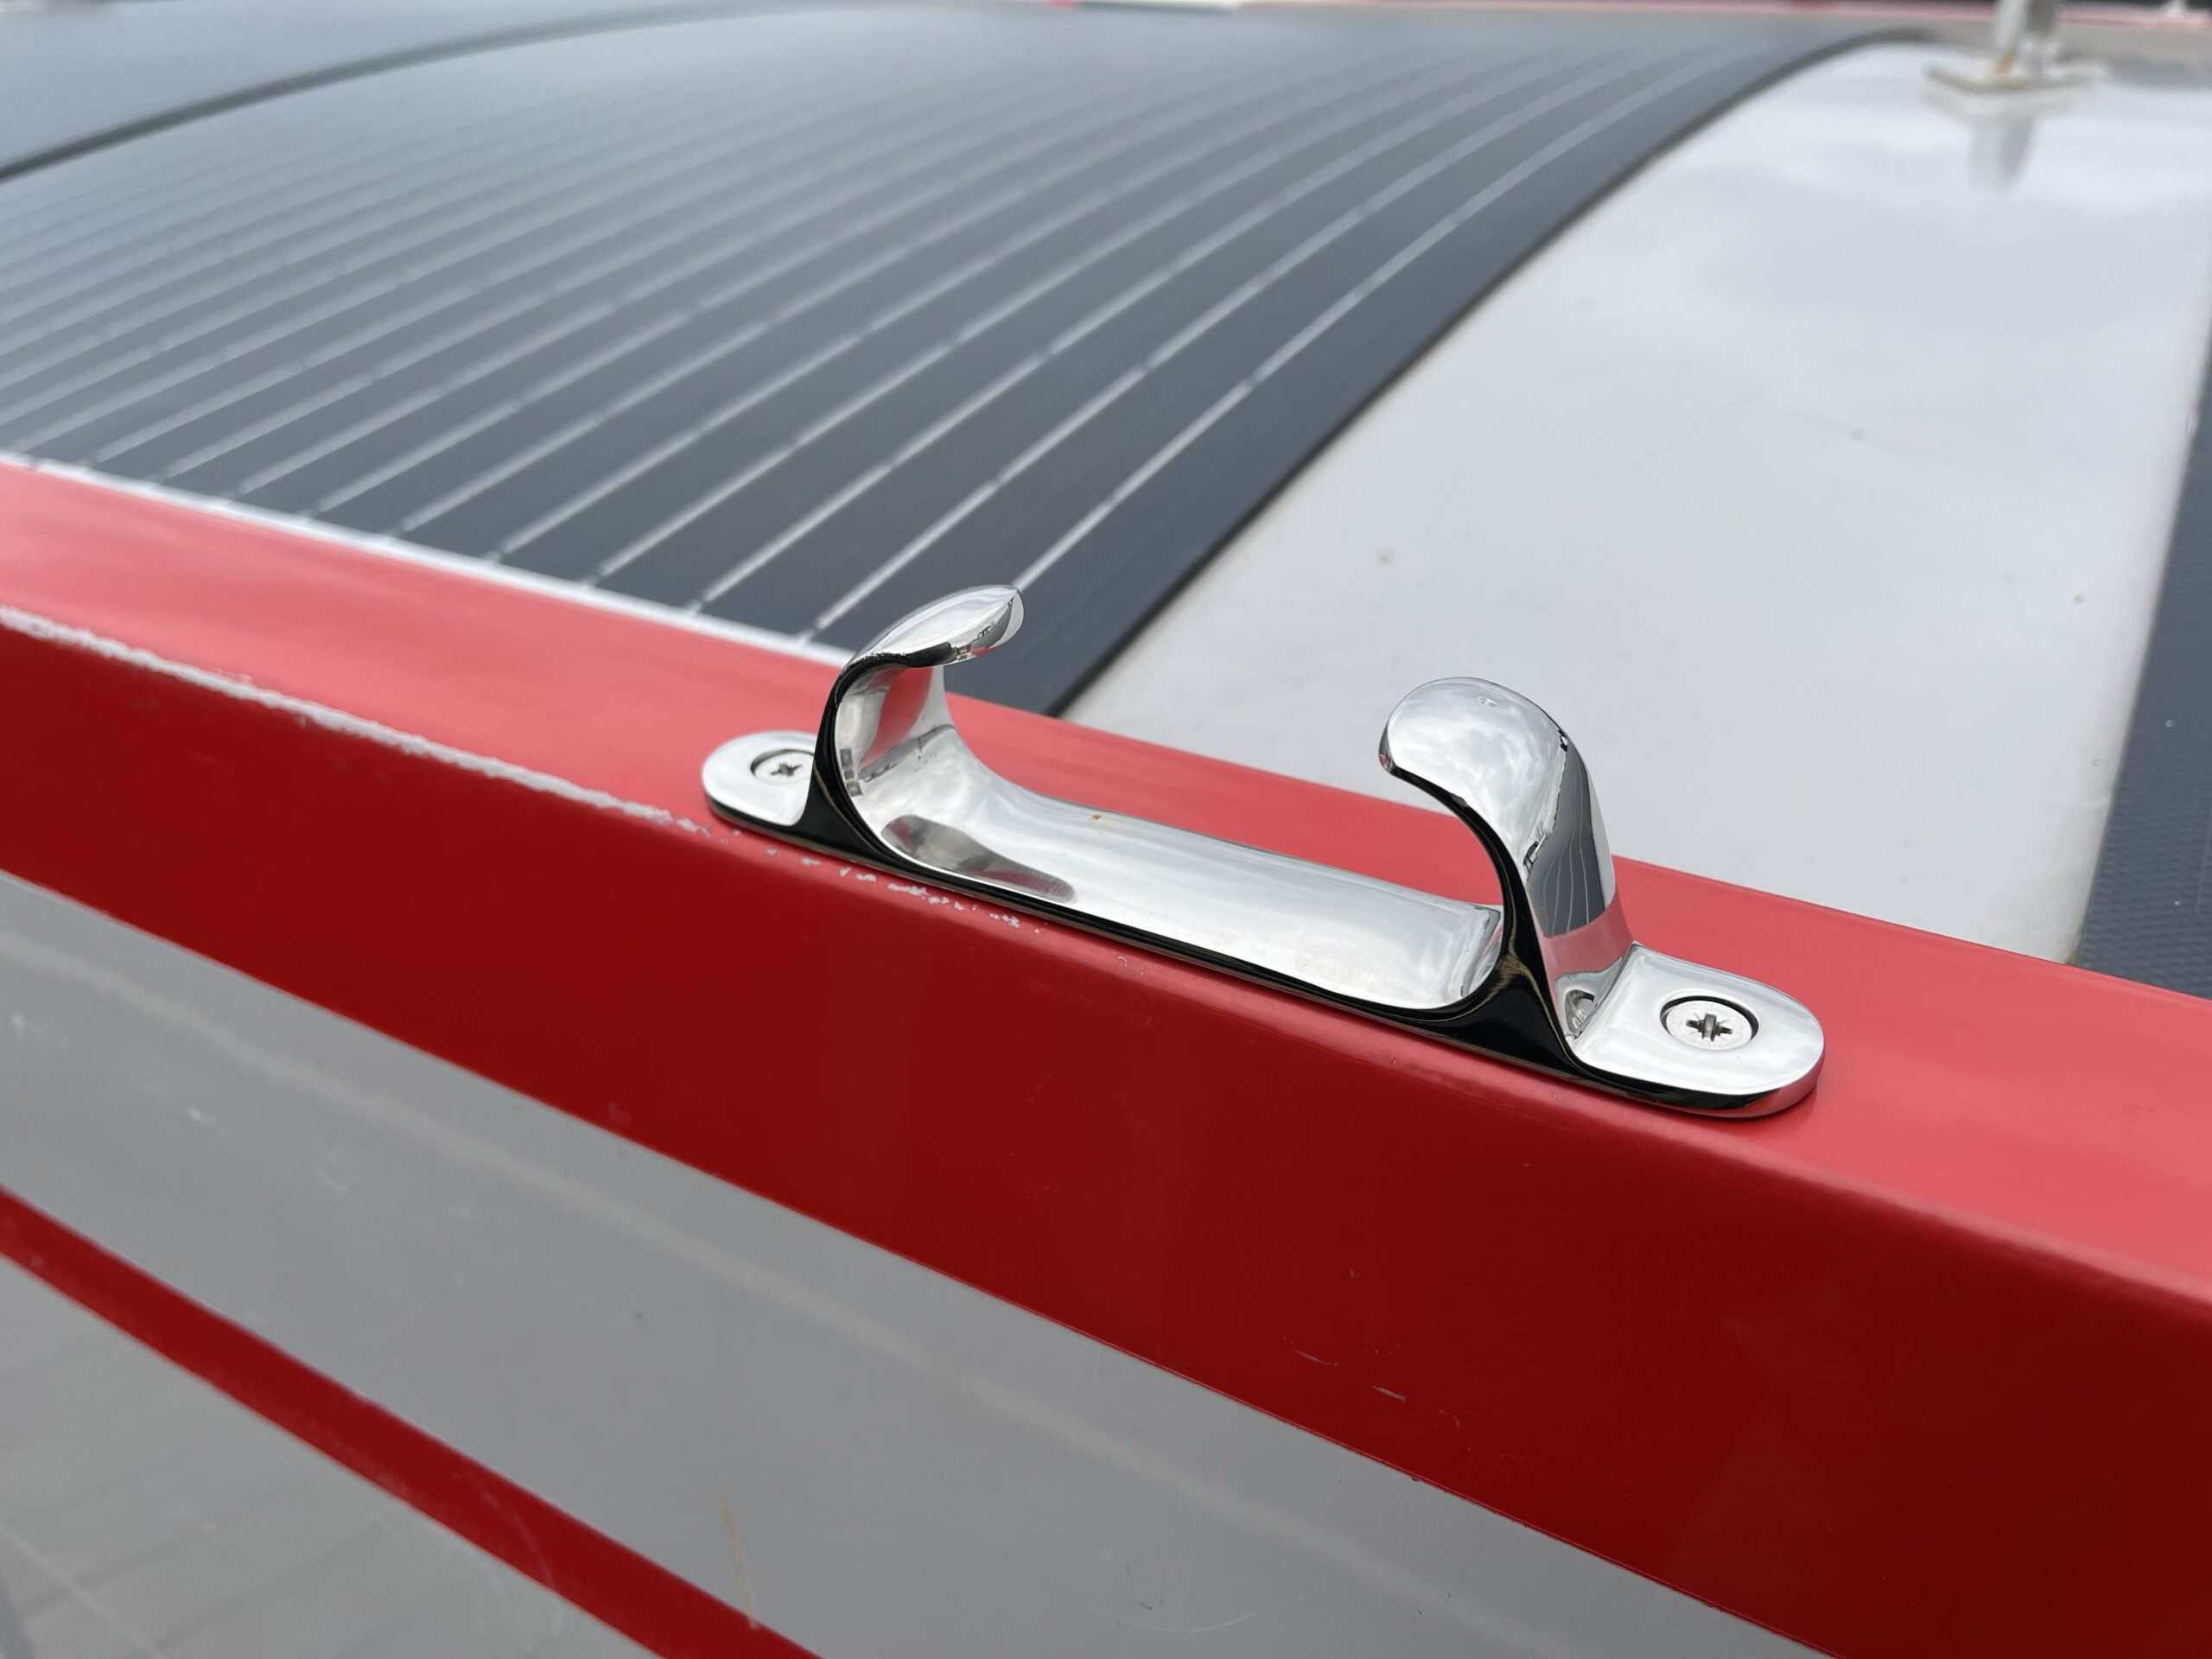
Fitting Fairleads
As with any boat, when you want to moor a narrowboat, you use ropes attached to fixings on the boat to secure the boat to the shore. This is fine, but ropes will often rub against the edge of the boat’s hull and this results in your nice gloss paint being damaged.
To avoid the ropes damaging the paint work, it is very common for sets of fairleads to be mounted on either side of the boat. These devices, secure the ropes and take all of the rope friction, rather than your nice shiny paint work.
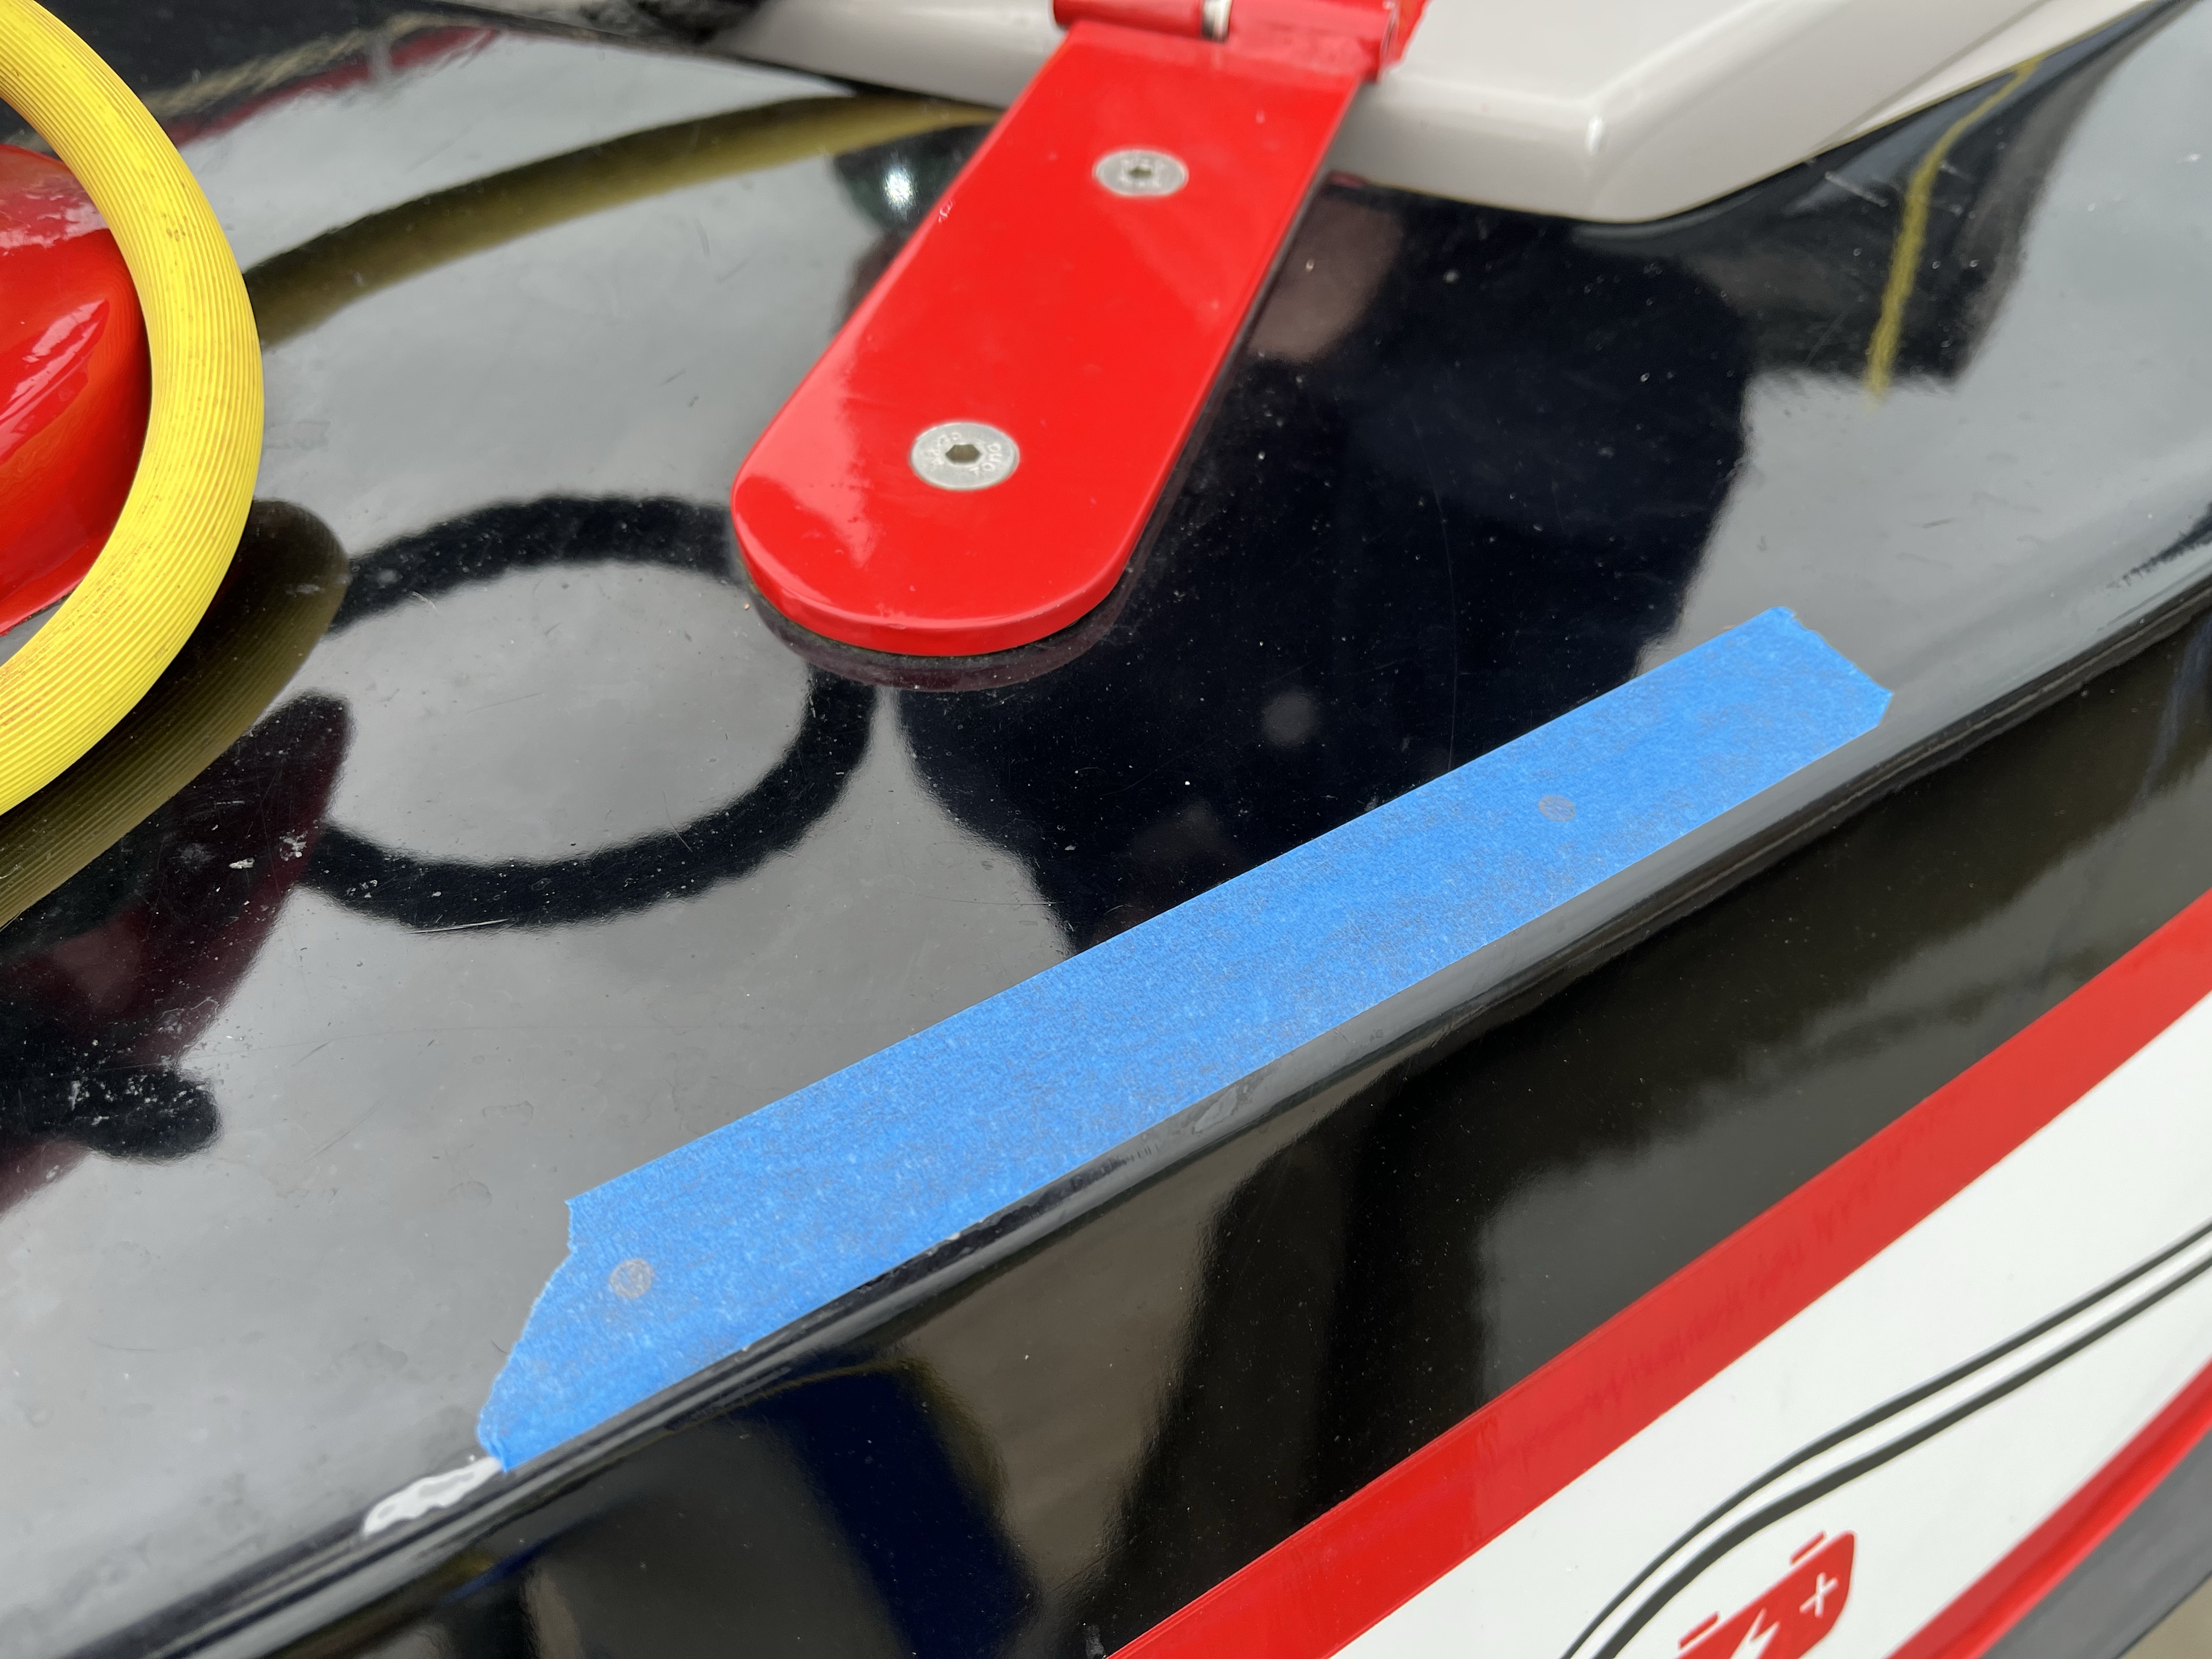
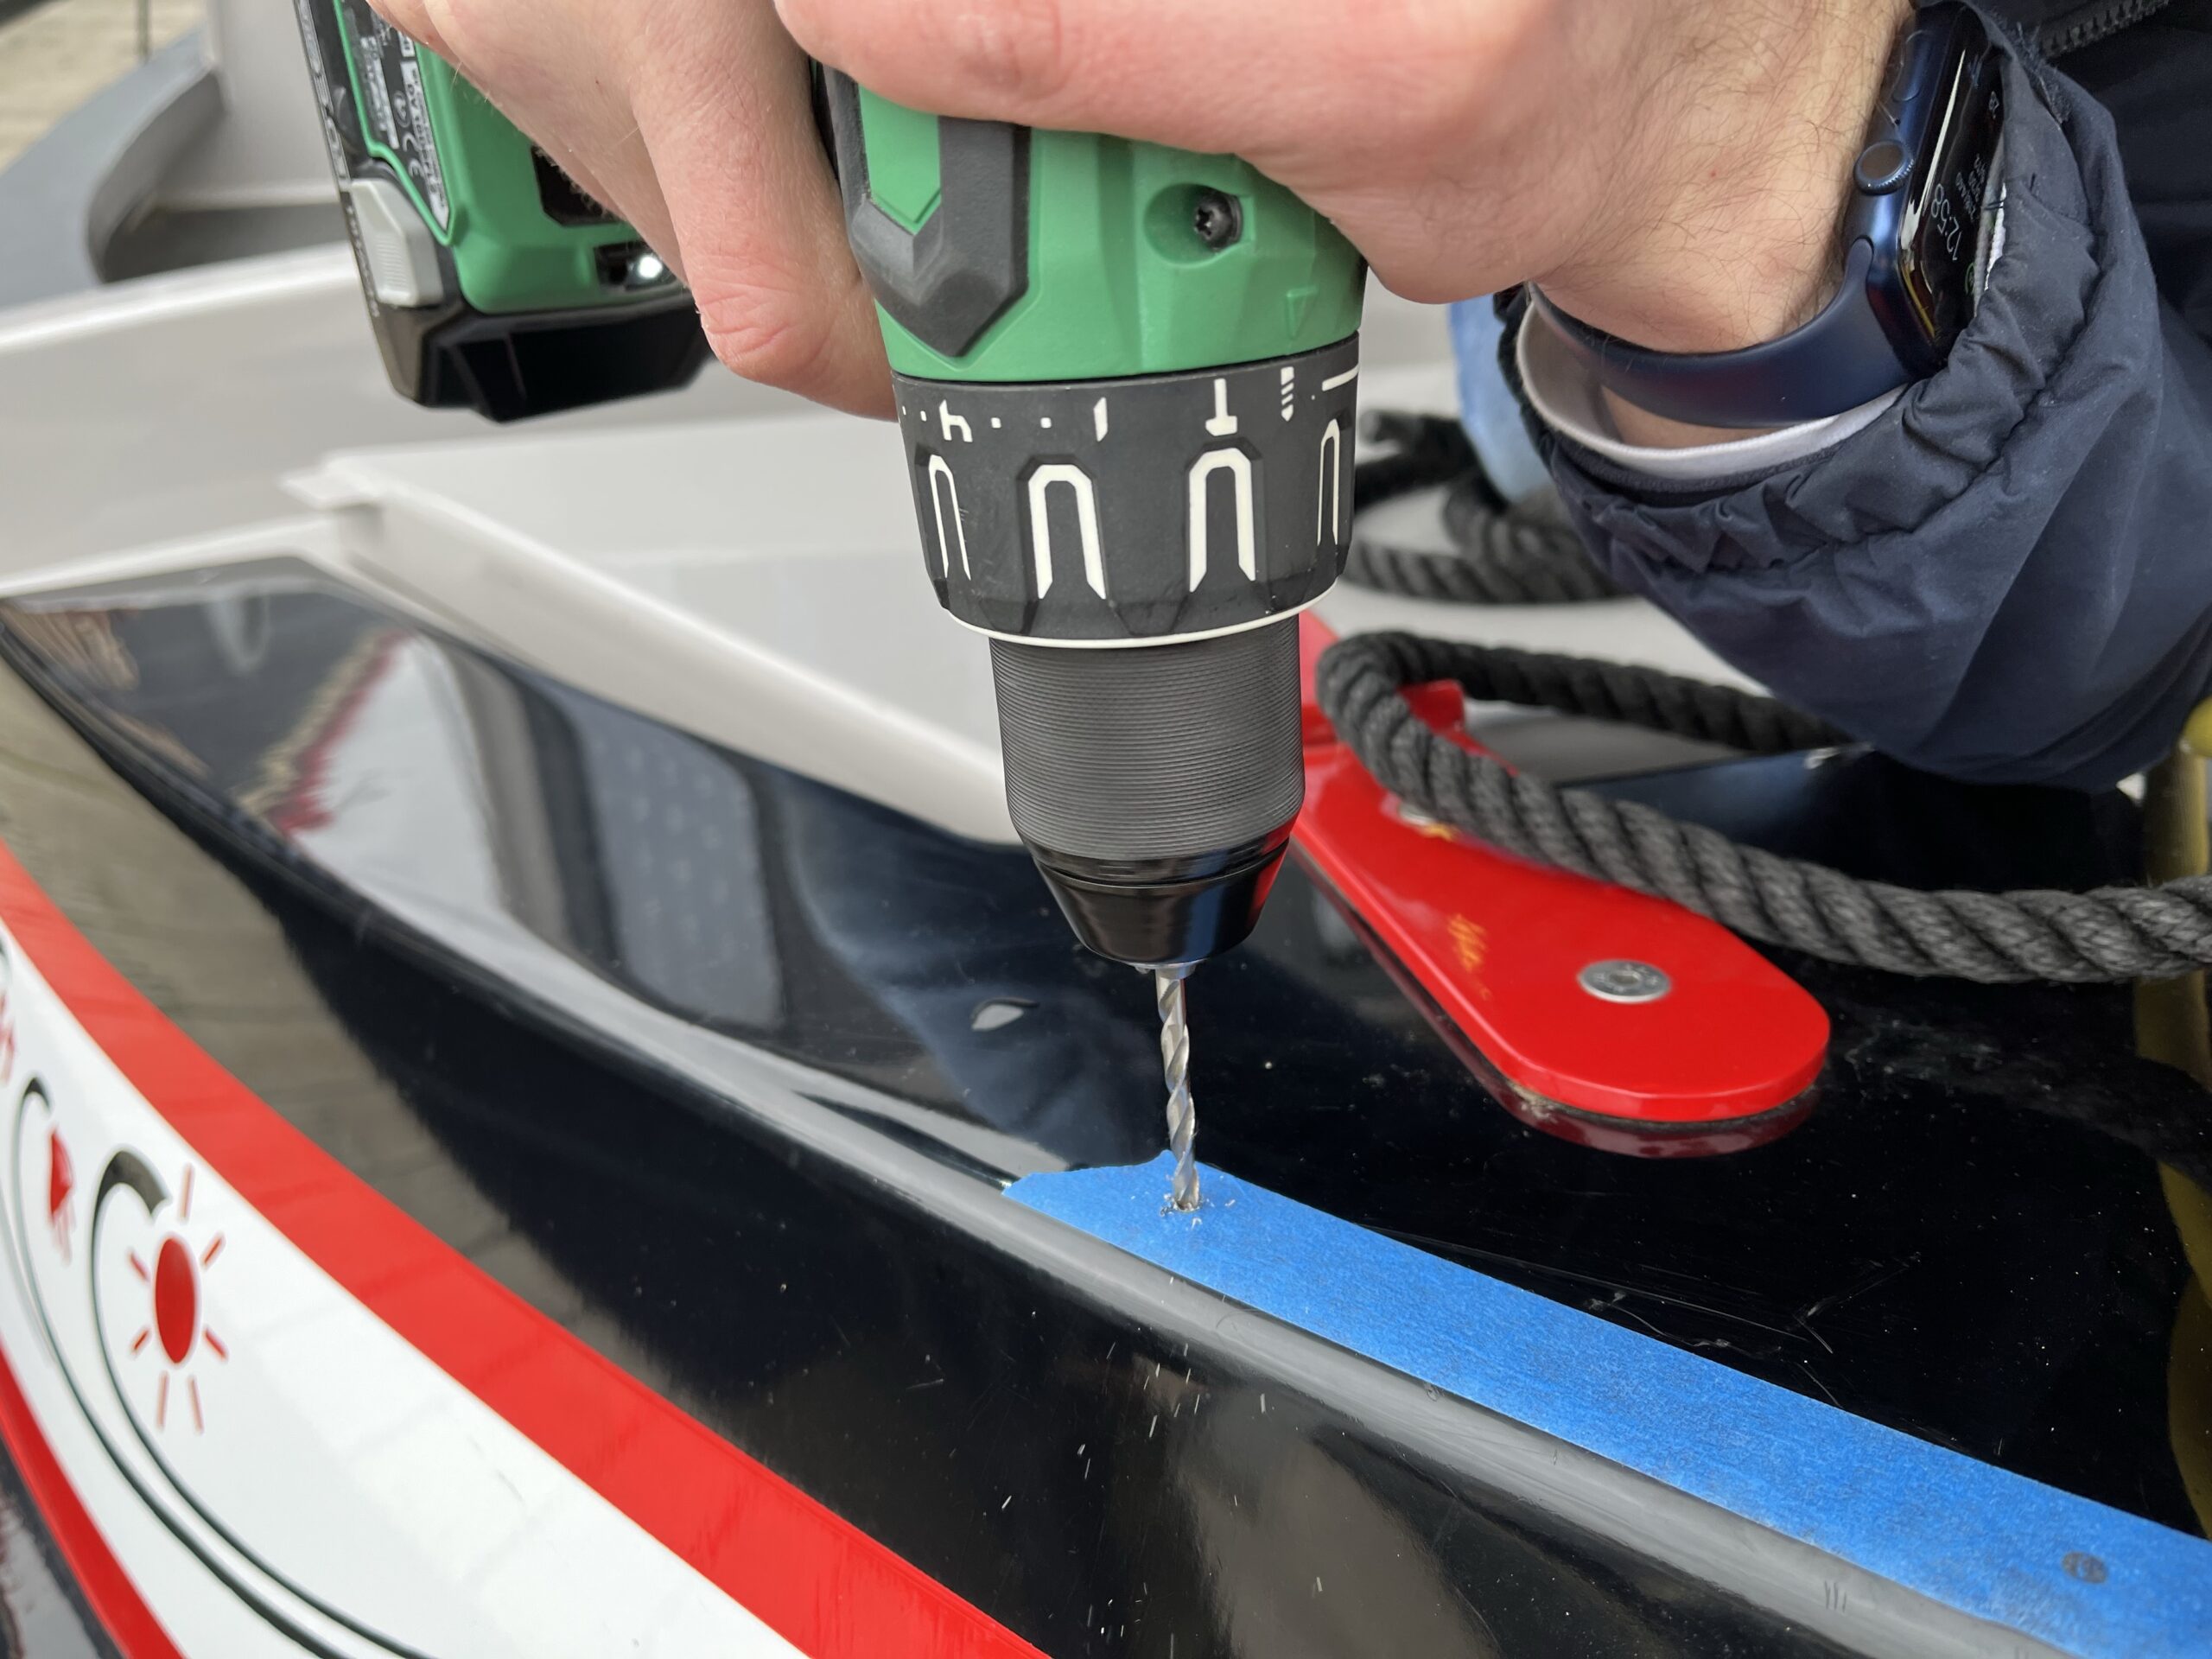
To fit a fairlead on a narrowboat, it is necessary to drill and tap (create a thread) multiple holes which the fixing bolts screw into. The thought of drilling holes in our new narrowboat was a bit daunting and so it was a great relief when Rob Howdle at Ortomarine very kindly offered to come and do this for us. To minimise Rob’s time and effort, I selected and marked up the location for each fairlead and the pair of fixing holes that each fairlead required, using some blue masking tape.
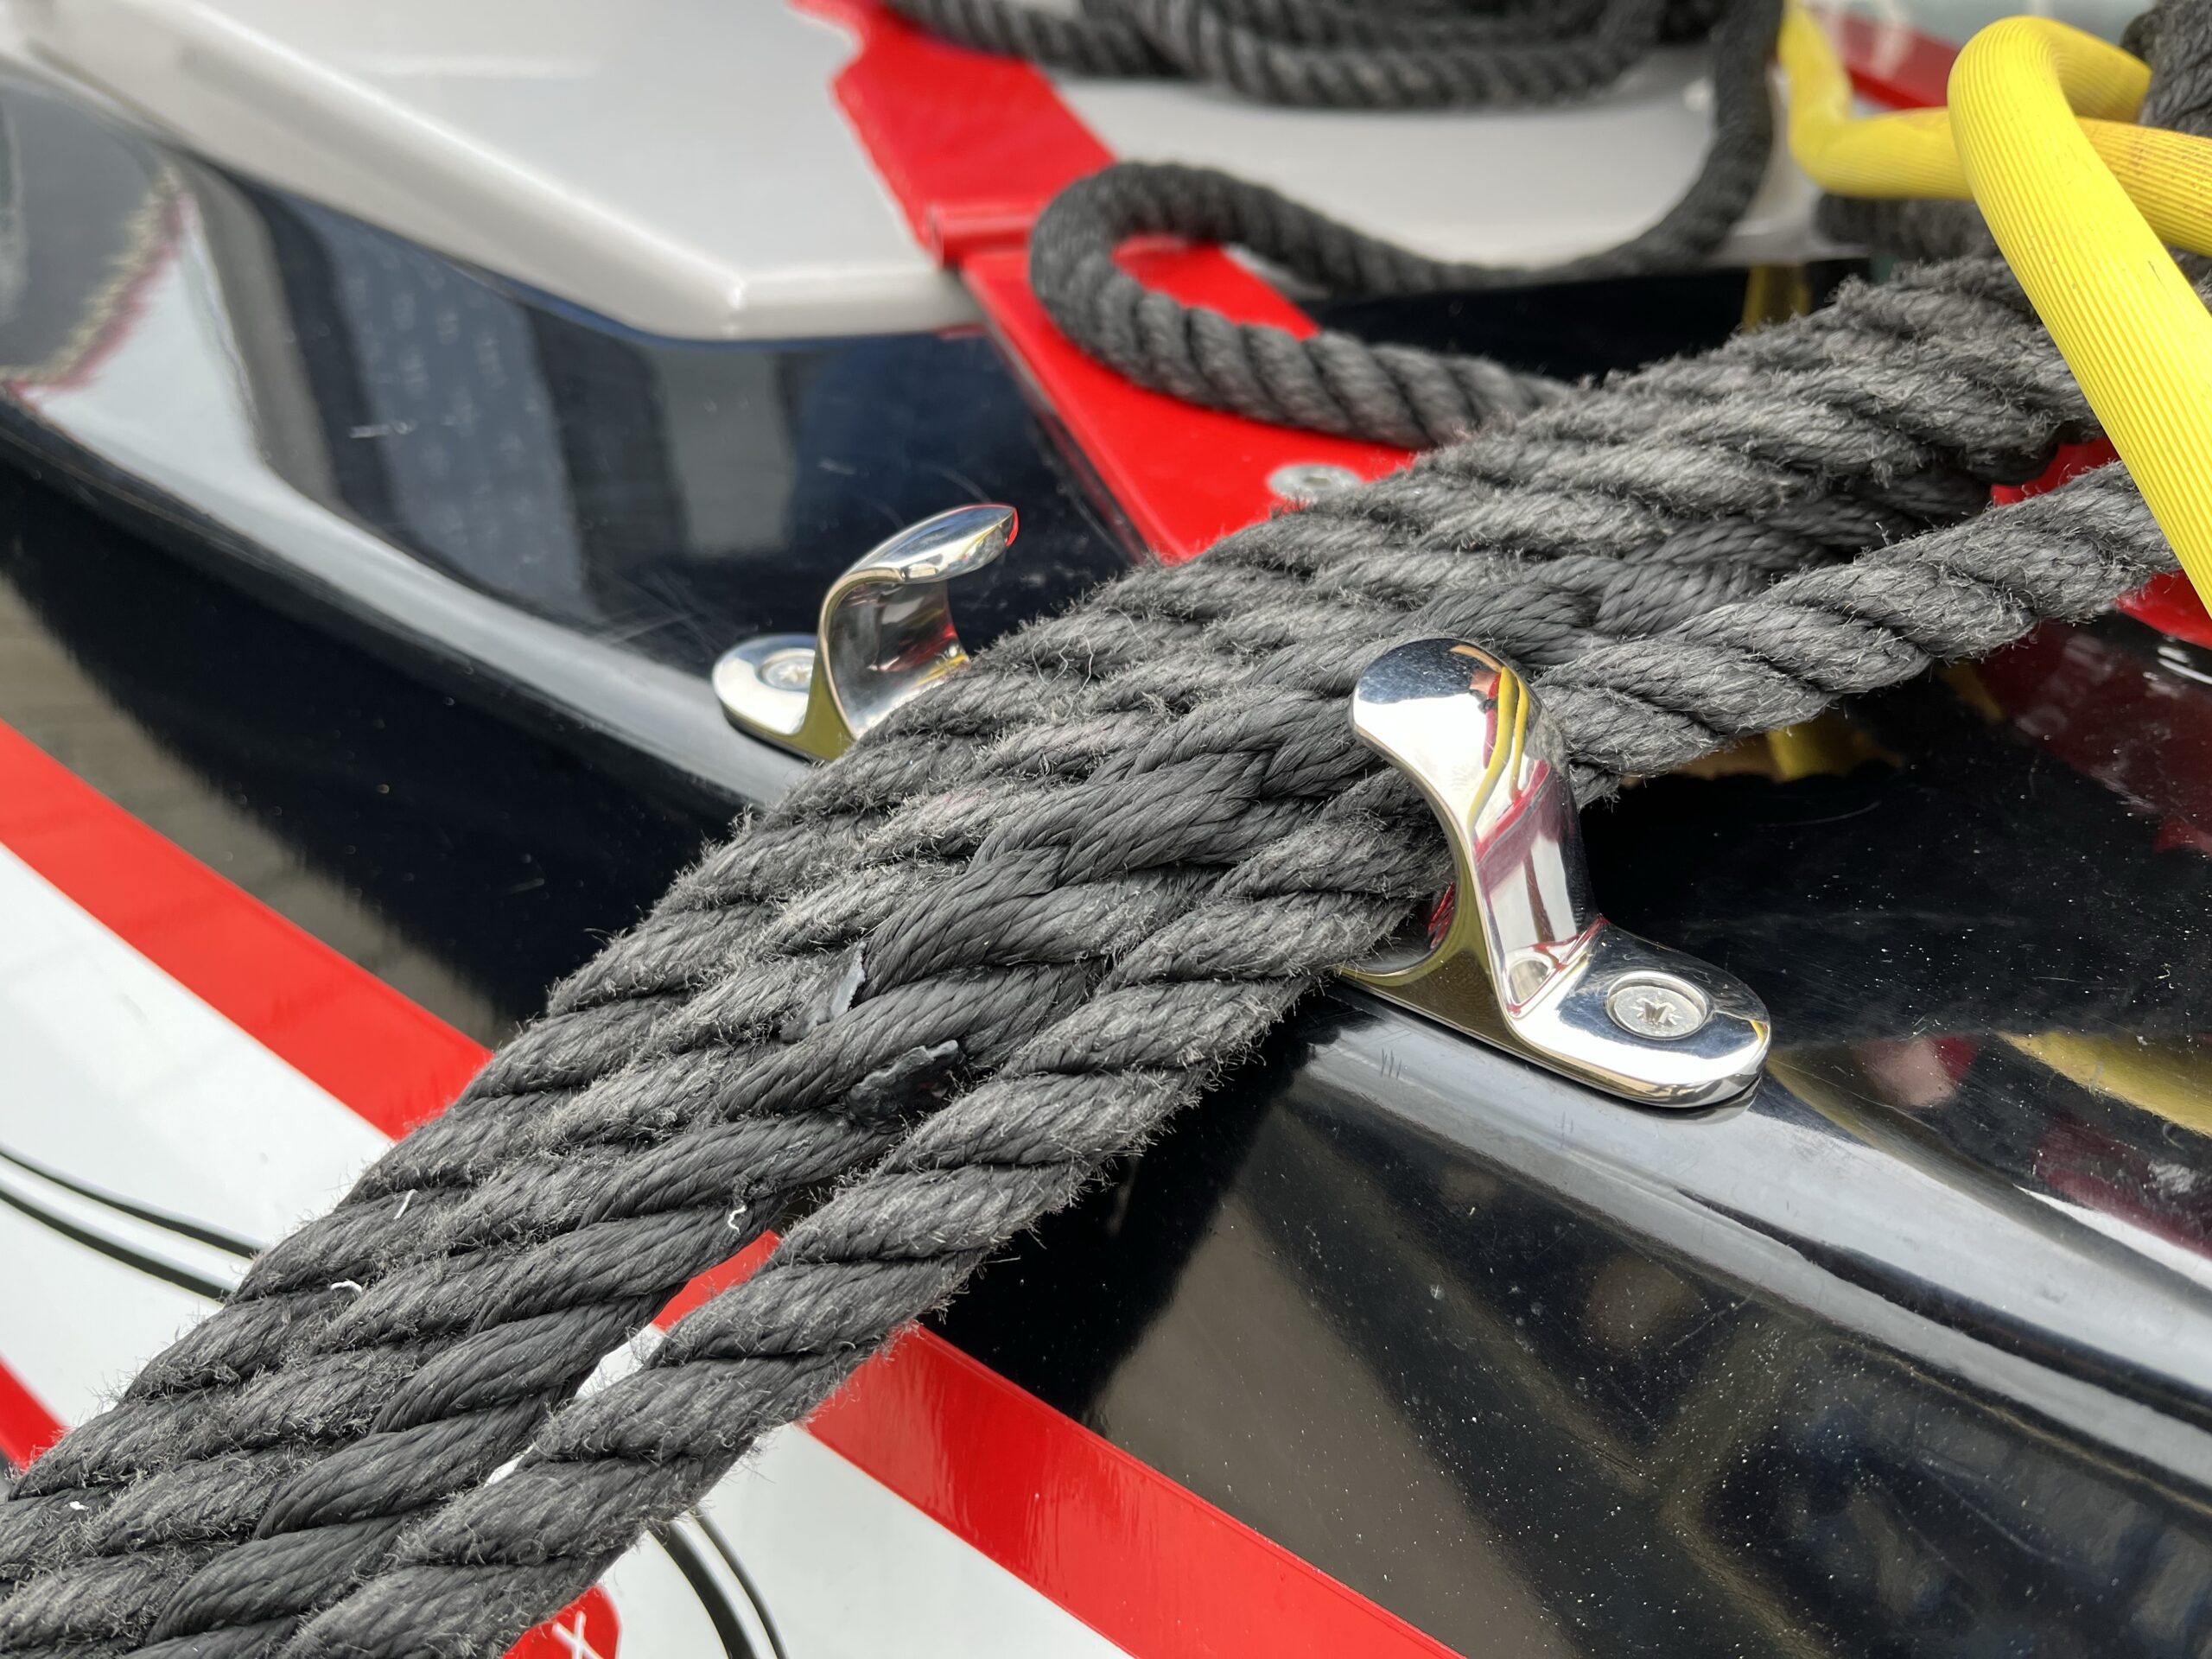
For Rob and the team at Ortomarine, drilling and tapping holes is an everyday activity and the speed at which he completed the task was incredible – it took longer to eat the lunch we had prepared for him! Before we knew it, we had four new fairleads fitted, two for the bow ropes and two for the centre ropes.


Two important things to get right are…
- Ensure you use the correct size of drill for the tapping tool
- Use tapping fluid to avoid the tap seizing
If you look closely at the centre fairlead image, you will see the paint damage that we have already sustained in just one season, but which the fairleads should stop.
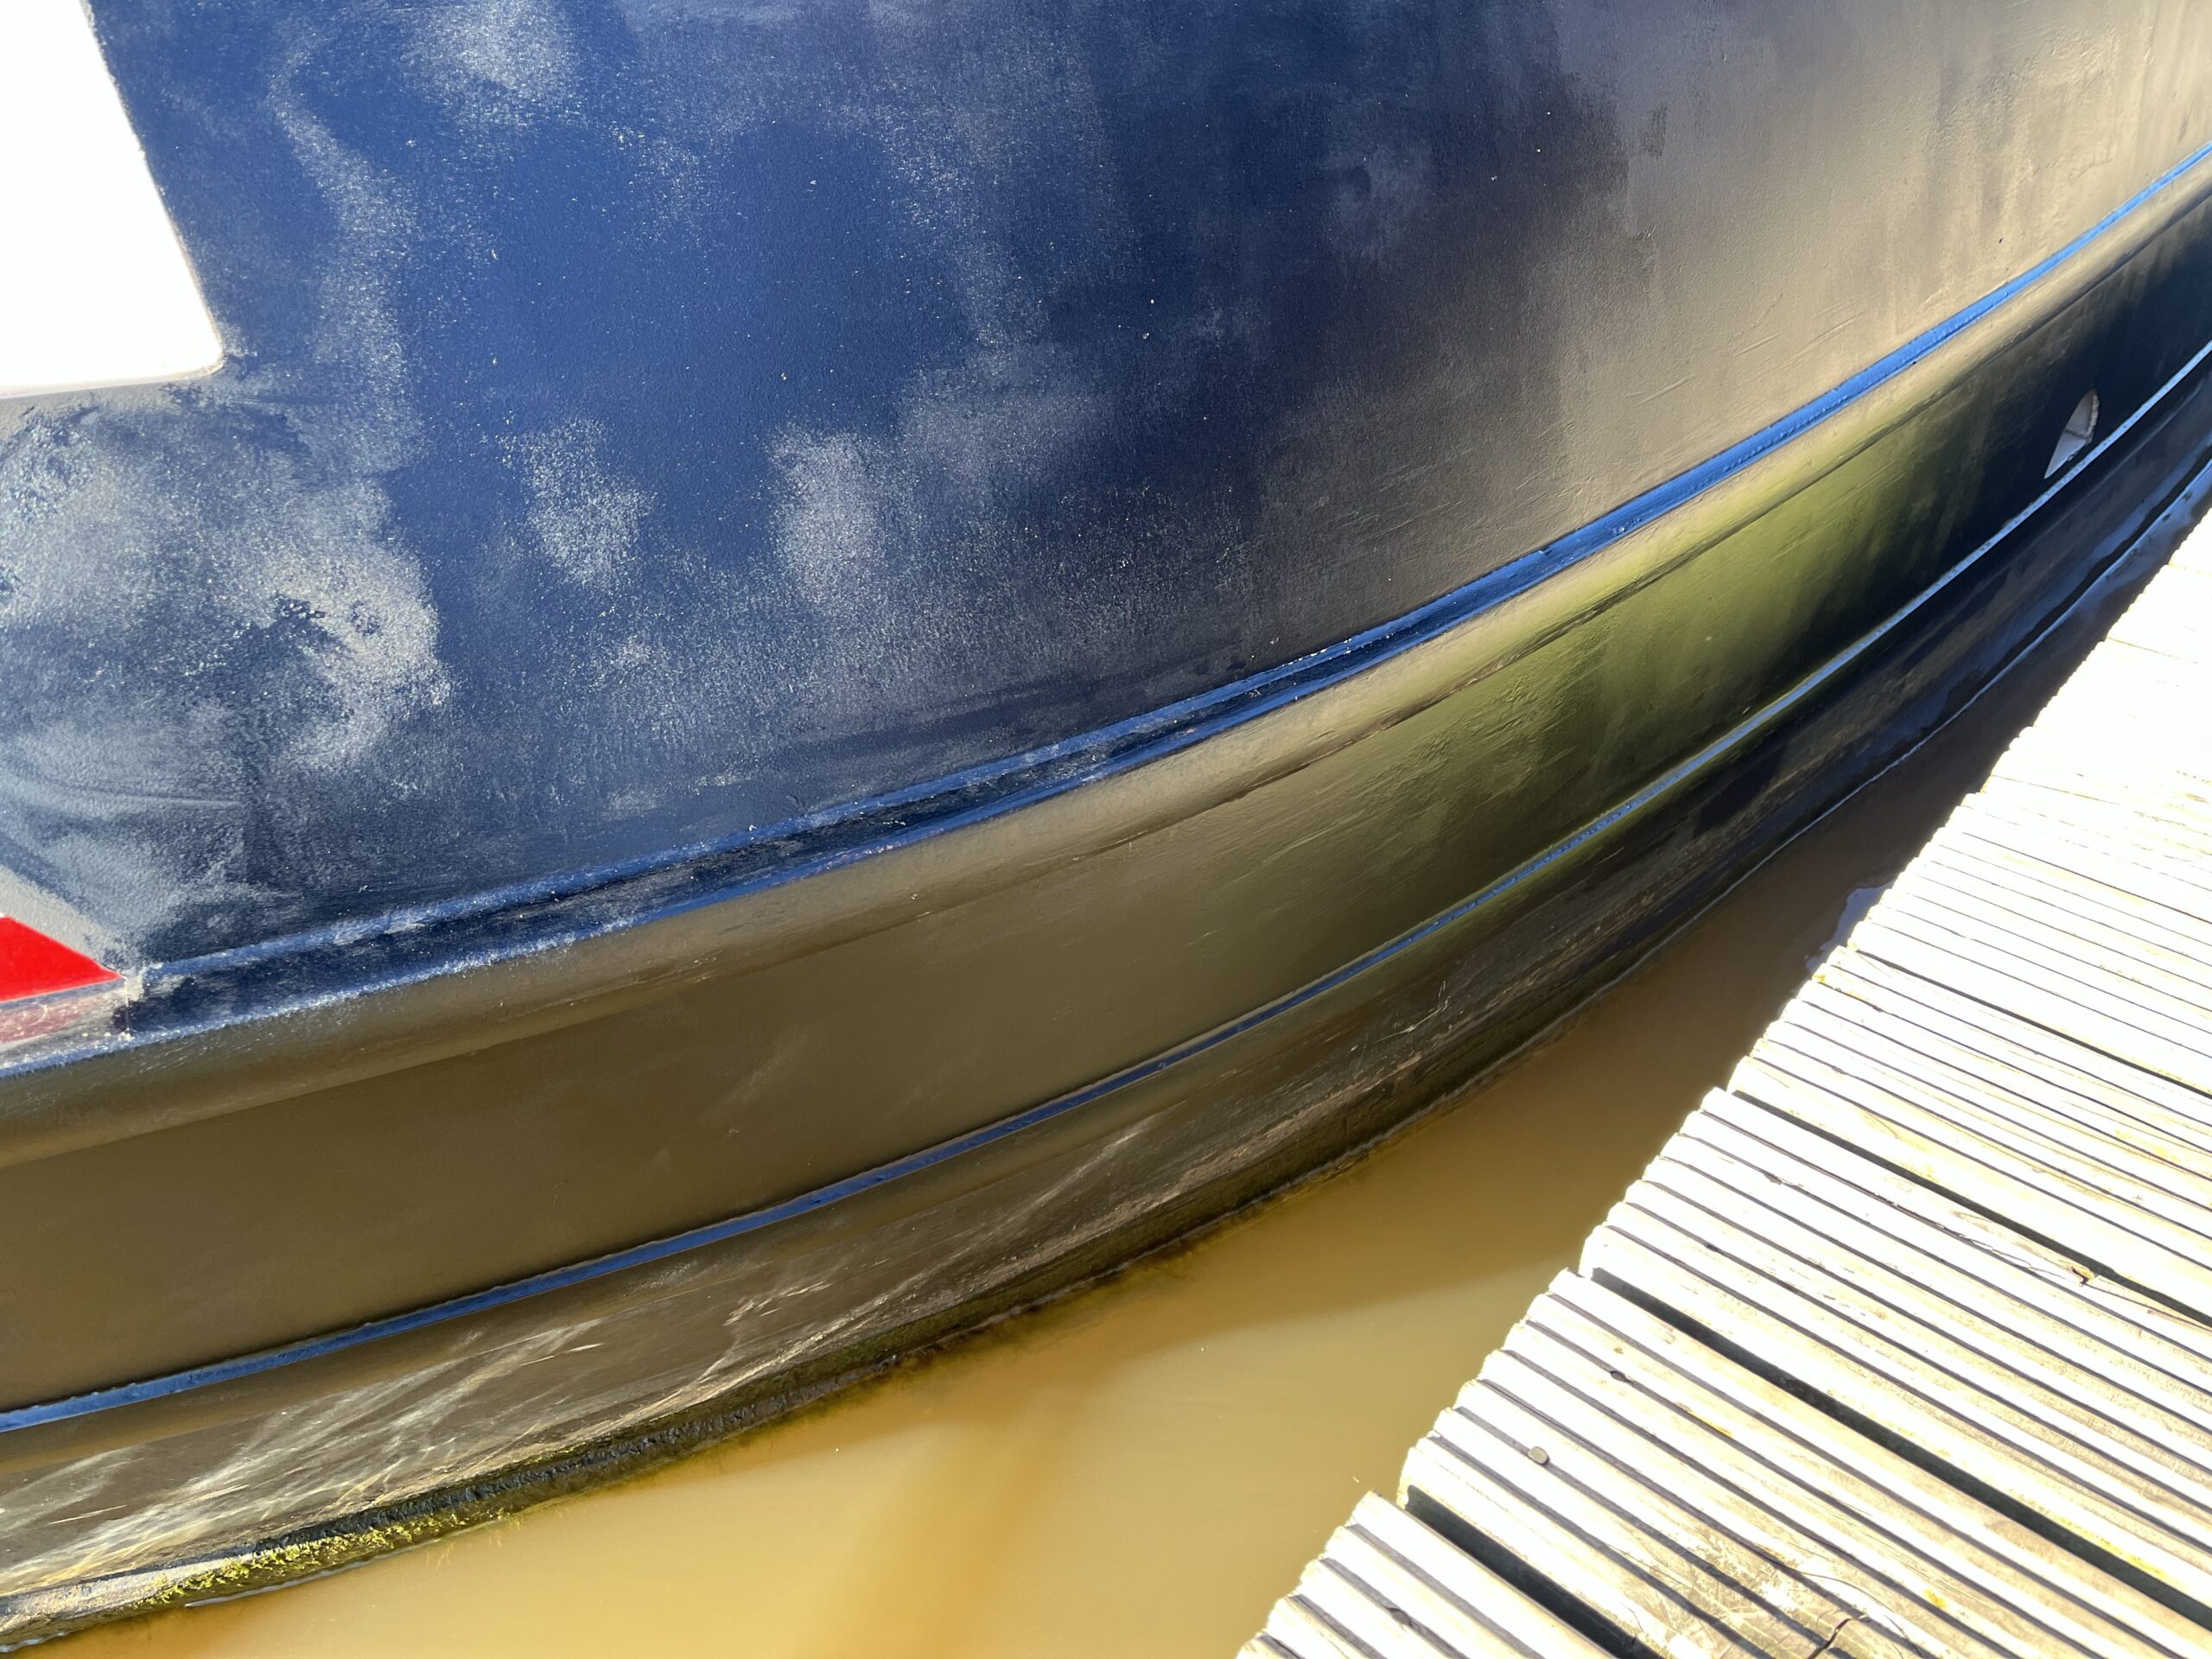
Re-Blacking the Hull
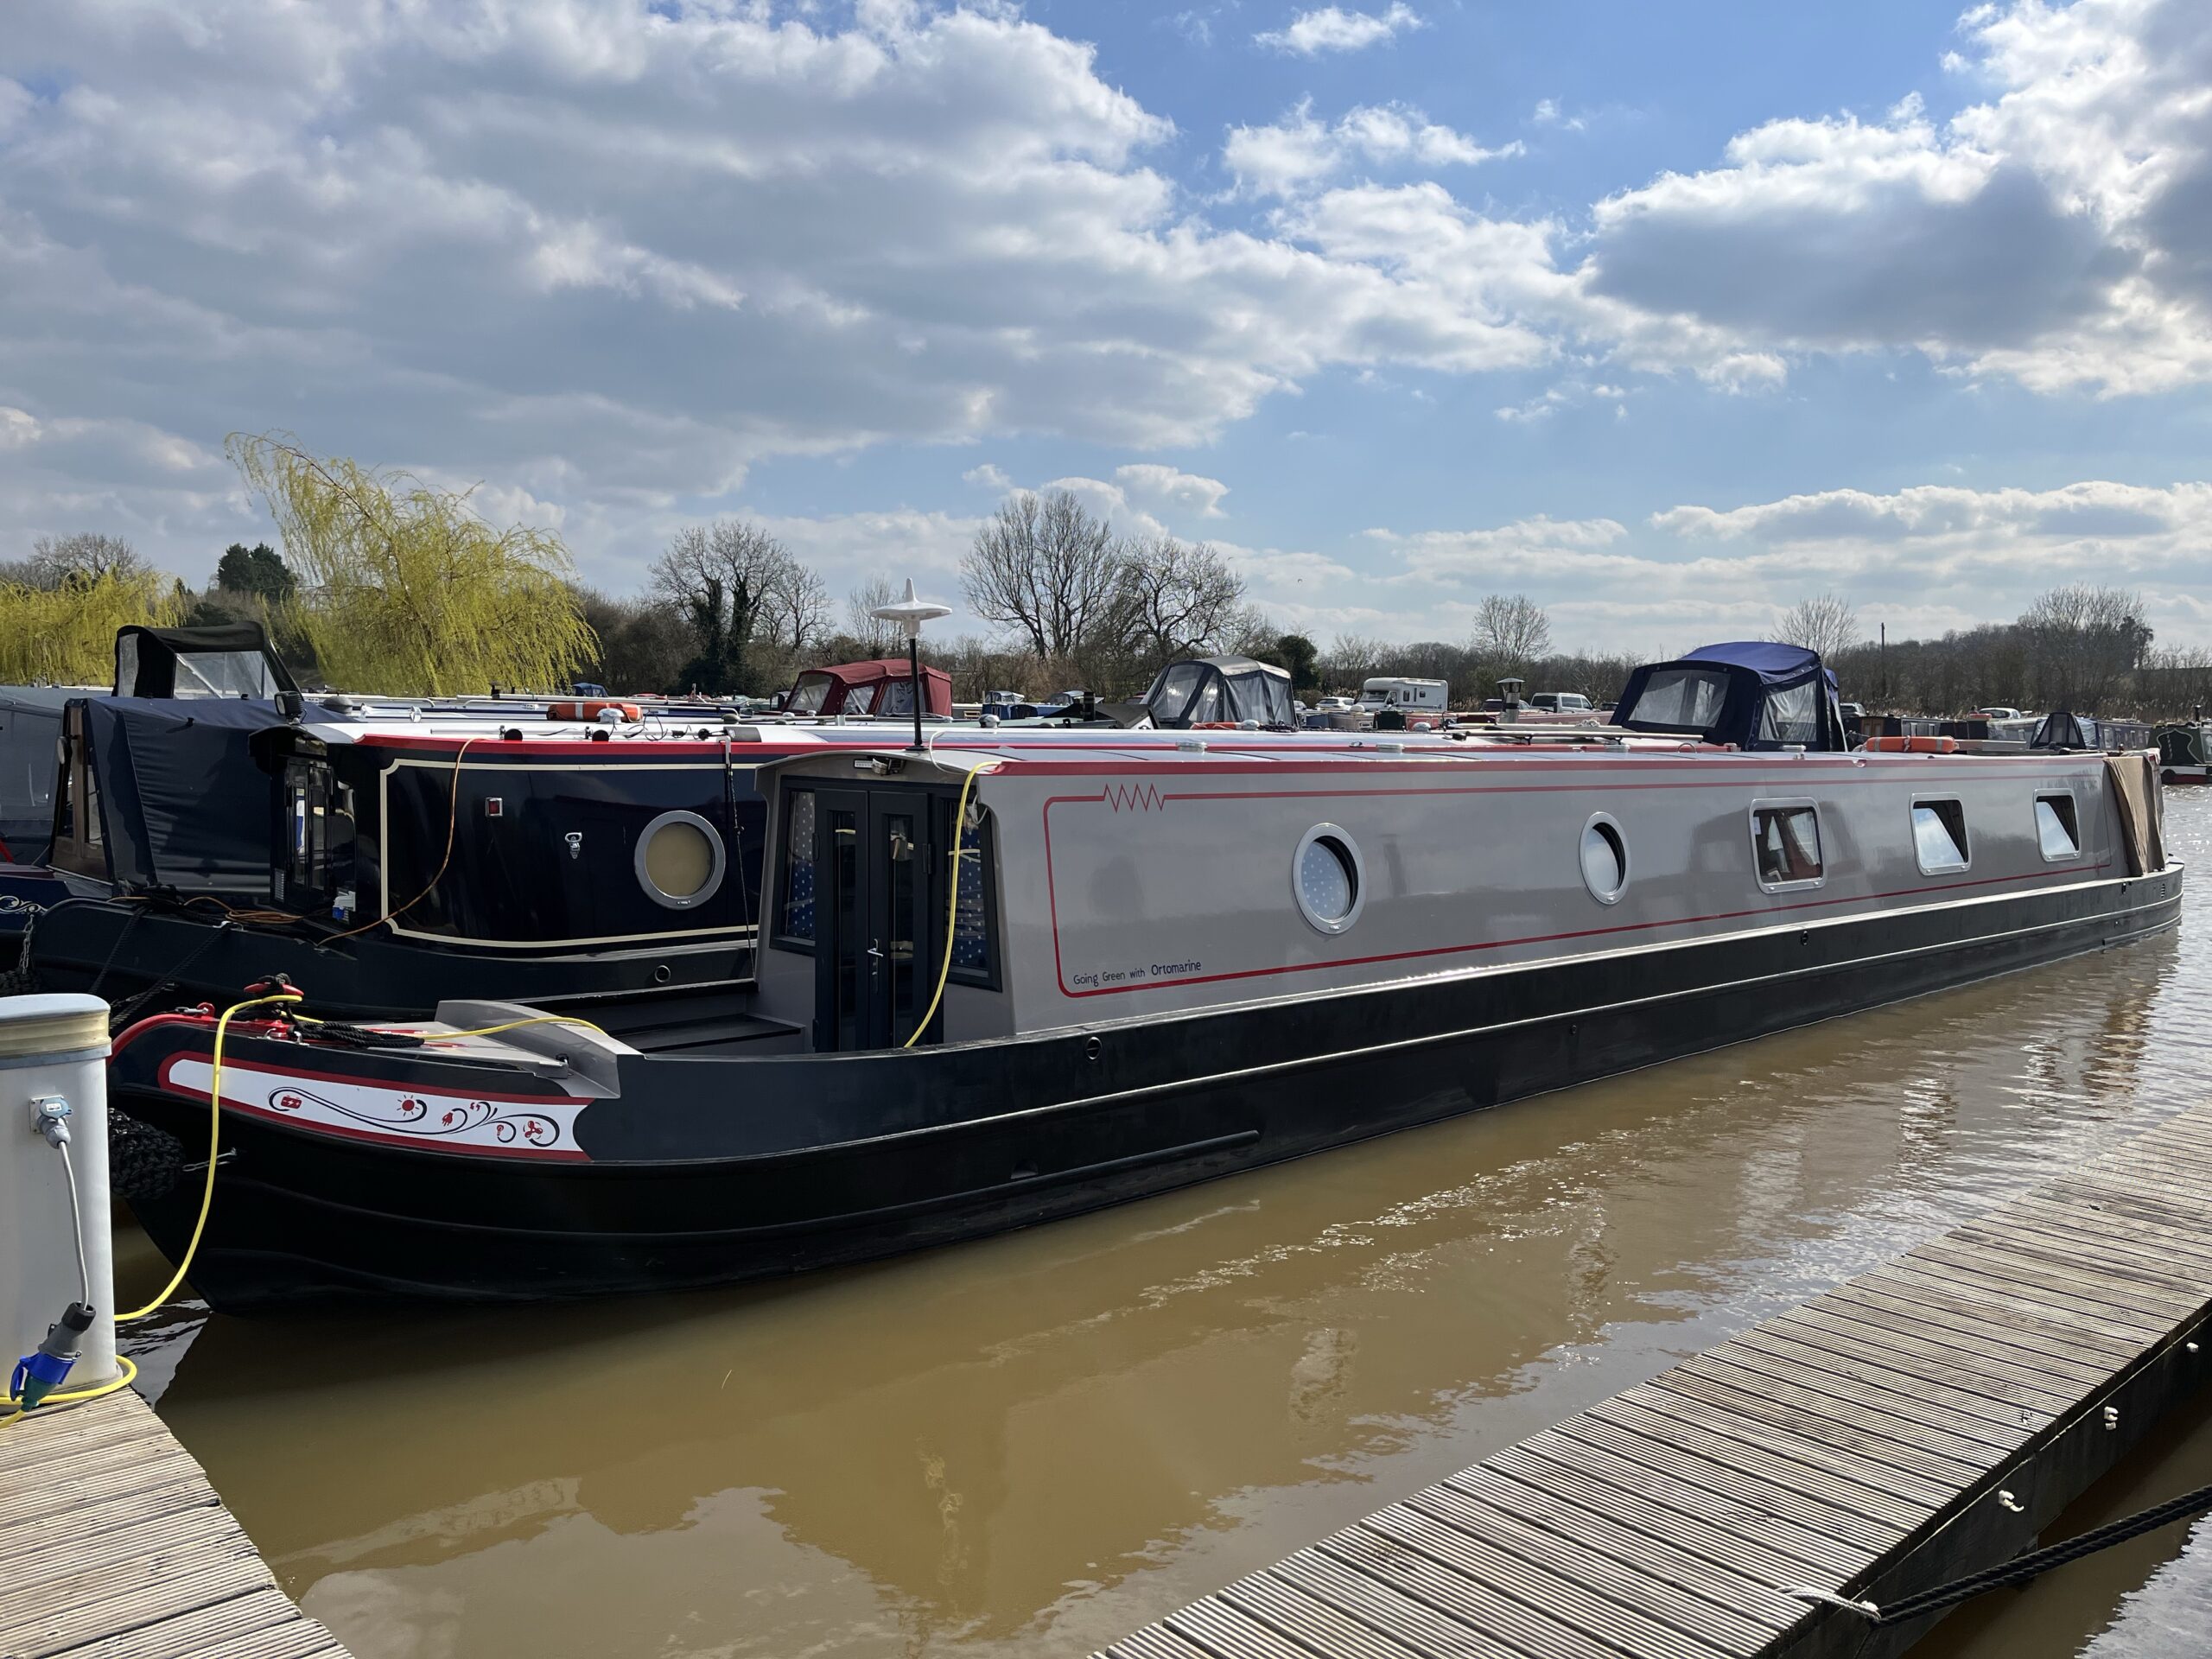
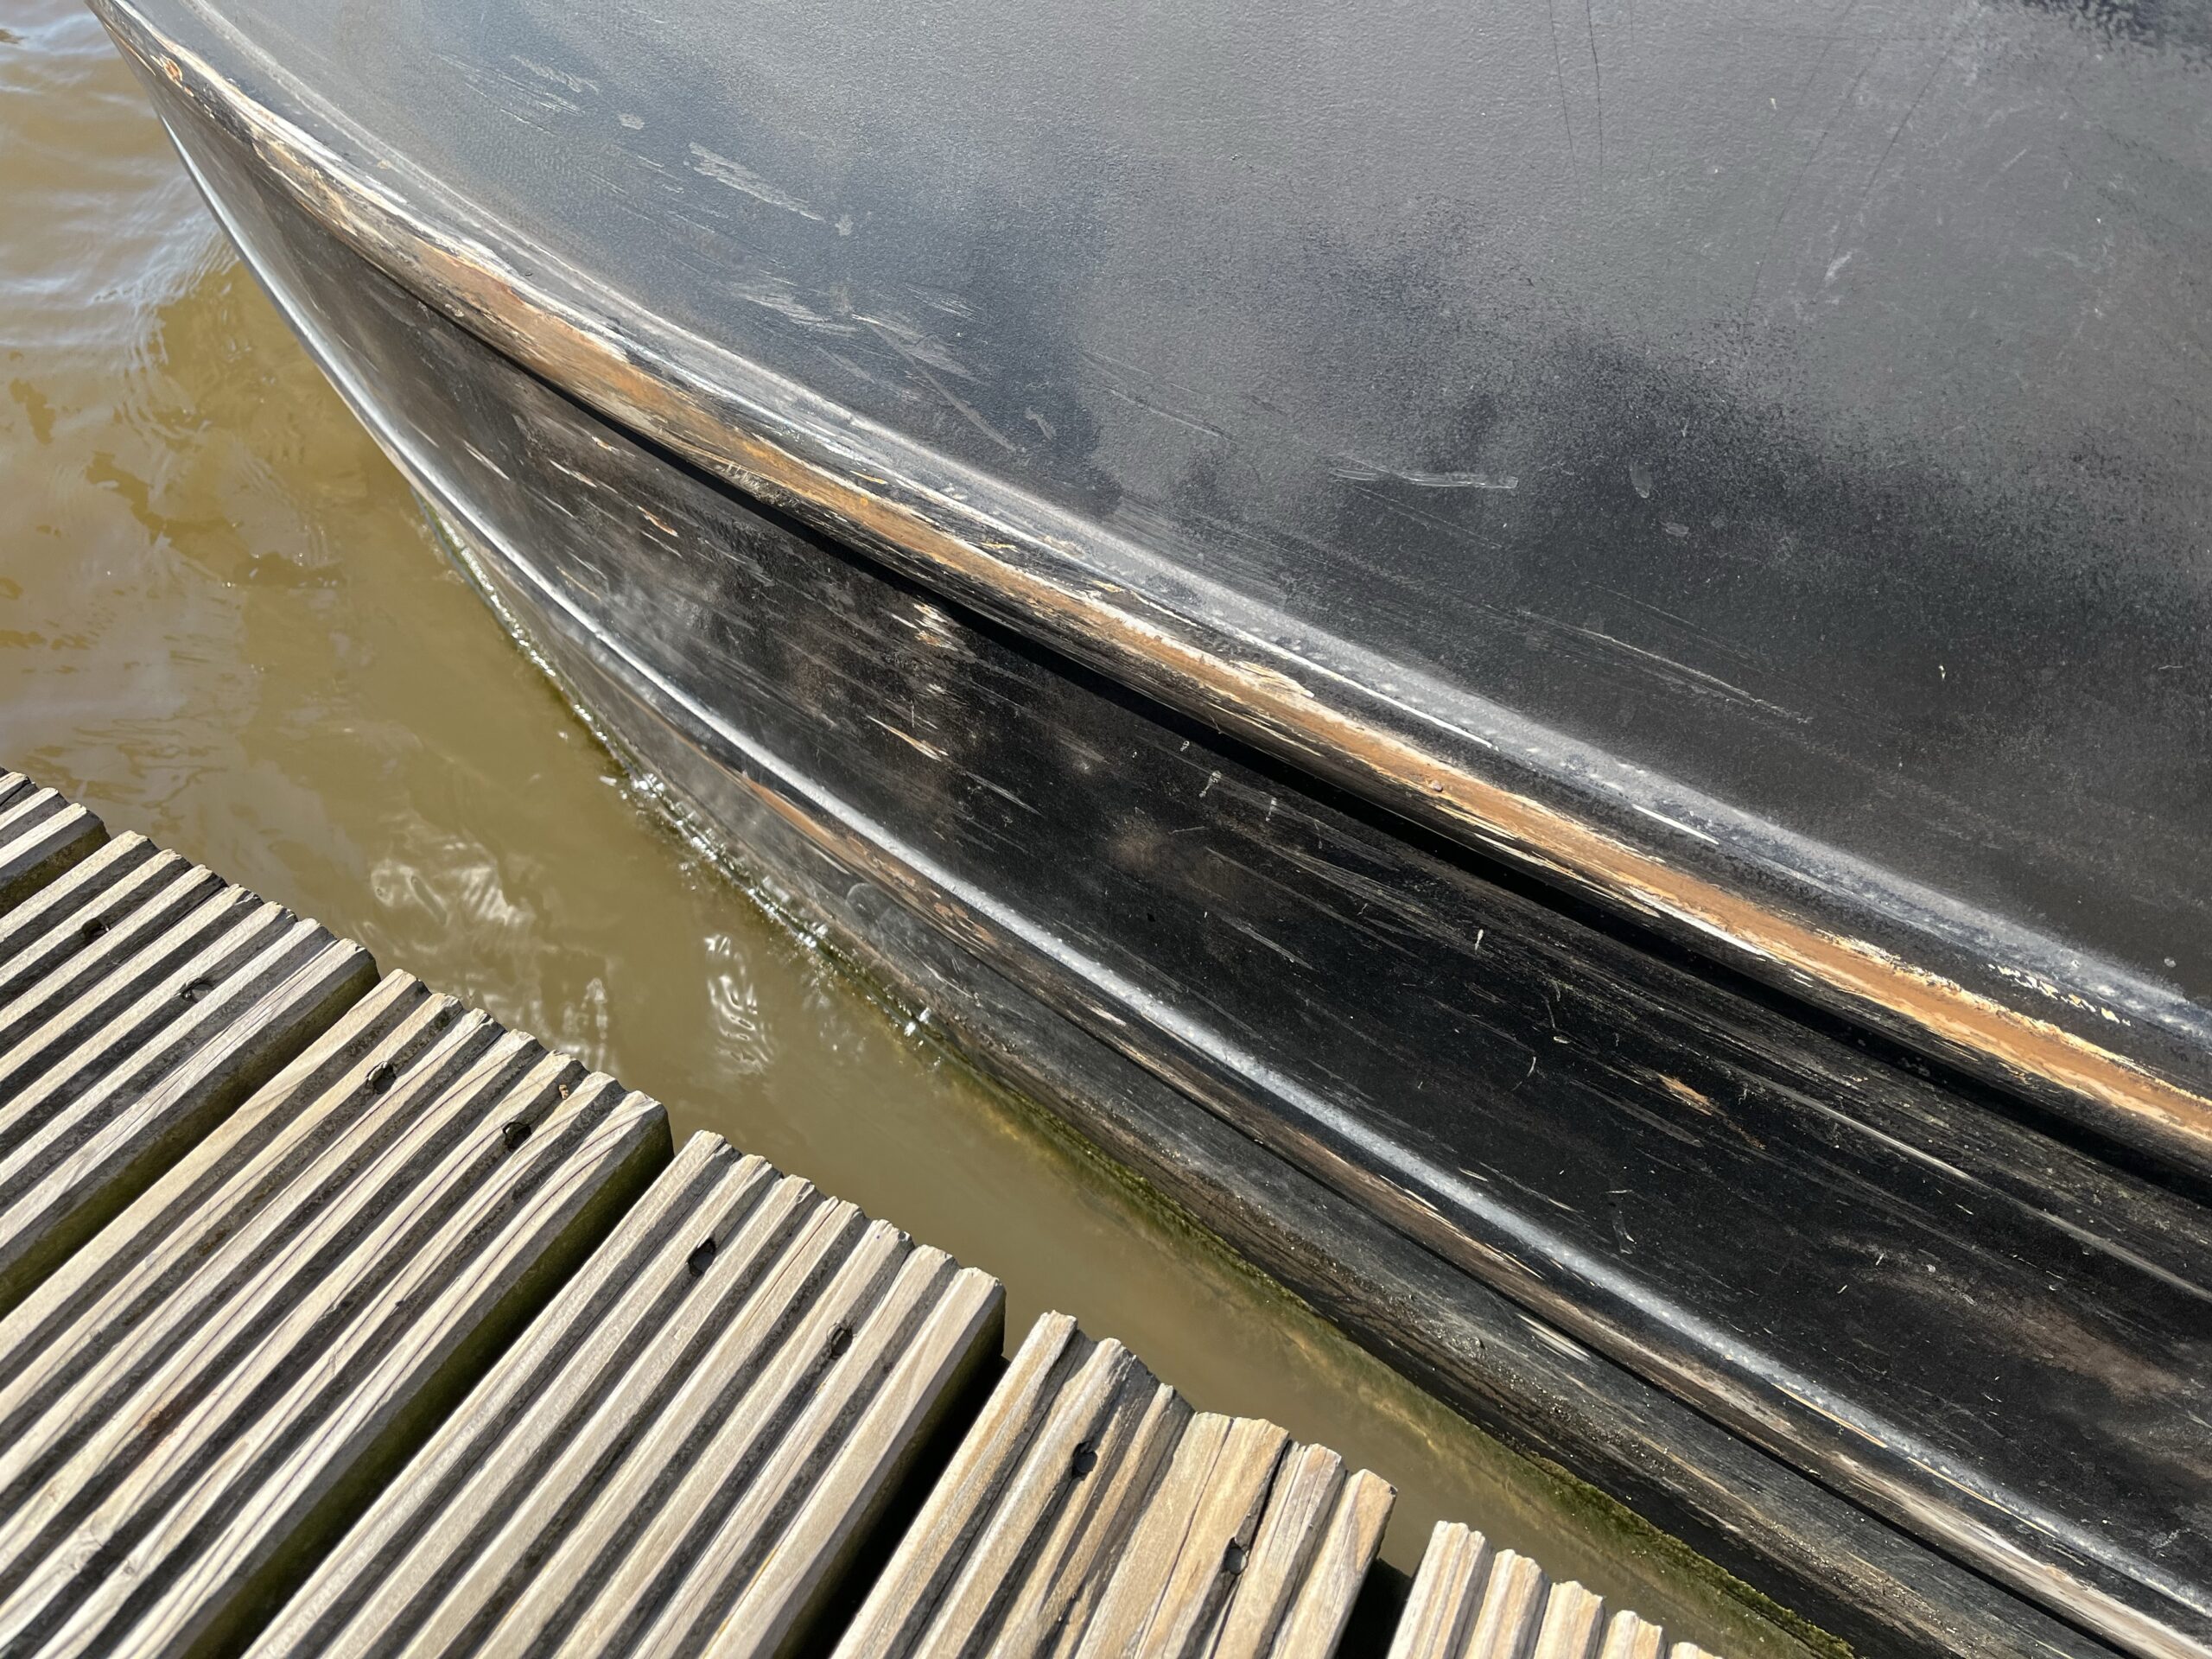
If you use your narrowboat, it is inevitable that you will scratch it, and after 750+ miles last year, “Old Nick” had quite a few. In order to make room for this year’s scratches, we were keen to re-black the hull, up to the gunnels. It will be a couple of years before we take “Old Nick” out of the water, to do a full re-blacking on the hull, so we had to make do with a part re-blacking.
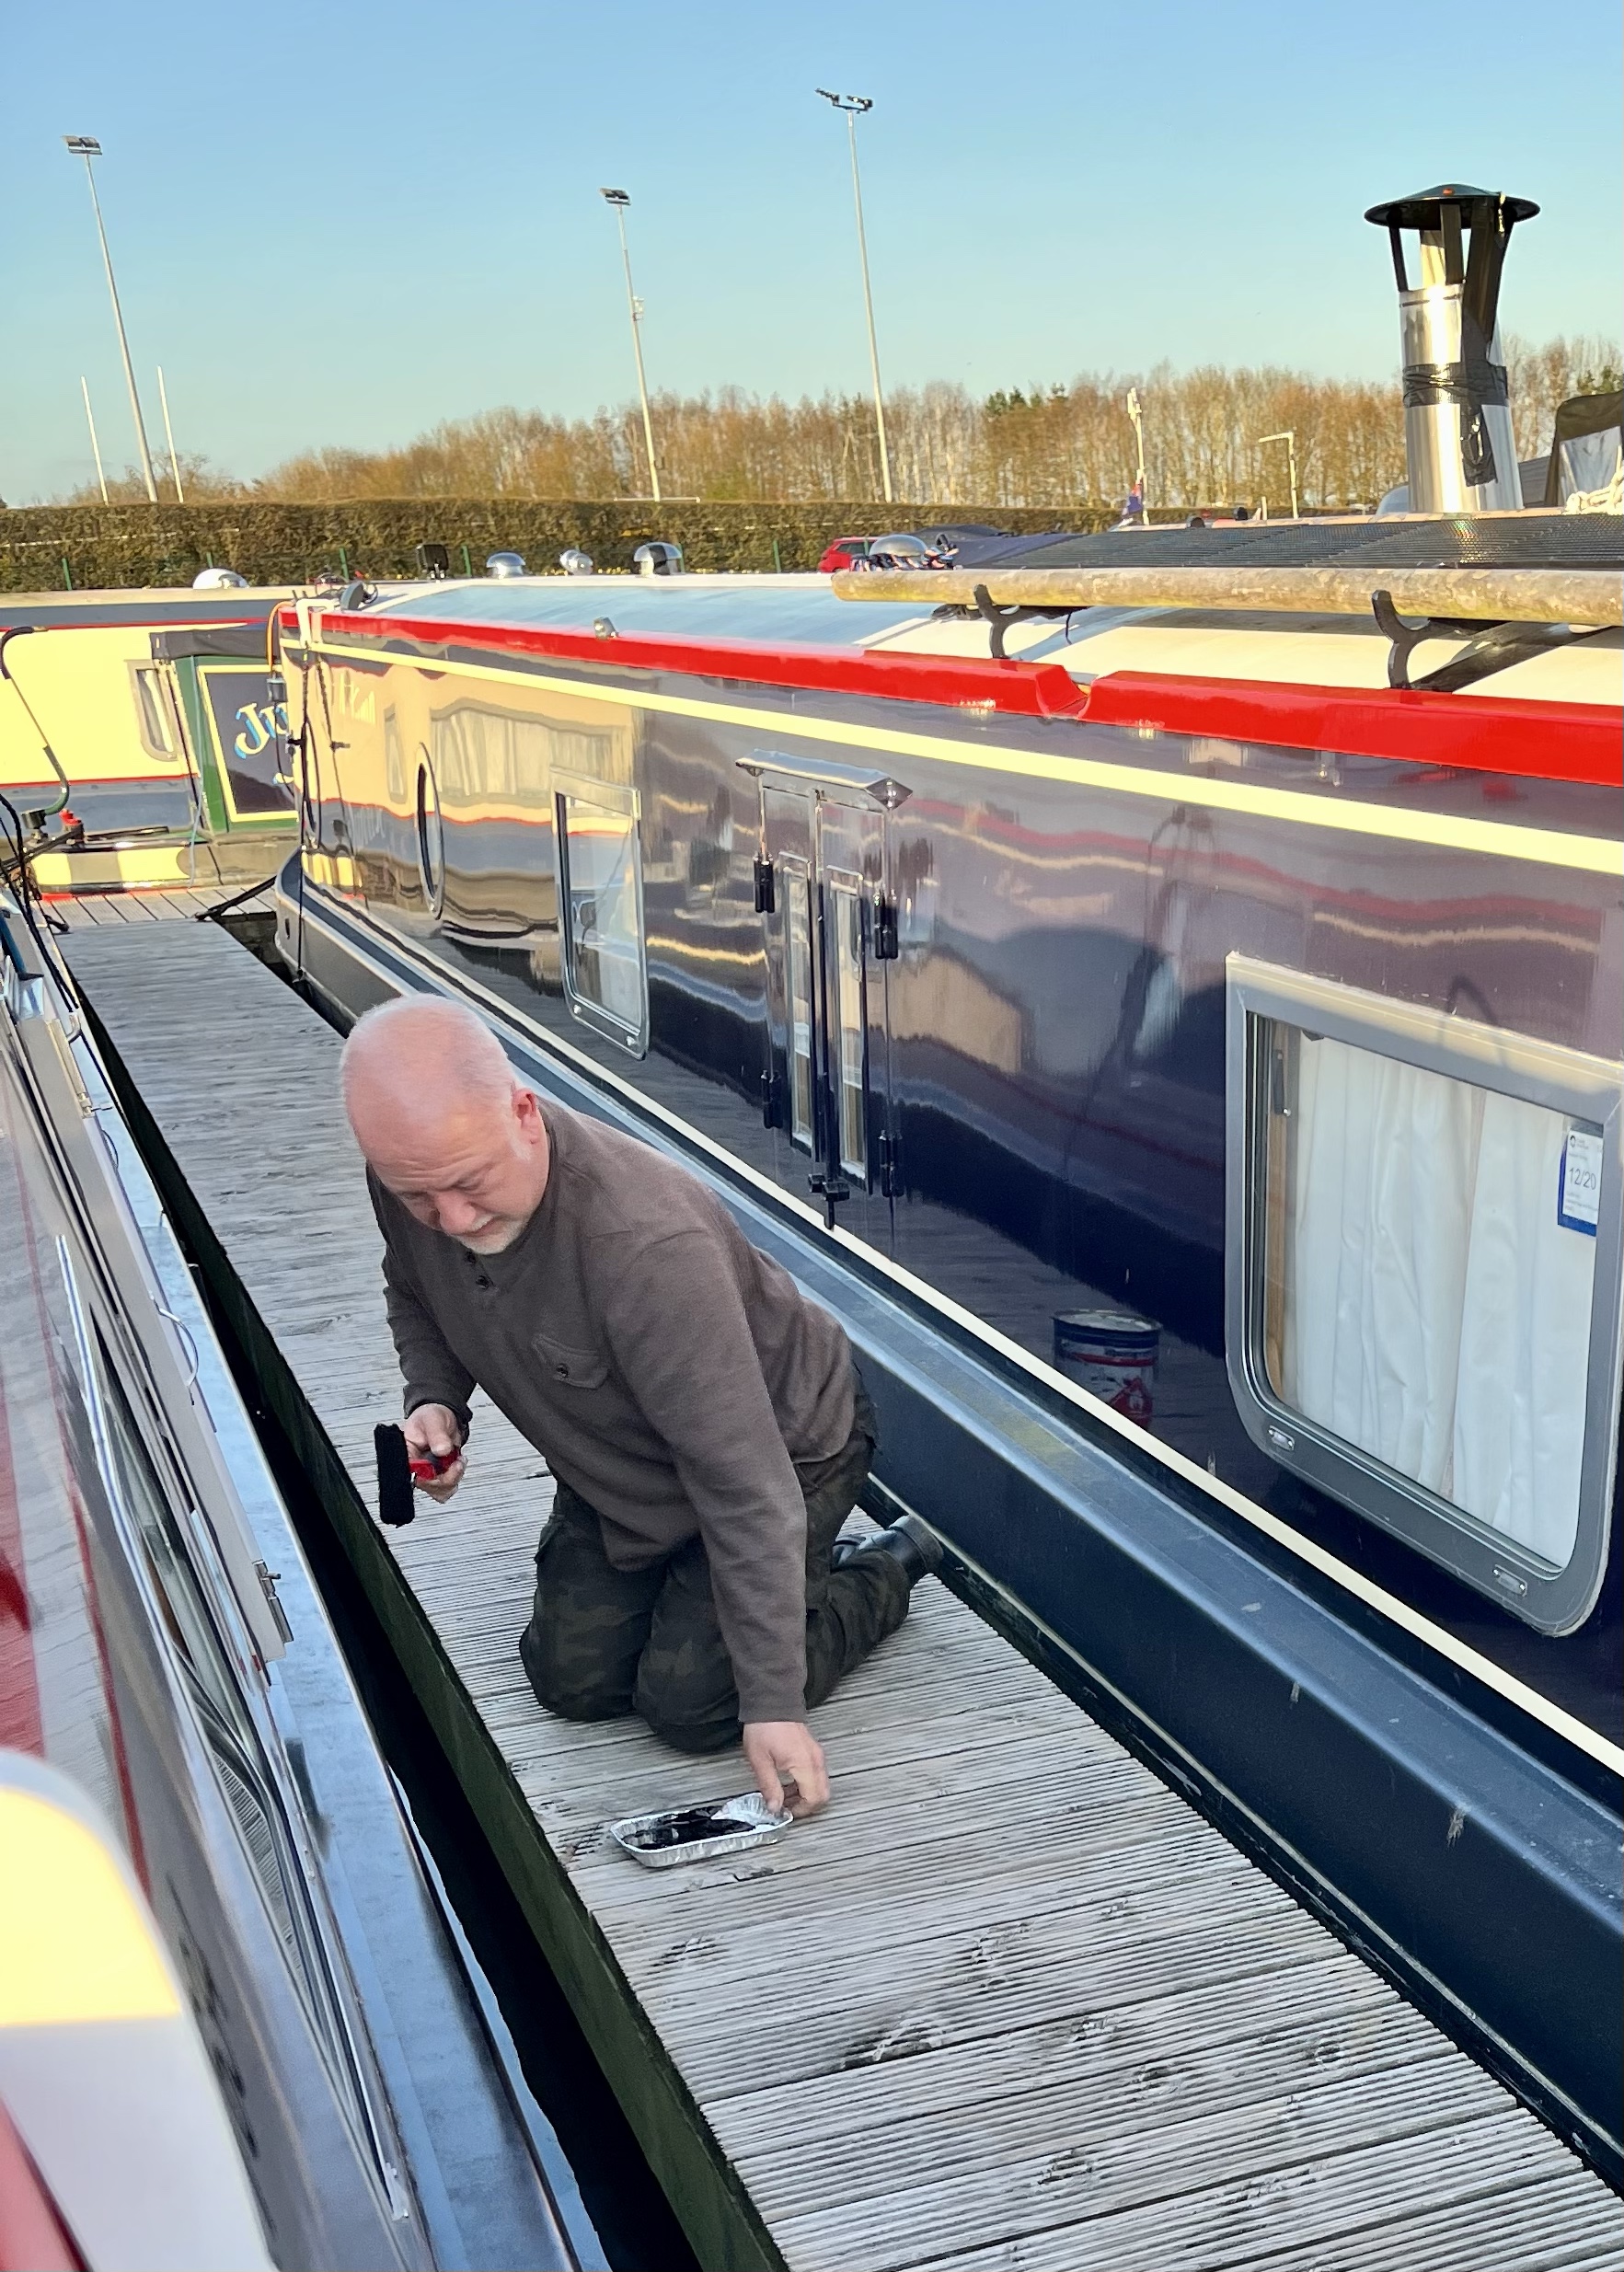
This involved loosening the mooring ropes, pushing “Old Nick’ off the marina pontoon and then carefully sanding all of the scratched areas along the side of the hull nearest the pontoon. We used a small mains powered hand sander (Note – a portable battery sander would be safer) fitted with 180 grade sand paper. Once the sanding was completed, we brushed off the paint dust and started applying the blacking using a small 4” roller.
It was March and although the sun was shining, we used our fan heater to warm up the paint, which is much more manageable when it is warm. I would recommend a kneeling pad as it is pretty hard on the knees. We improvised by using some blankets.
Once one side of the hull was completed, we reversed off the mooring, spun the boat round and reversed back on to the pontoon, so that the un-painted side was now next to the pontoon. After a quick cup of tea, the whole process was repeated for the second side of the hull and we could sit back and wait for the paint to dry.
We used International Intertuf 16, which is available at most chandlers either in store or online, and we are very pleased with the final results and although we could not paint the lower half of the hull, close to the waterline, all of the worst scratched sections were re-blacked and “Old Nick” looked a great deal smarter than at the end of 2021 and was ready to go get some new scratches in 2022.
Hi, reading all the posts from the start. It so entertaining. My question is did you repack the entire side or just the dinged up section?
We just did the dings – the Funkin pretty forgiving. Thanks for reading. 😊
I’m not sure where “Funkin” came from m! It should read “gunk is” 😂