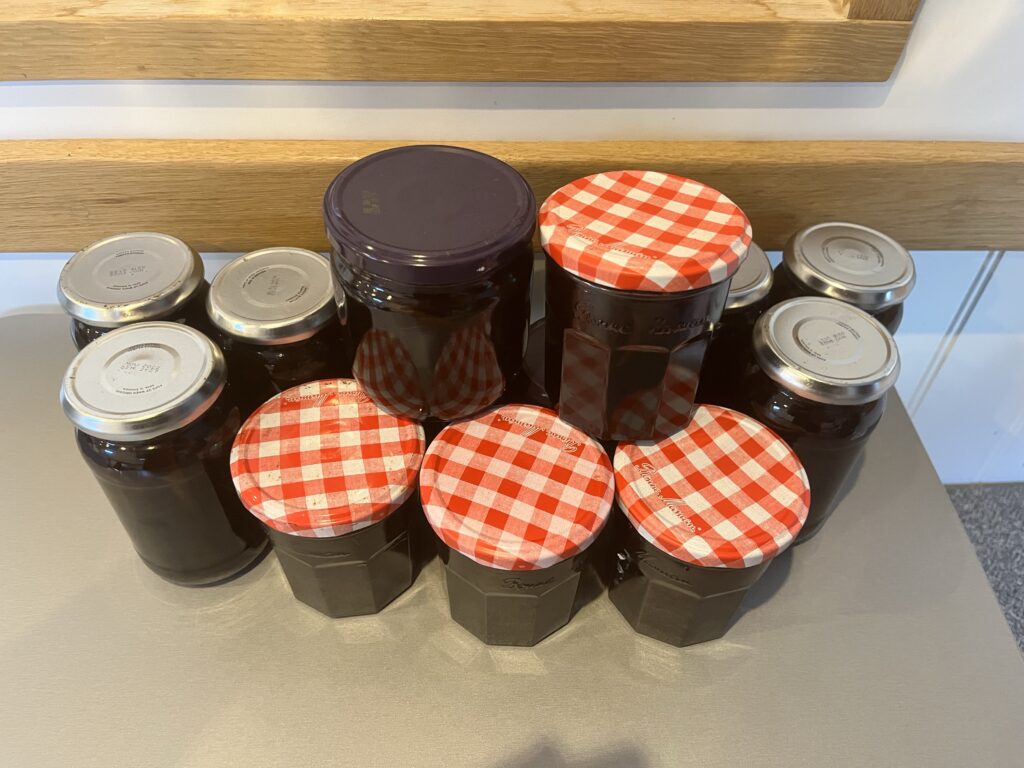
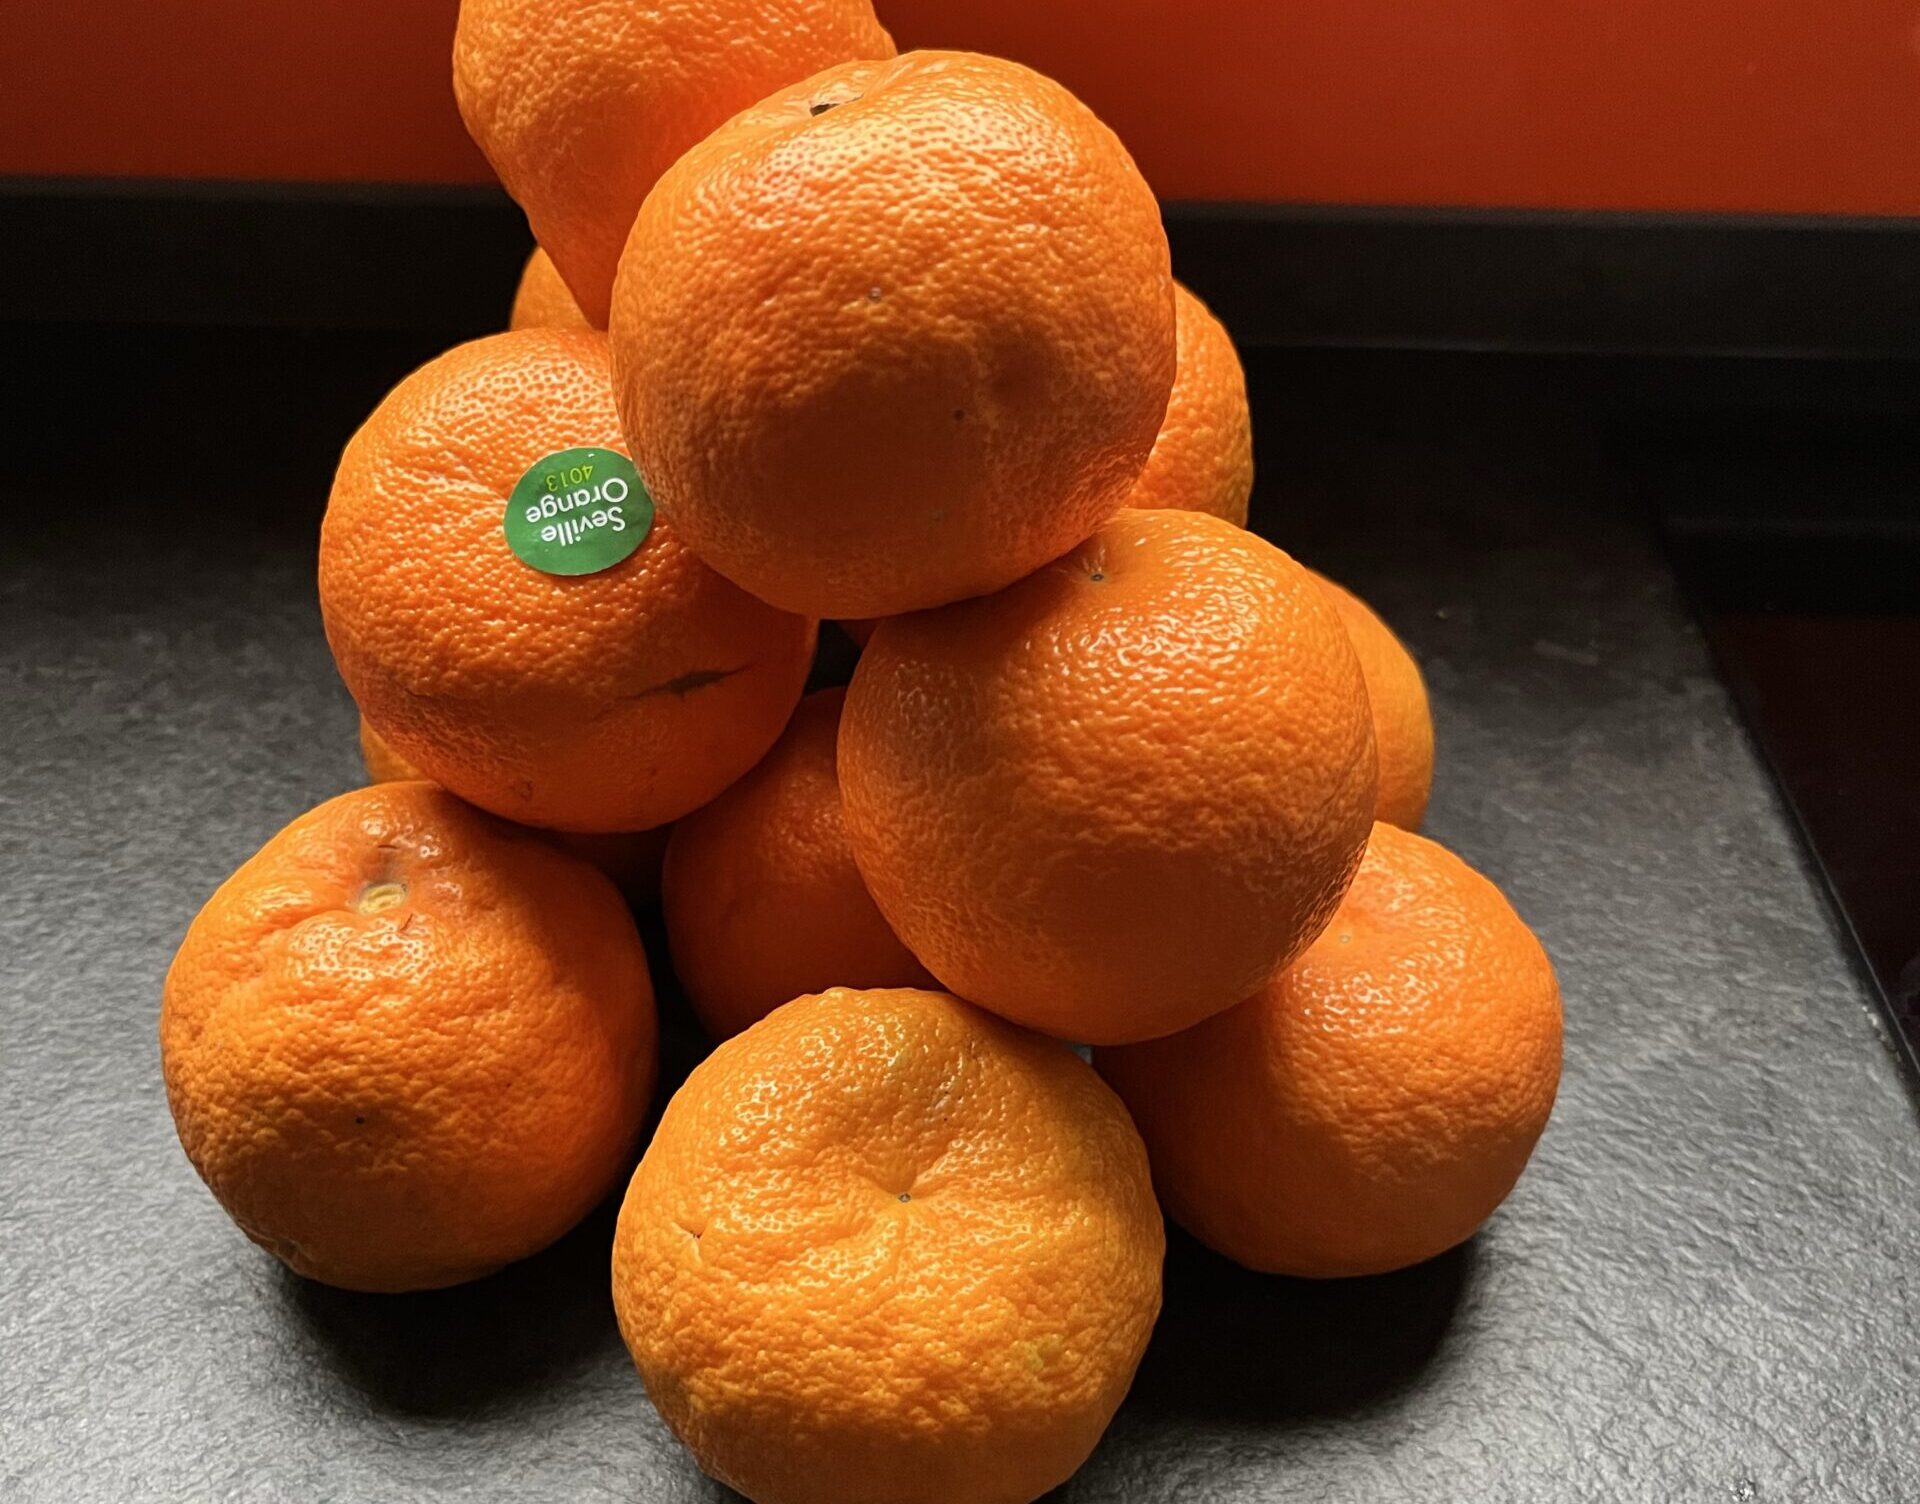
January is the time of year when Seville Oranges hit the shelves of our fruiterers and supermarkets. And they are on the shelves but briefly, so January equals marmalade time aboard Old Nick.
There is nothing so satisfying as sitting down to break your fast and opening a jar of your own, delicious home-made preserves, made with love and care and no weird ingredients. Paul and I do it together and actually really enjoy the process. A good playlist and a nice cuppa – maybe a Bailey’s? – and we’re all set.
I have tried various recipes over the years but have now settled on this one, by Felicity Cloake, who researches and writes recipes for the “Grauniad”. I have a couple of her cookbooks and find the recipes really do perform as they should.
Her recipe uses light brown sugar but I use dark muscovado sugar, which imparts a lovely rich, tawny colour to the finished article.
The recipe then – I usually do two batches while I have all the kit out. Only one clear up that way – although I do fully wash the pan after Batch 1.
The Recipe
1kg Seville oranges
1 unwaxed lemon
1kg soft light brown sugar (or dark muscovado)
1kg white sugar (preserving sugar is best)
1 piece clean muslin or muslin bag
8 x 450ml jars, or assorted jars of equivalent volume
THINK AHEAD – you need to be ready – you’ll need a Maslin pan or very large saucepan, sharp knives, a lemon squeezer, chopping board and a Muslin bag about a x b in size.
There are three distinct steps to making marmalade
Step 1 – Prepping the fruit
Squeeze all the fruit, remove pith and pips and slice the orange peel to make the “shreds”. The squeezed lemon halves and pips can go to in the muslin bag – see below. How fine you cut the orange them depends on your taste. My Dad, Nick, used to like thick cut, which he called “big boys’ marmalade. This is our preference too. But some prefer thin shredded – it’s all according to what you like. .
Remove any fleshy bits, plus pith (if it’s a bit on the thick side for you) and put to one side.
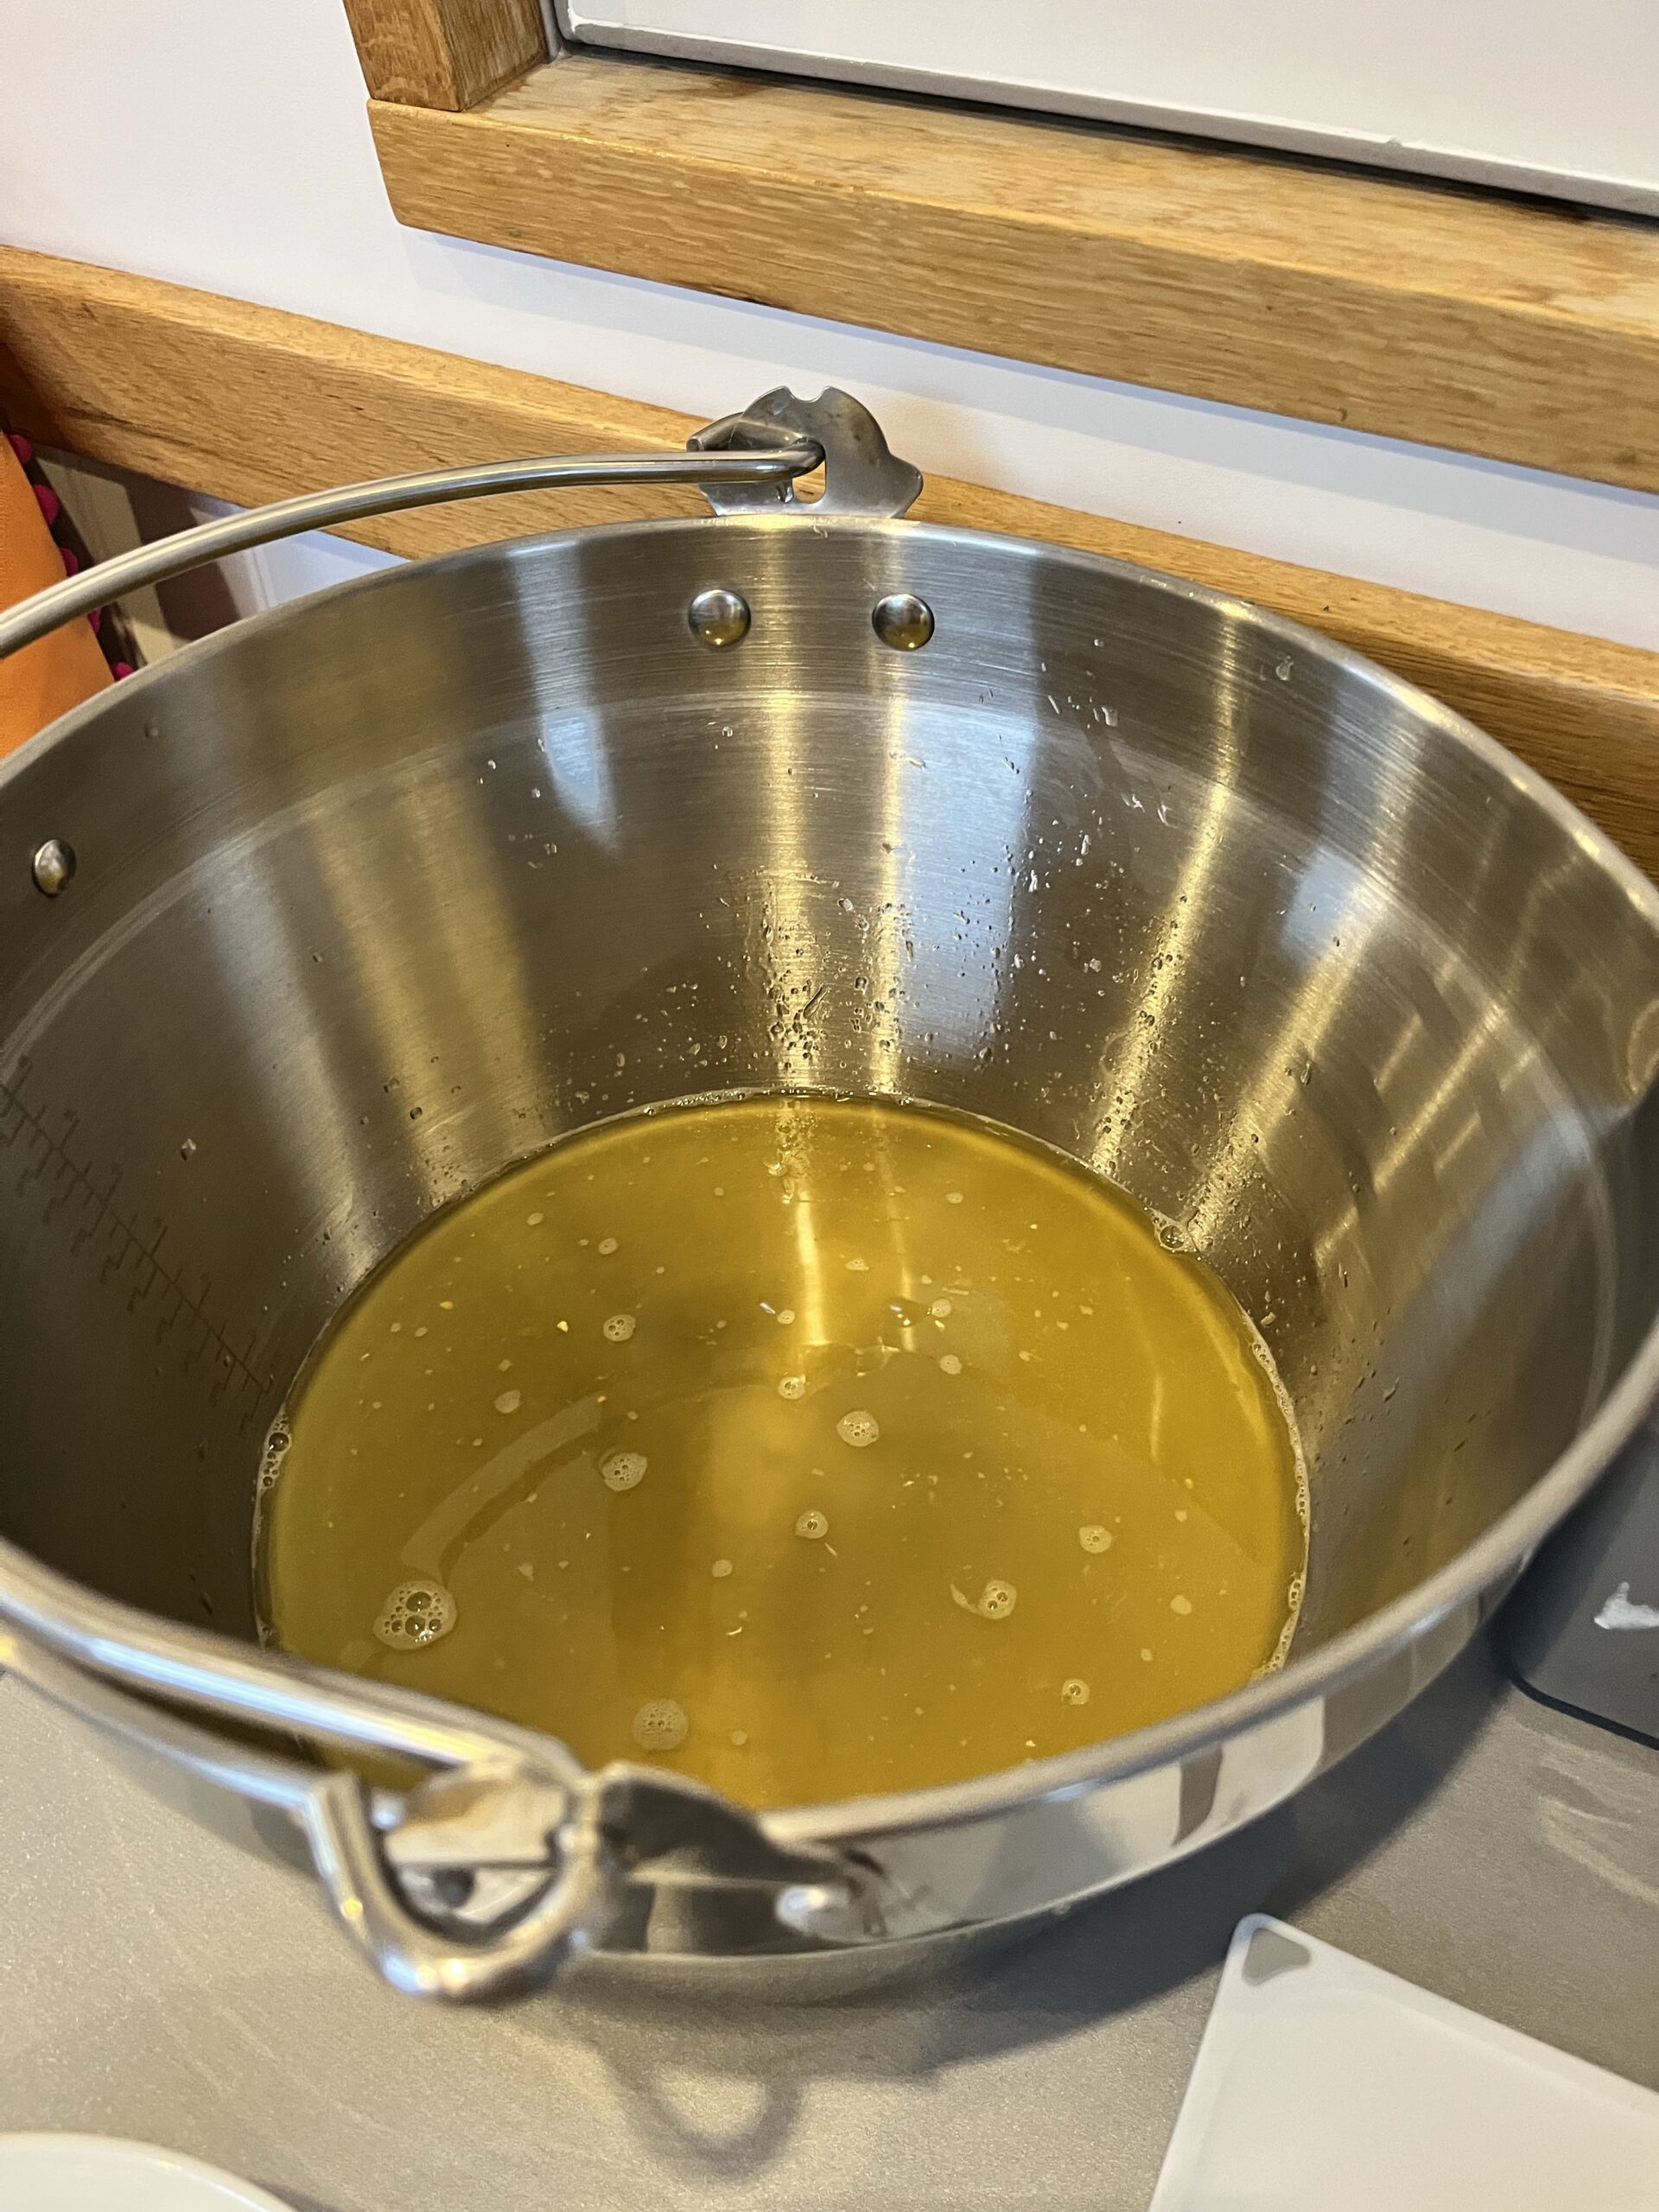
The squeezed juice 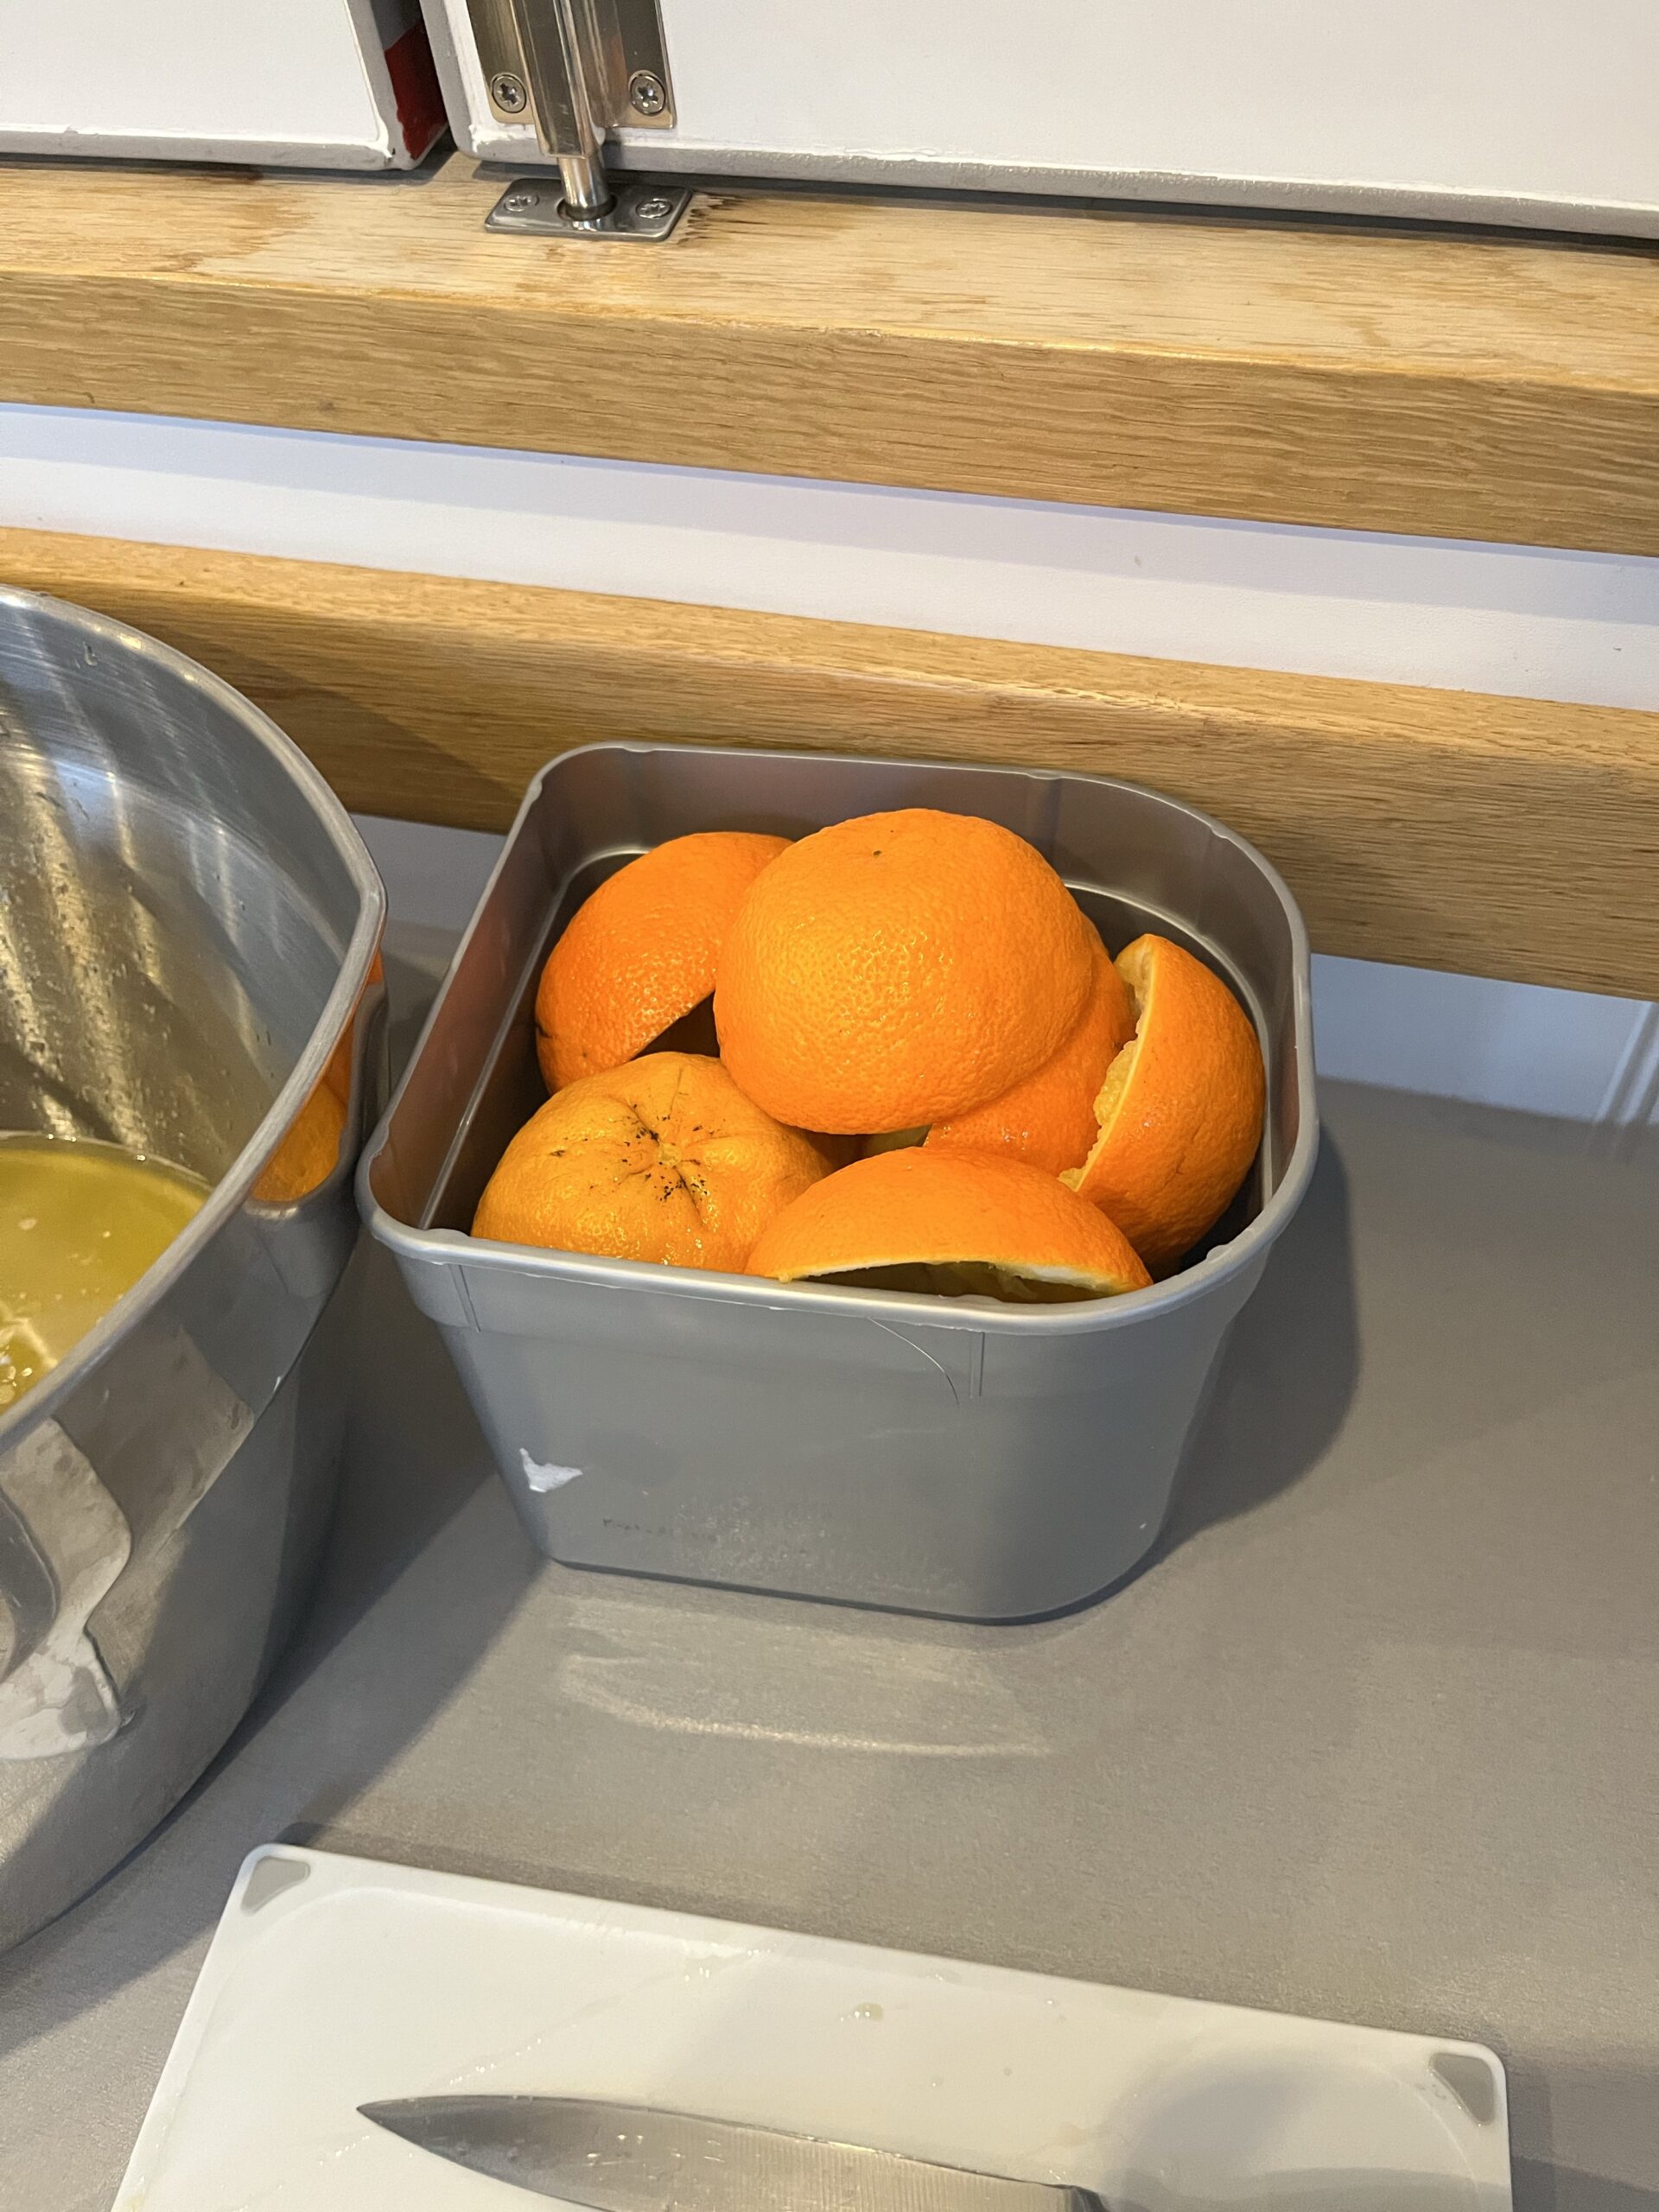
The peel awaiting shredding 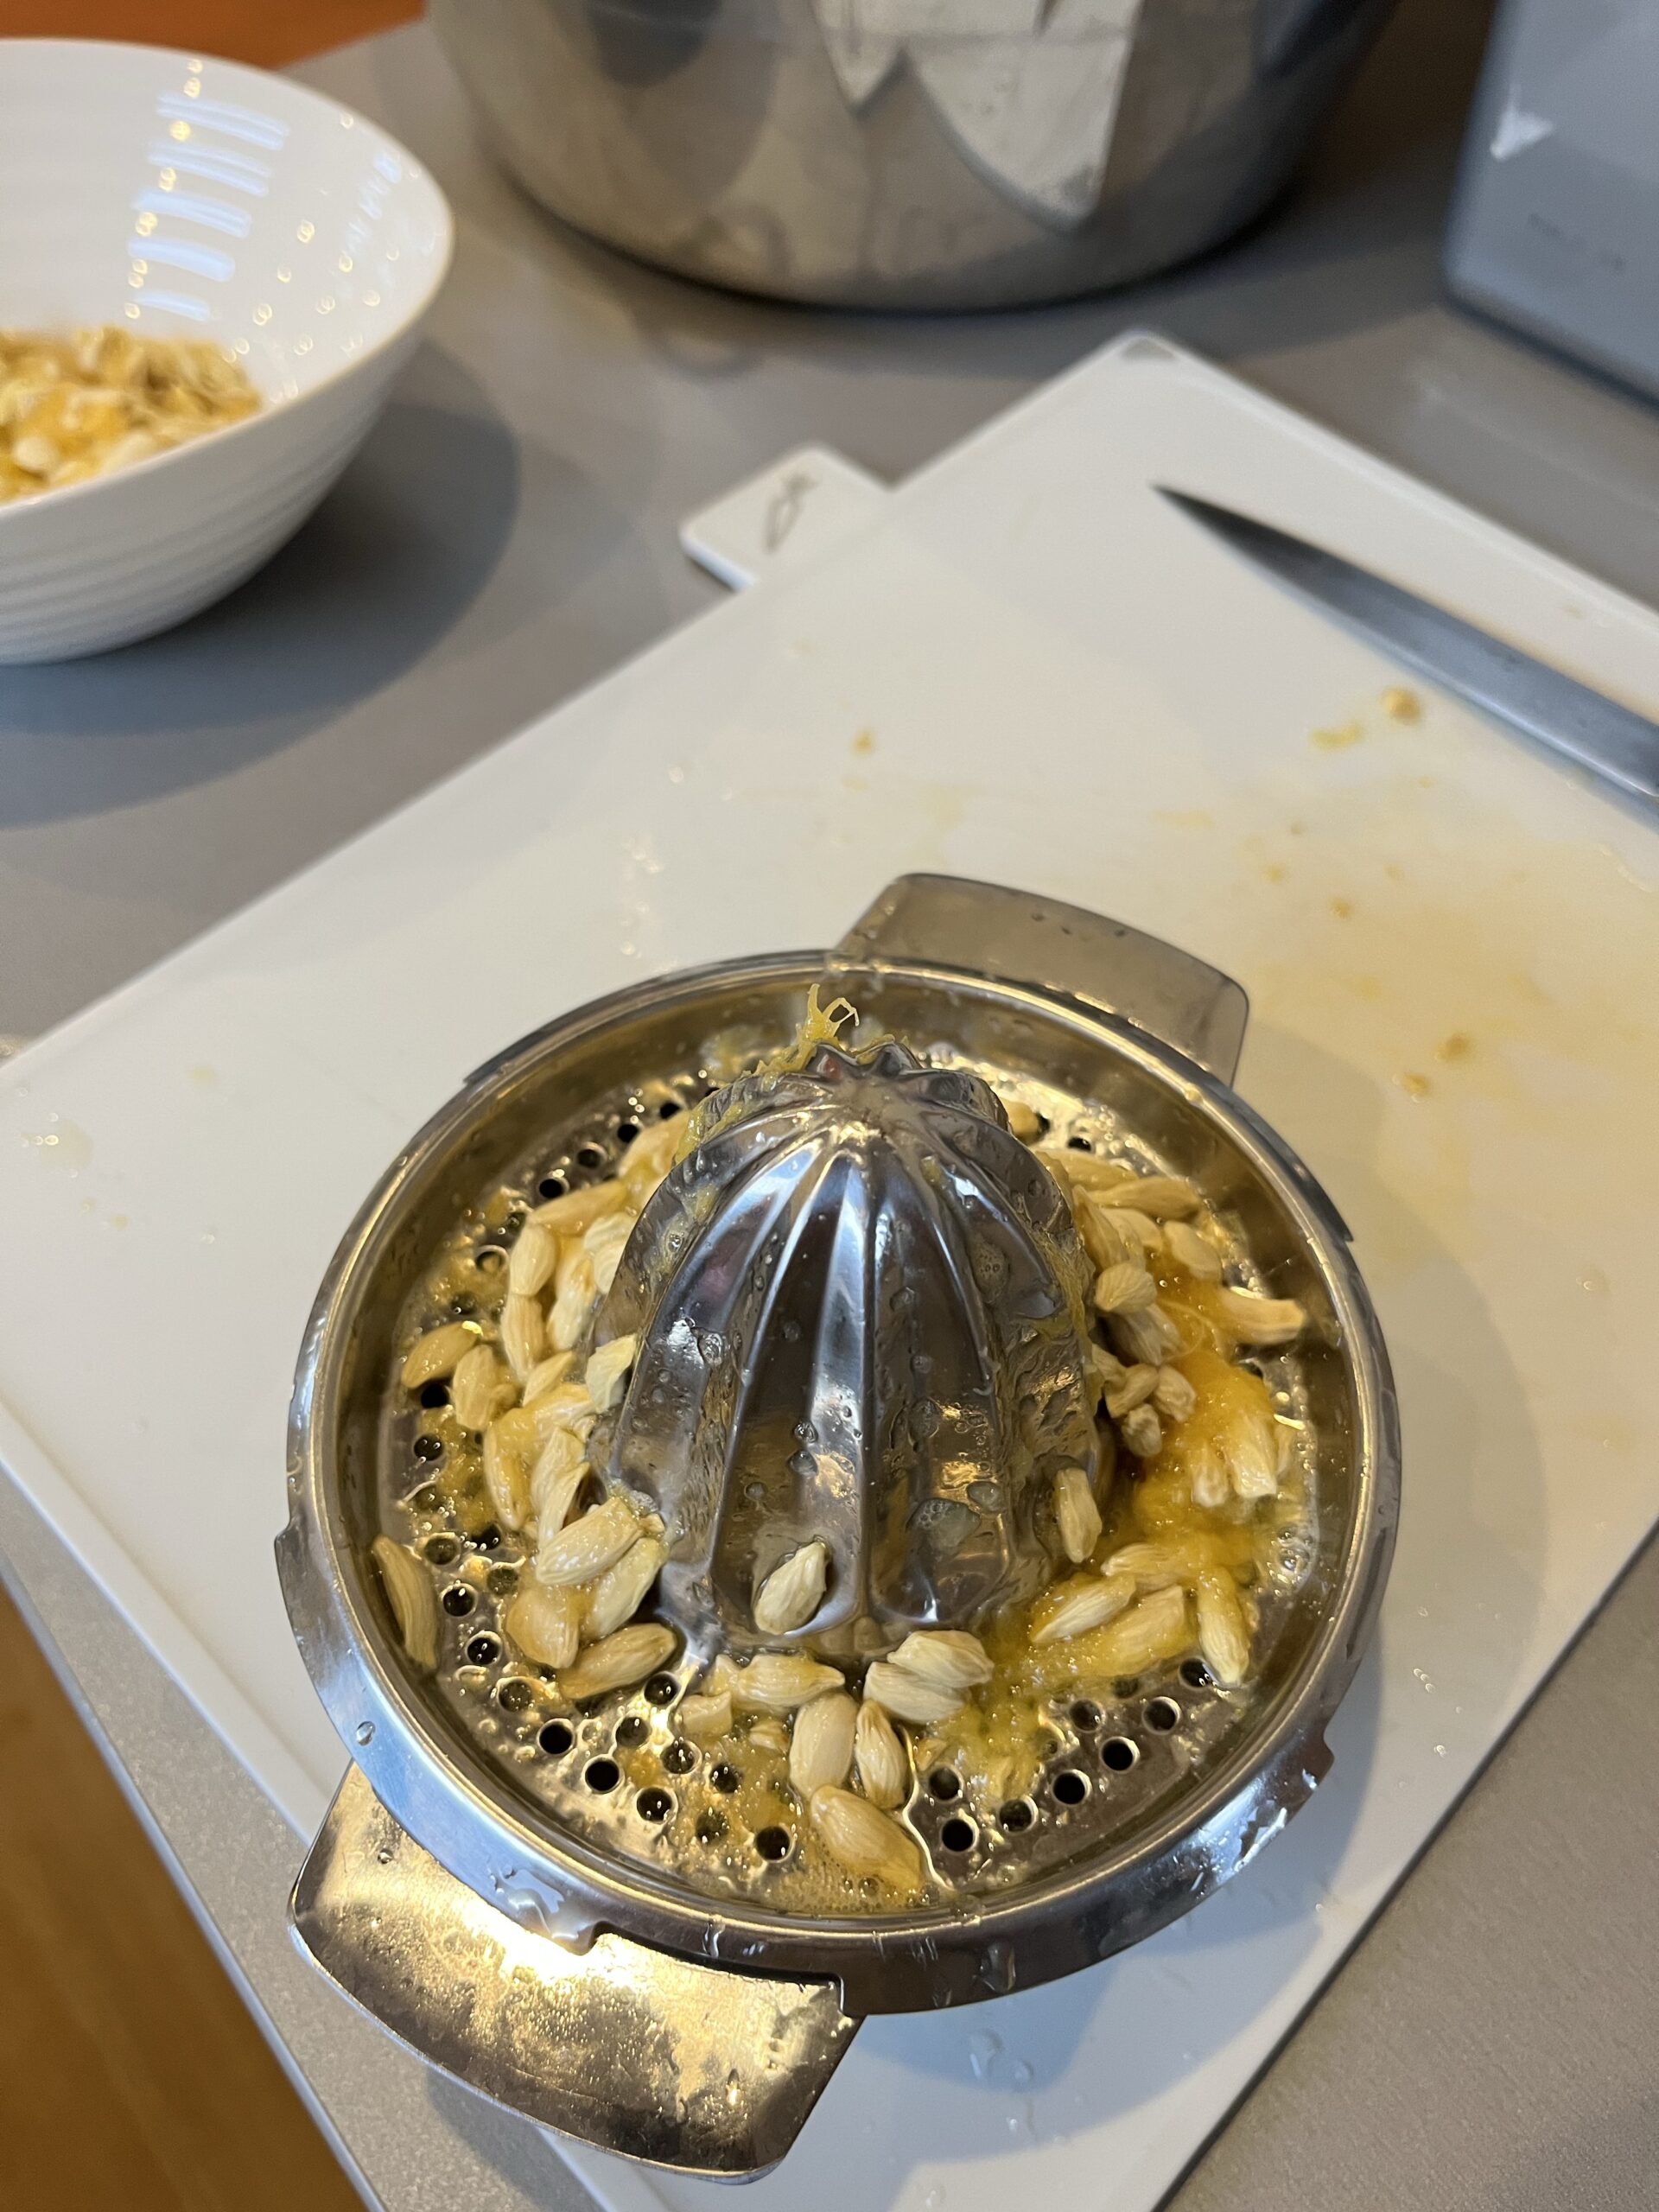
Catching the pips 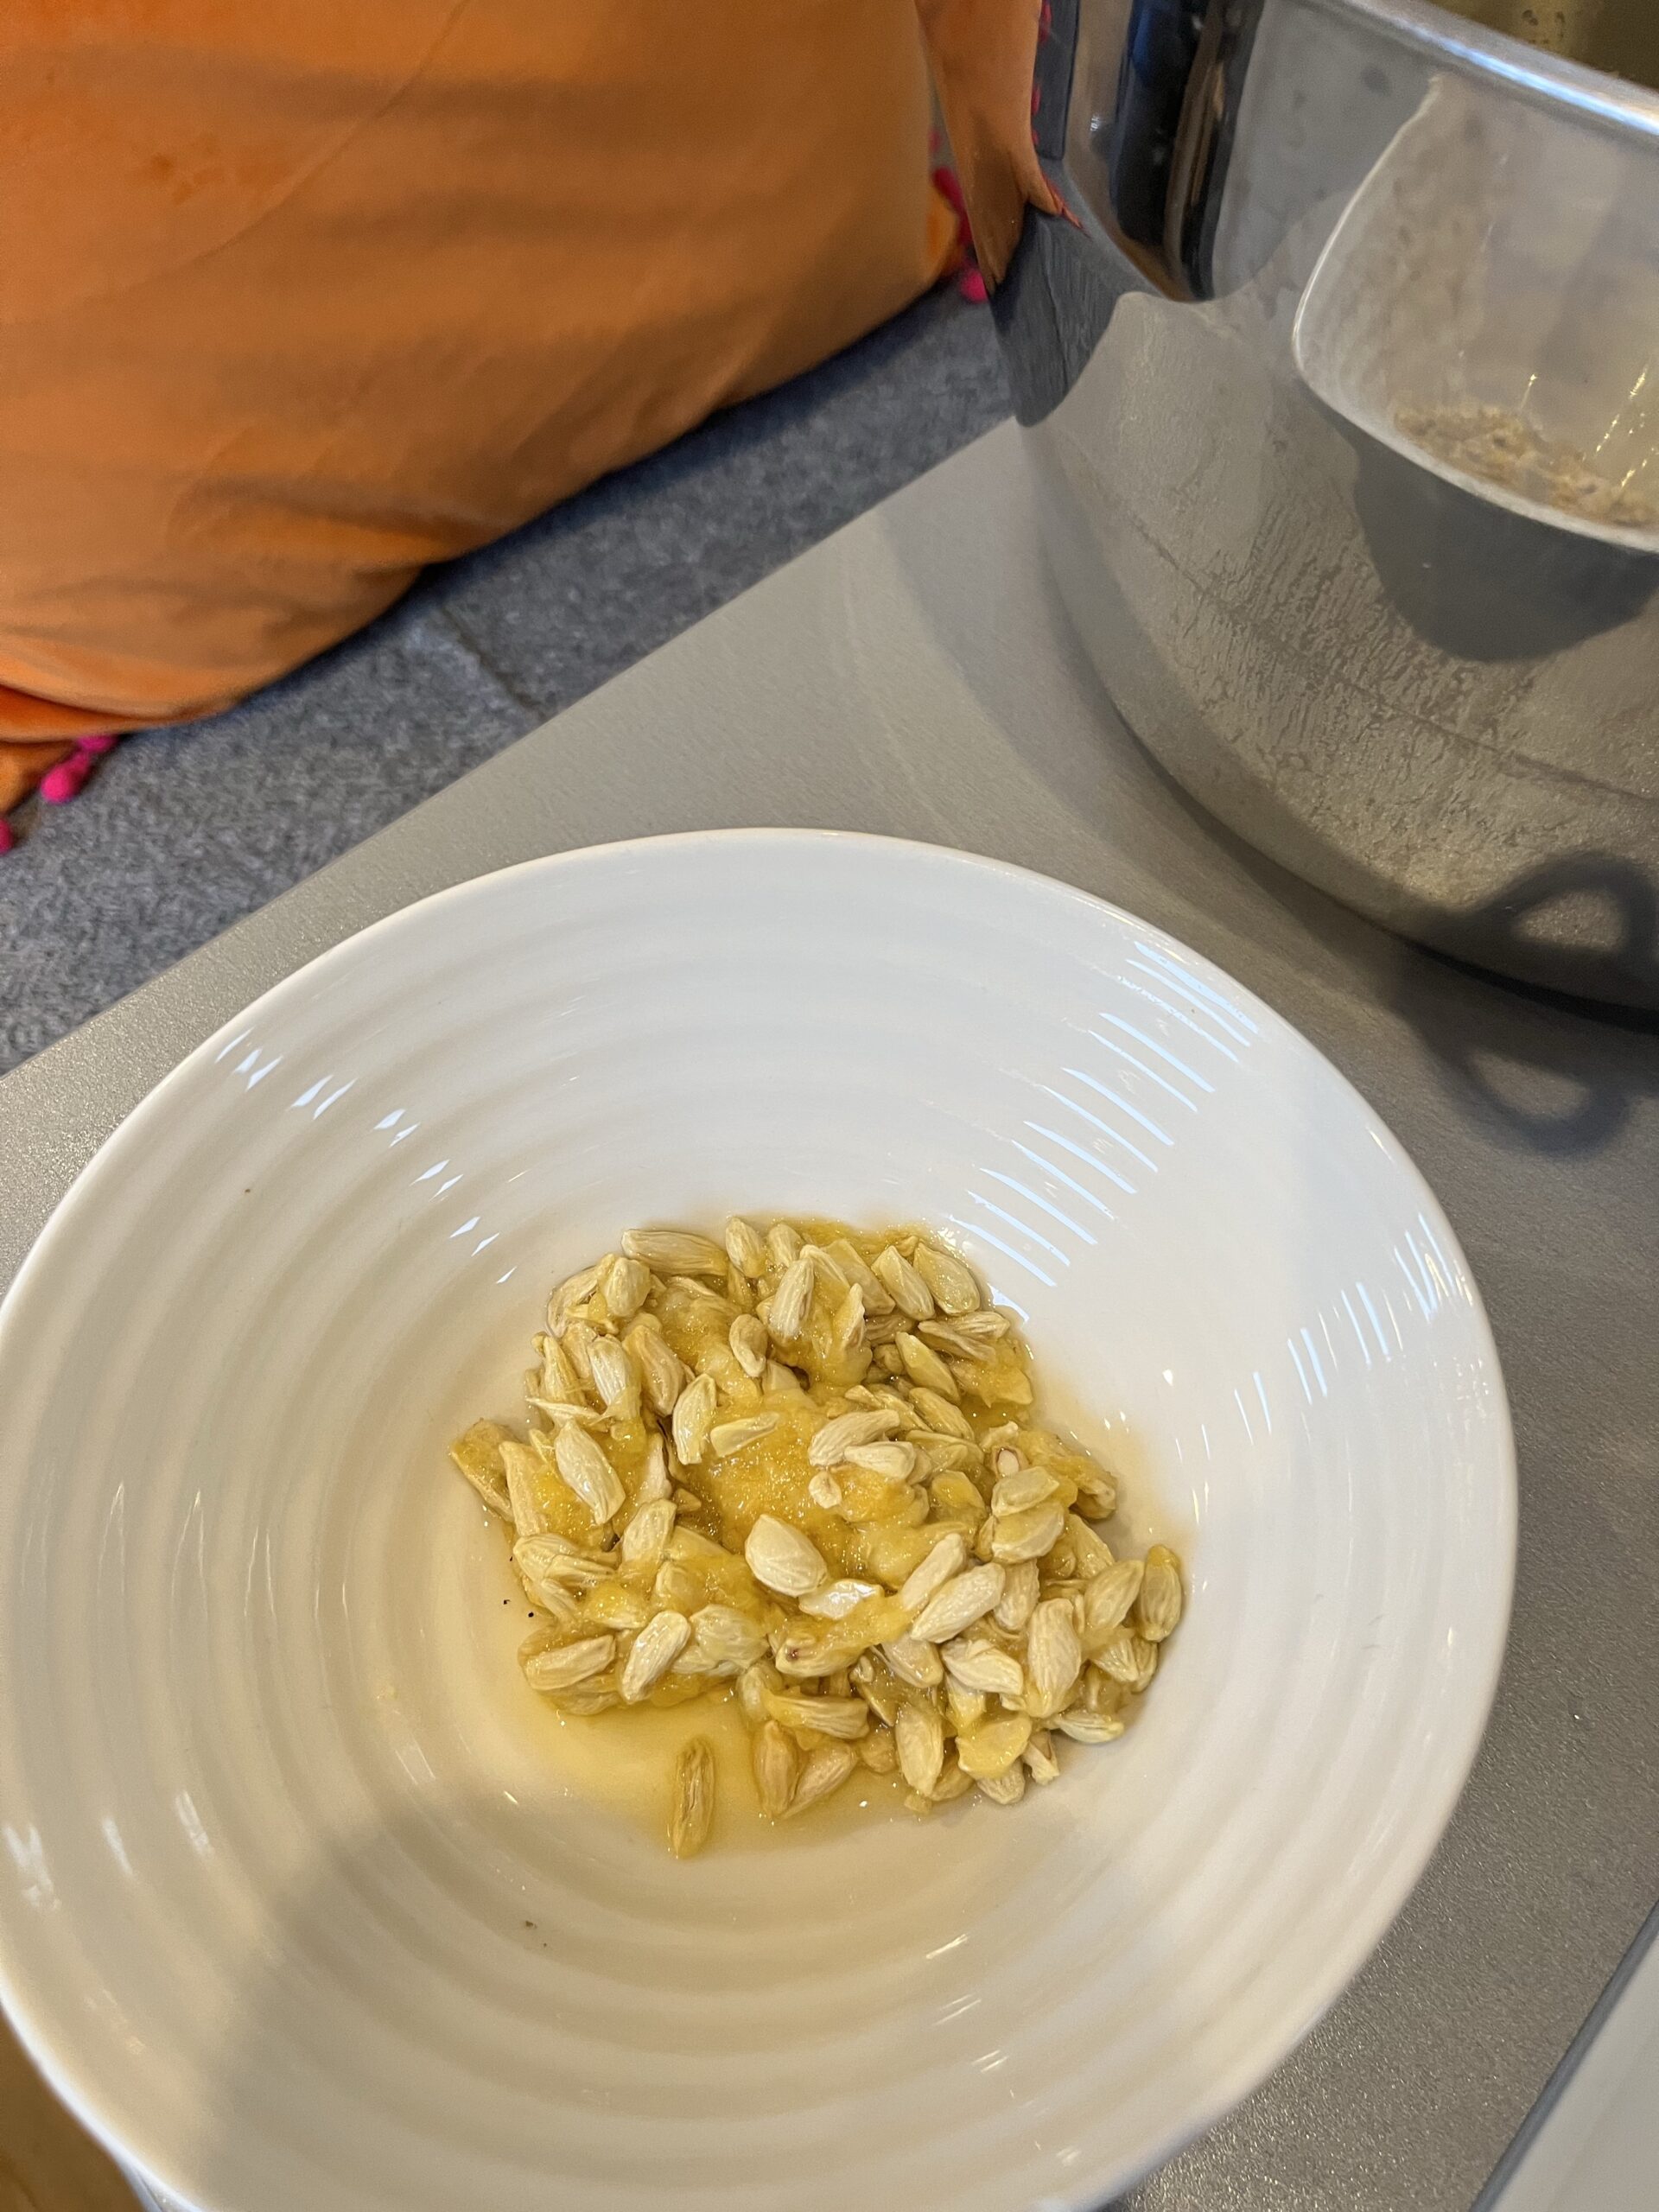
More pips 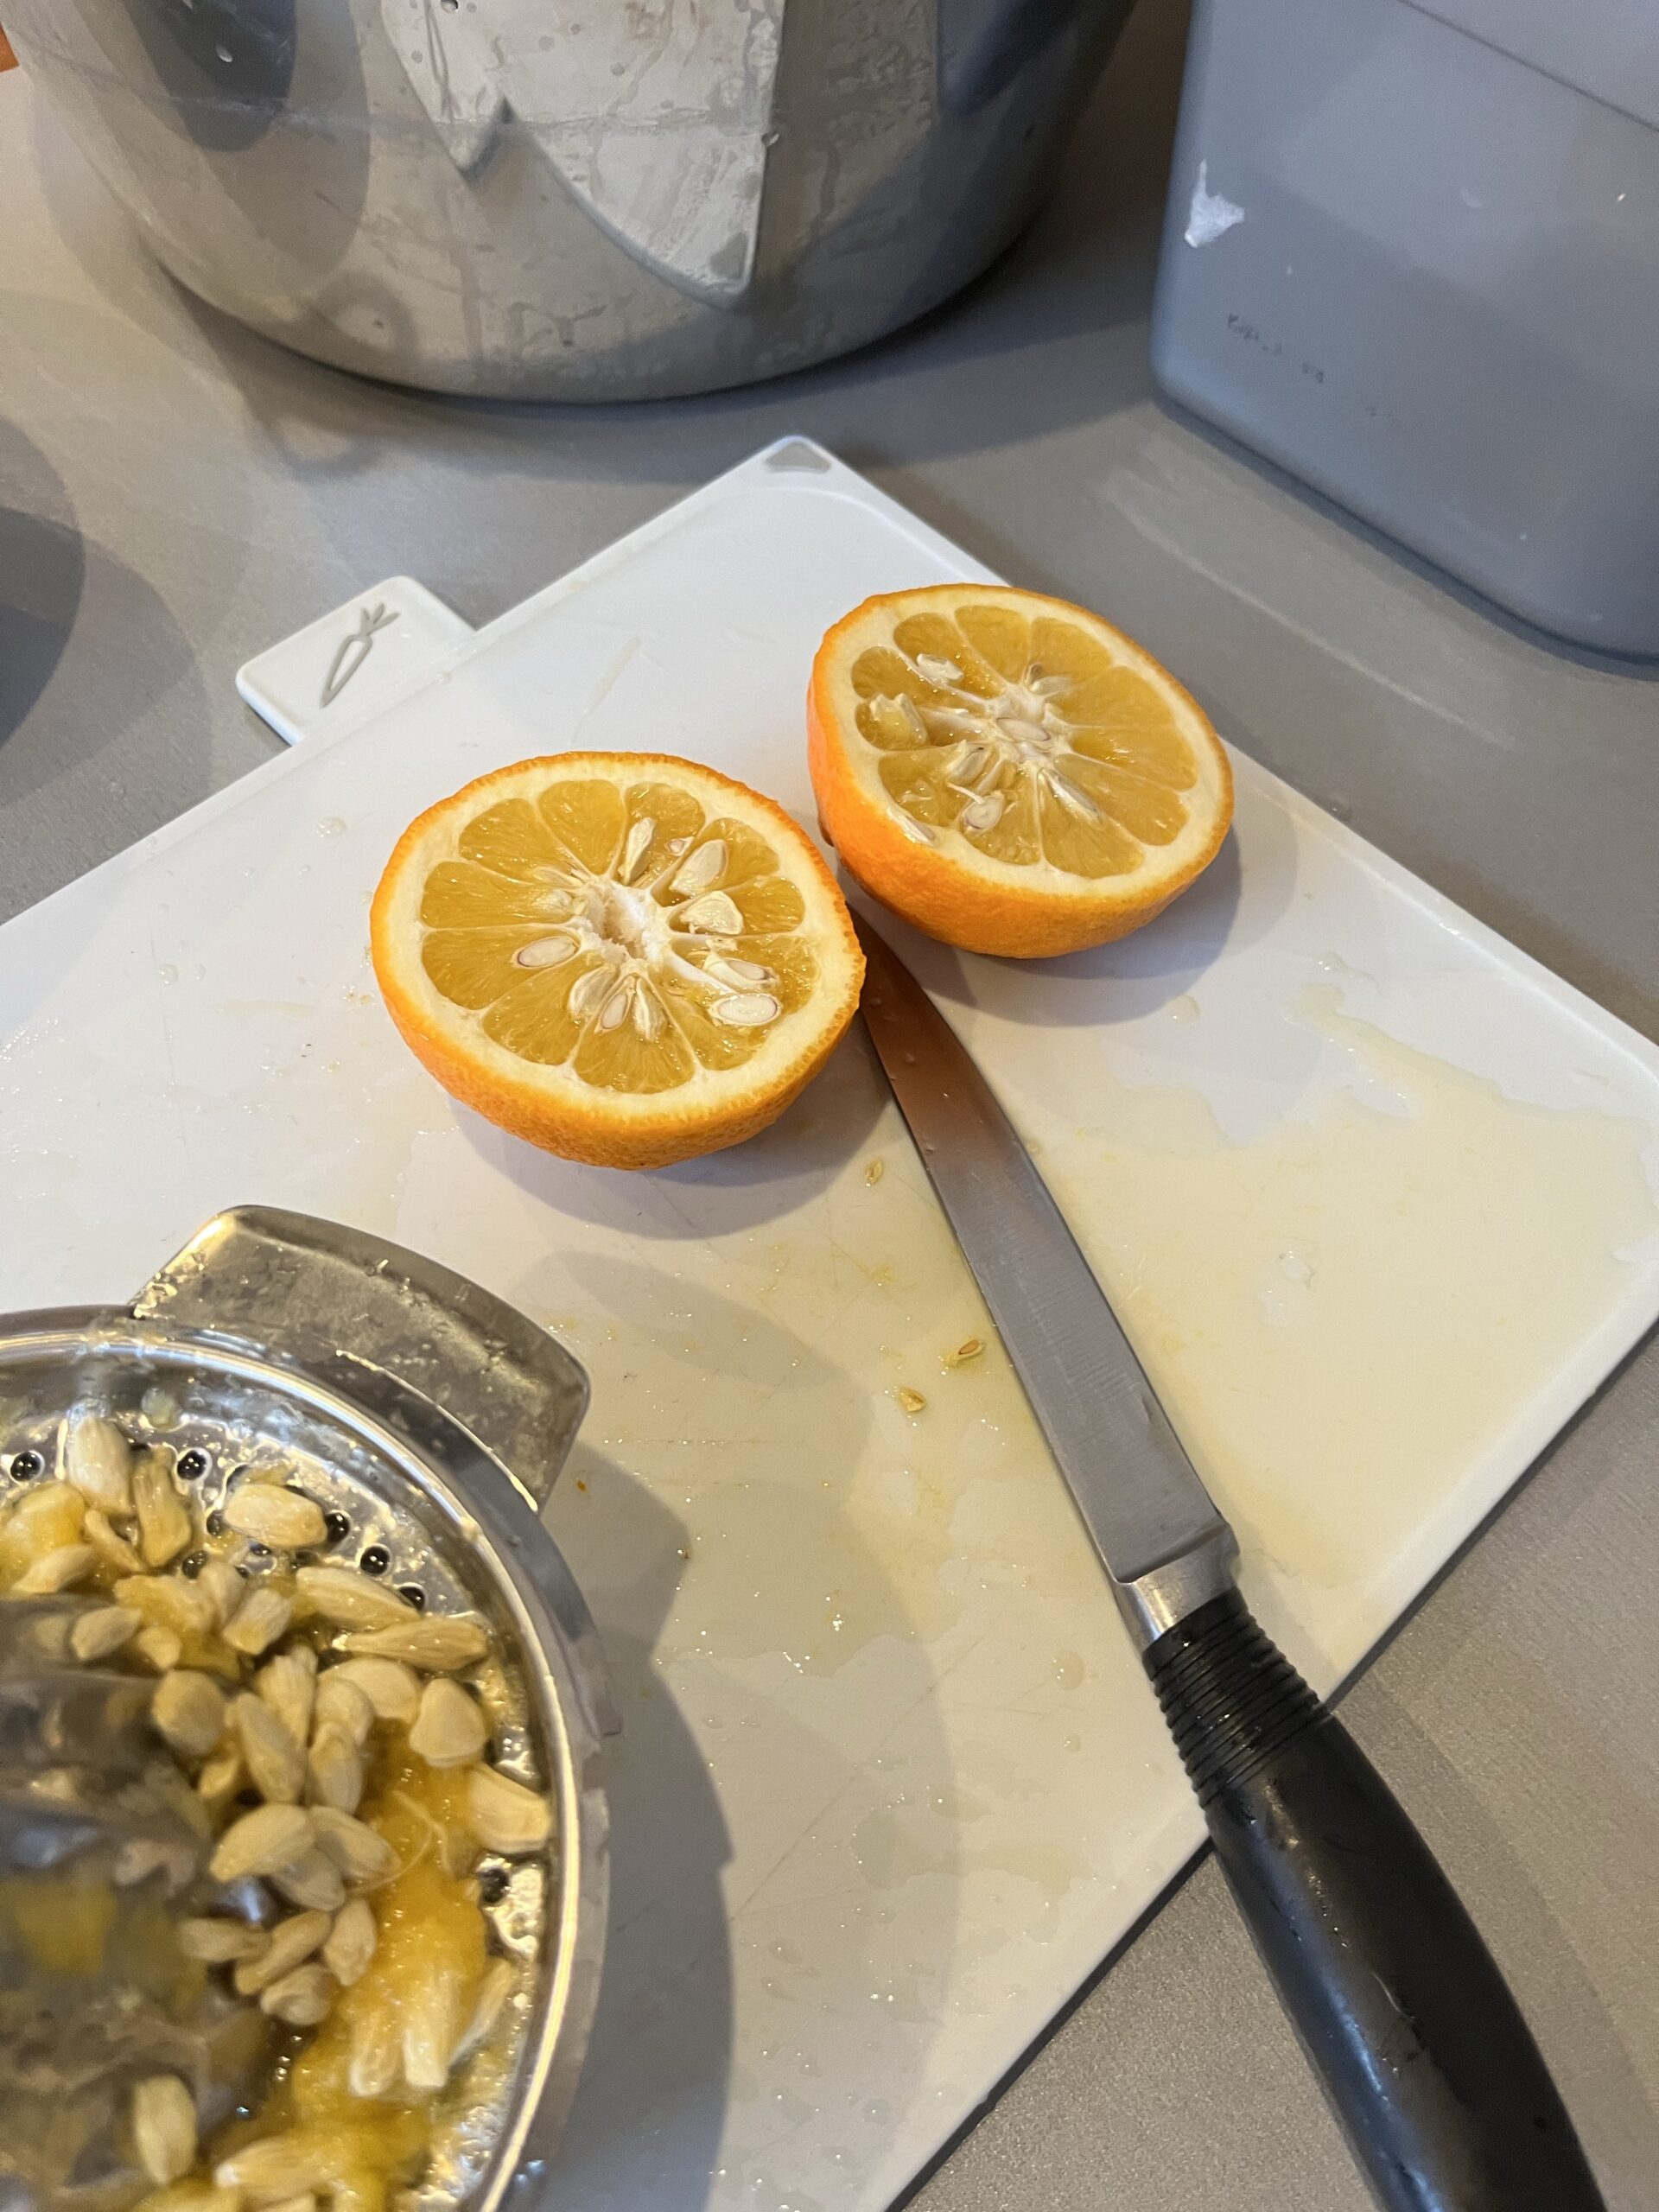
Awaiting squeezing 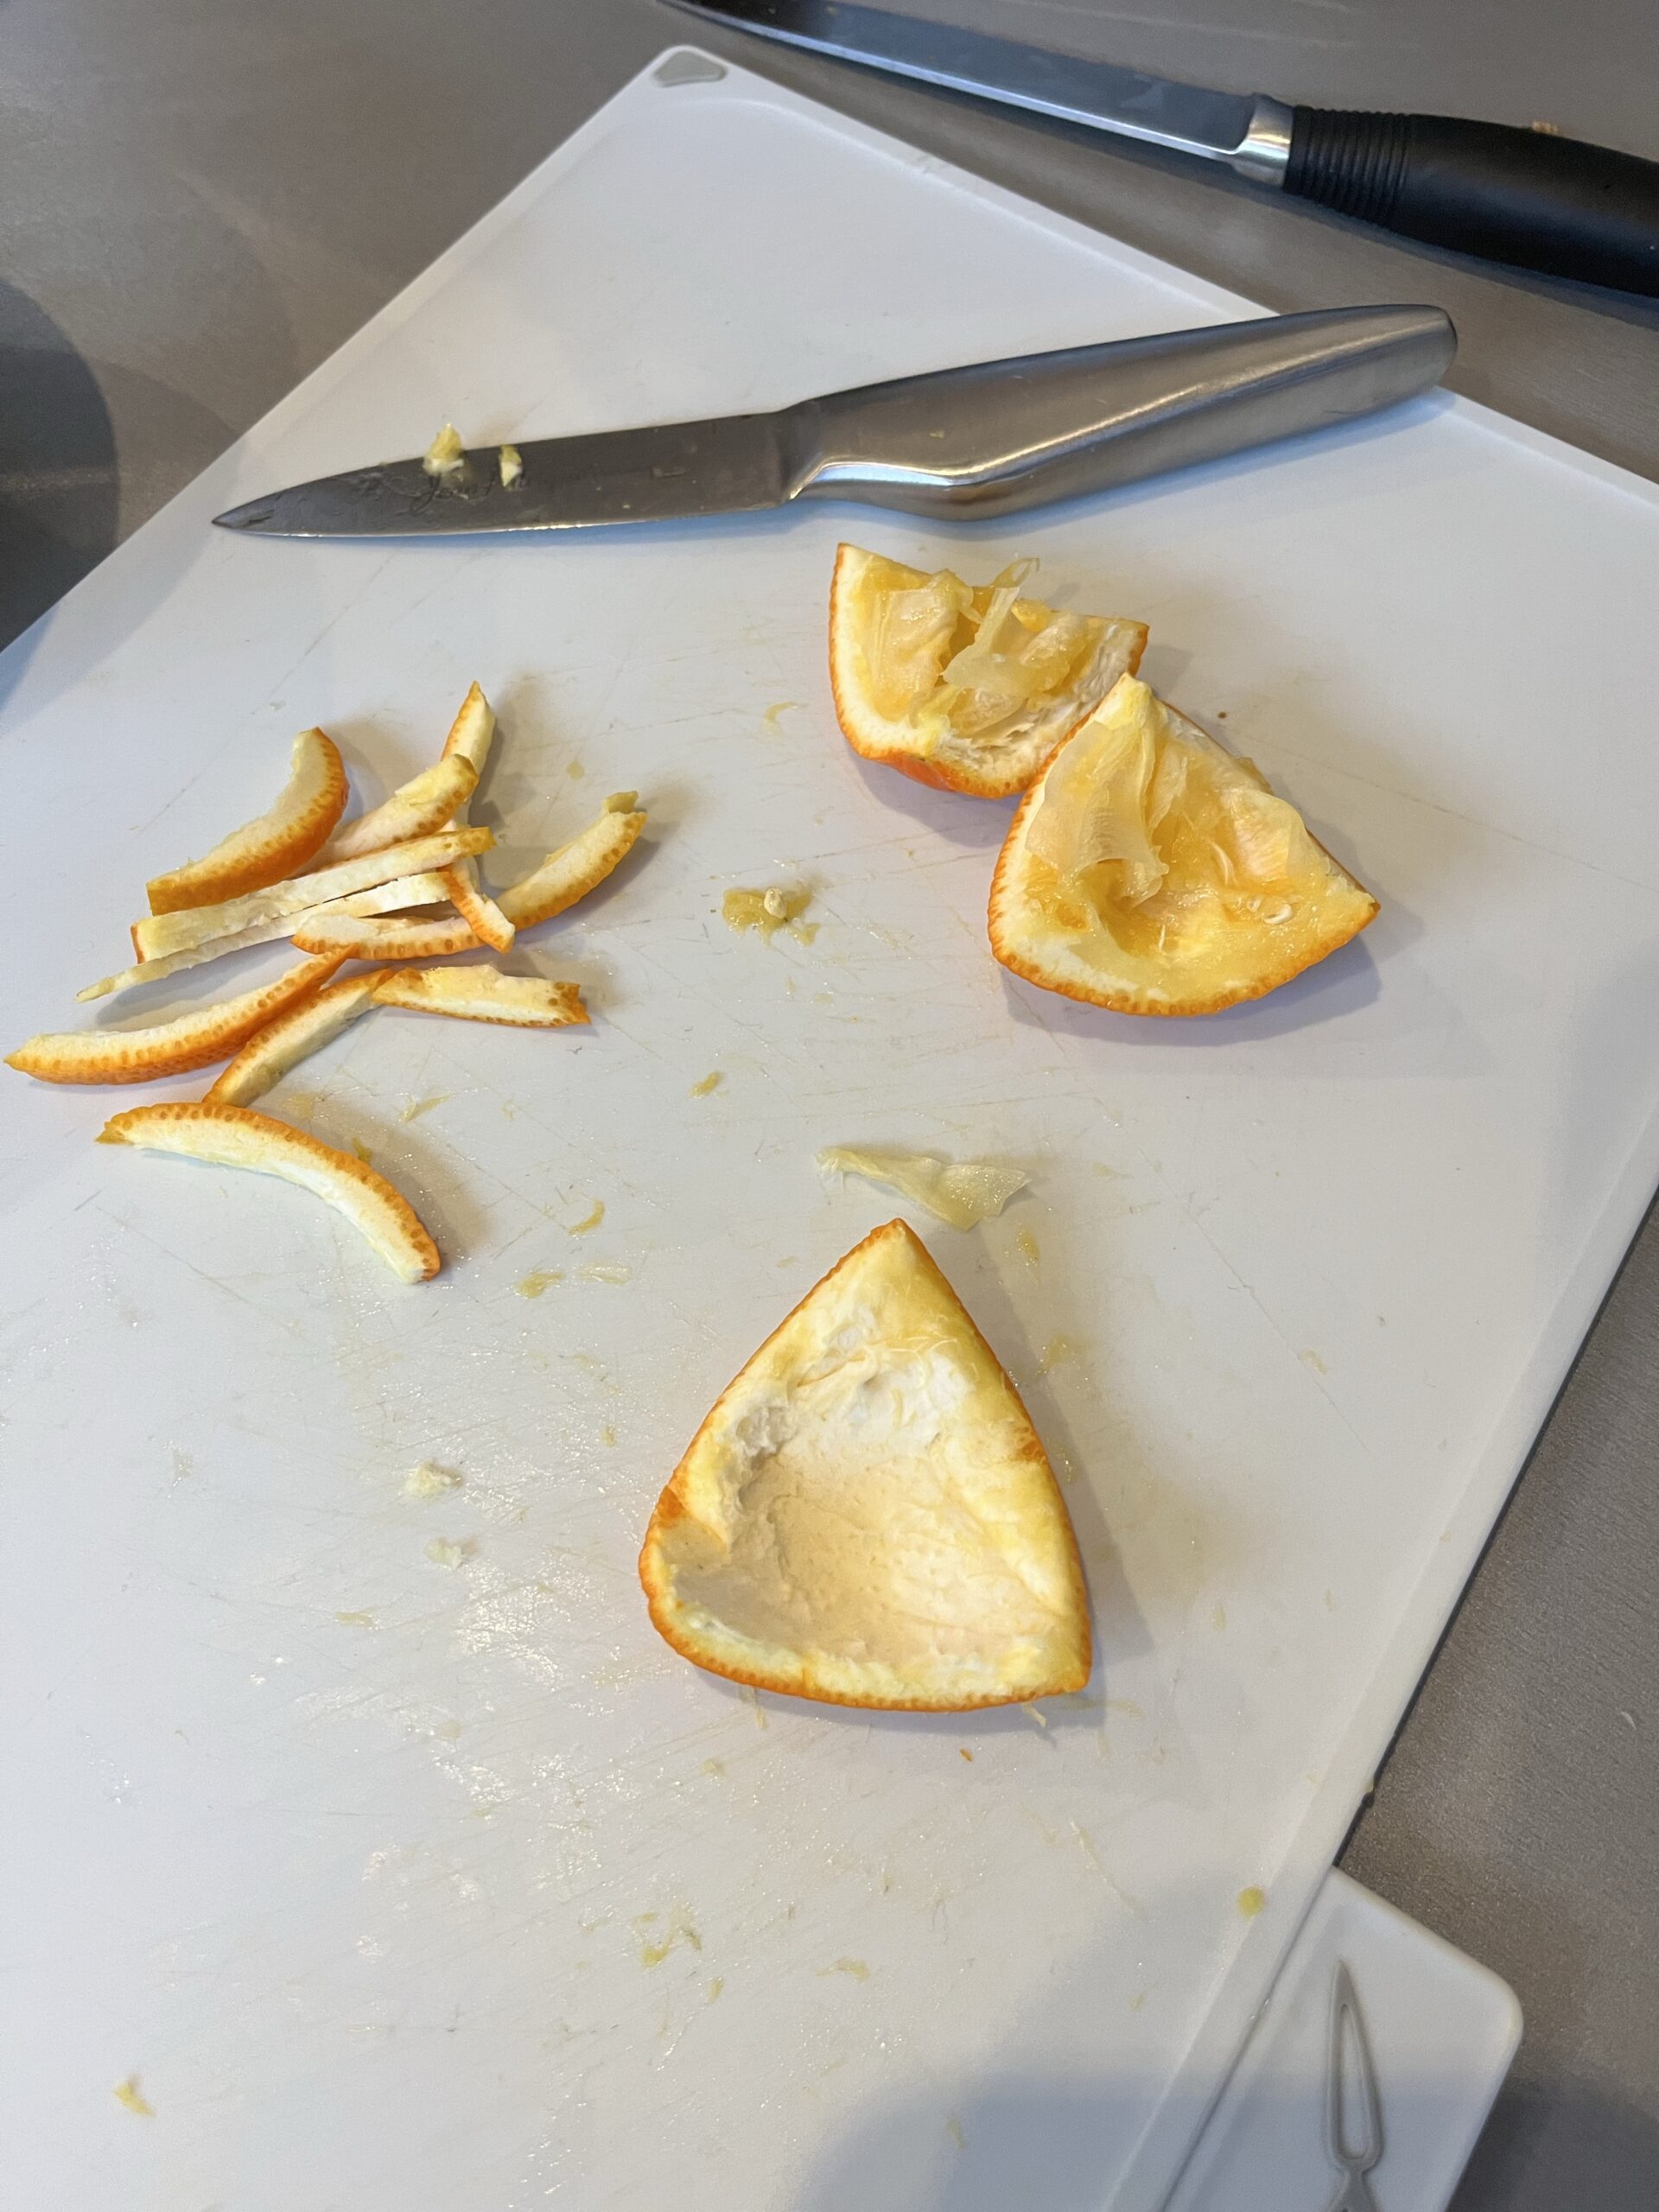
Slicing the peel.
The pips and any pithy/fleshy bits should be placed in a muslin bag. You can get these in good cook shops, such as Lakeland, or Amazon has plenty to choose from. Other online retailers are available!
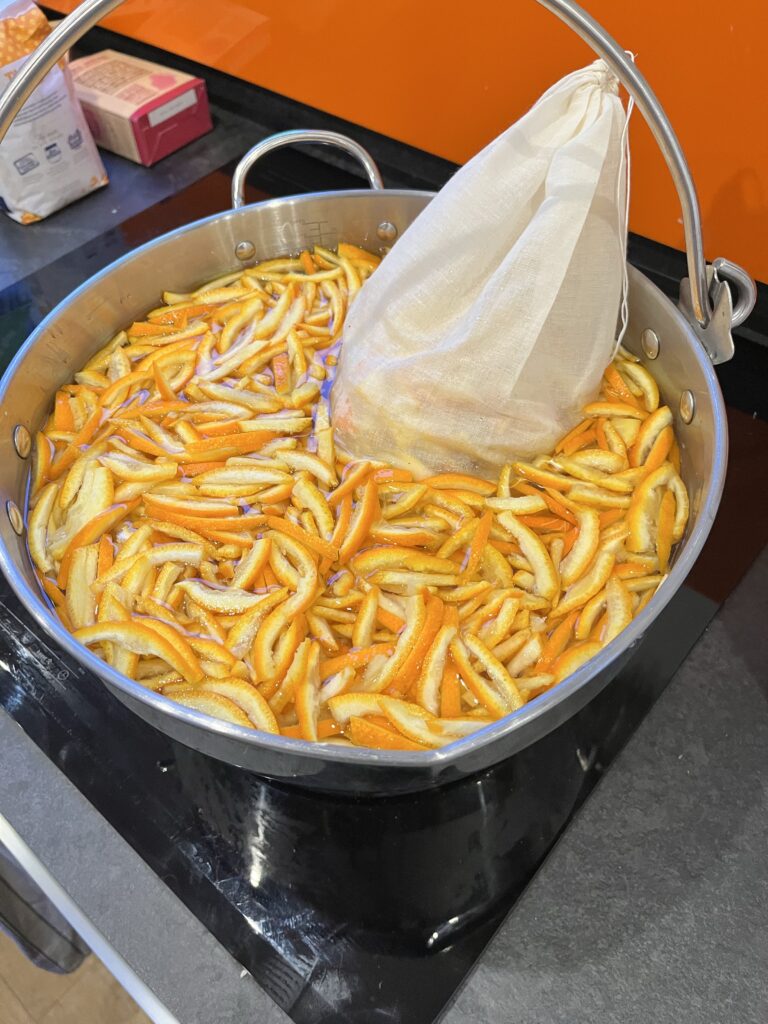
Step 2 – the first boil.
This is required to soften the shreds and extract all the pectin from the pith/pips. Place the juice and all the sliced peel ( I do this as I go) in the pan and tie a loose knot in the filled muslin bag. Then add the water (2.5 litres per batch) and boil for around a couple of hours.
Once the contents of the pan are cool enough to handle, give the muslin bag a really good squeeze to extract all the gloopy stuff. This will help your marmalade to set. You can then discard the contents and put the muslin bag aside for washing.
NOTE You can stop the process if you wish, after this stage has been completed. And I very often do. It’s a lot to do in one day – but well worth it!
Stage 3 – the second boil
This is the stage that actually makes the jam. Prior to starting this stage, you need to have a set of washed and rinsed (but not dried, jam jars, in the oven being sterilised. More info about this process can be found here. The recipe makes around 7 or 8 jars, so I always do a couple extra, just in case. You should also put 2 or 3 saucers in the freezer to help in checking whether your marmalade is at the setting point.
Bring the contents of the pan up to just below boiling and carefully add the sugar, stirring until it is fully dissolved.
Then bring to the boil. You need to maintain a “rolling boil” and stir to ensure that it’s not catching on the bottom of the pan. It needs to reach 105C, which is known as “the setting point “. If you have a cooking thermometer, so much the better. Or even a jam thermometer, which usually has a reading marked “Setting Point”
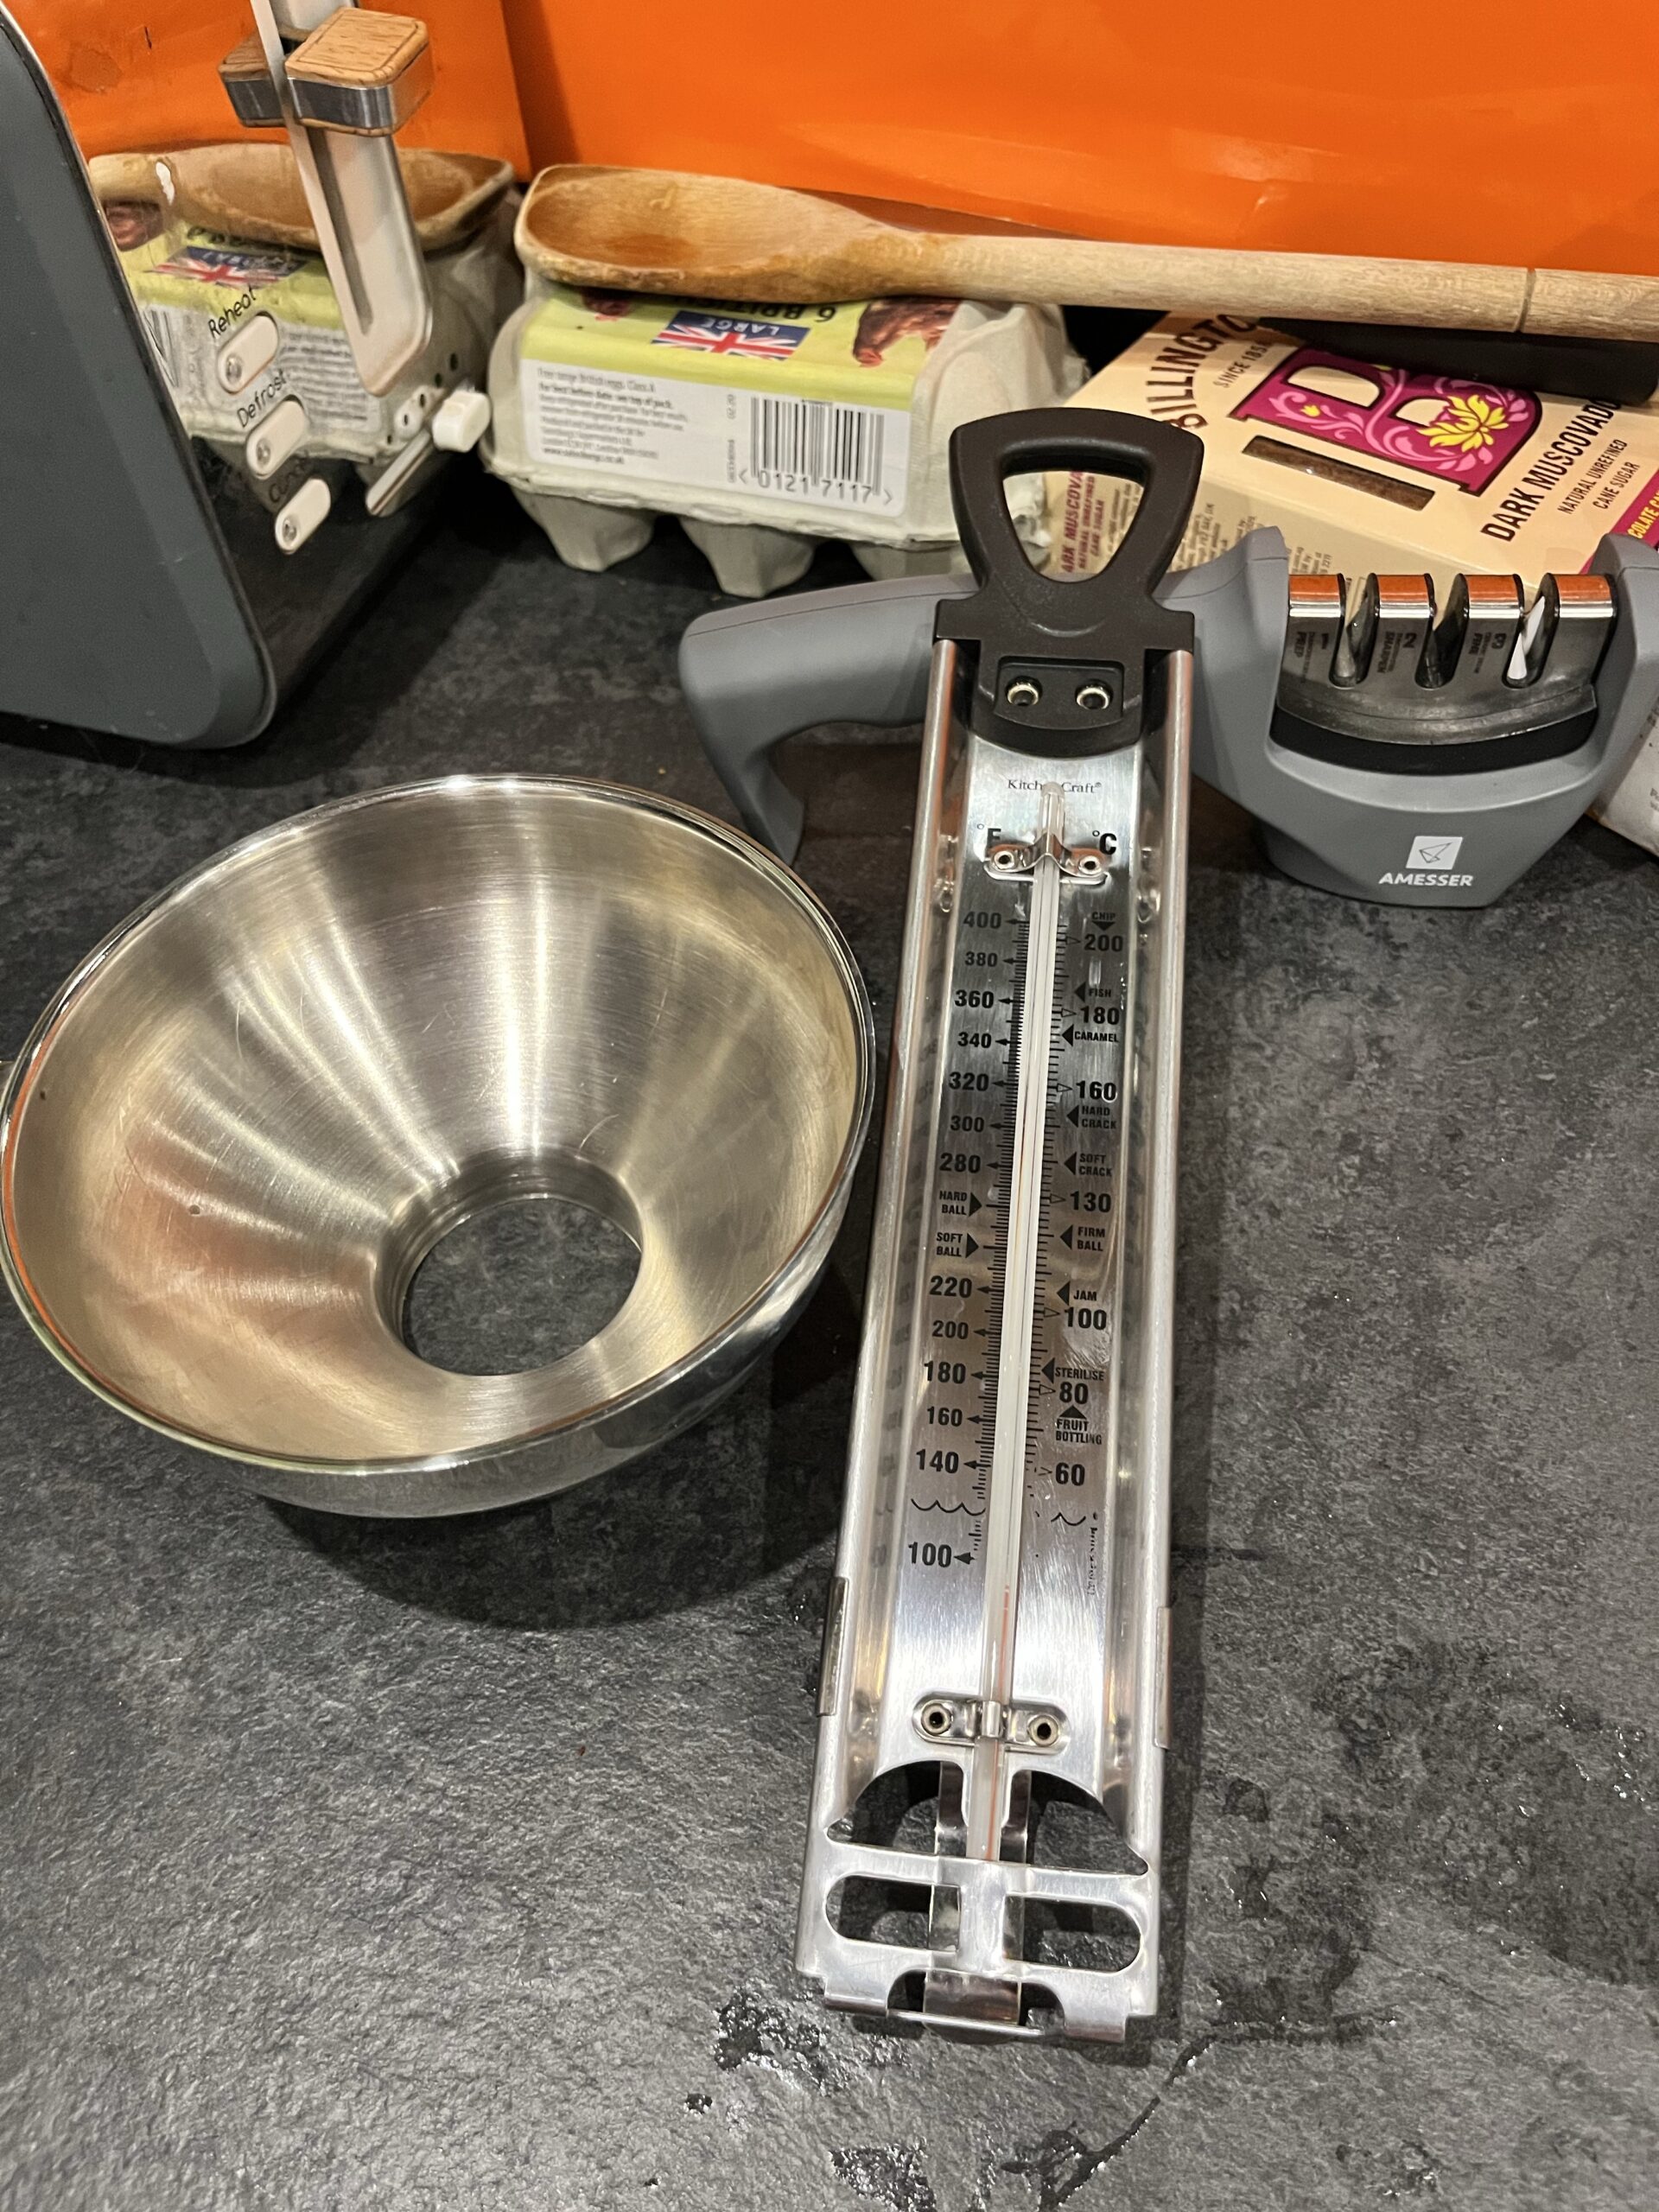
Useful kit 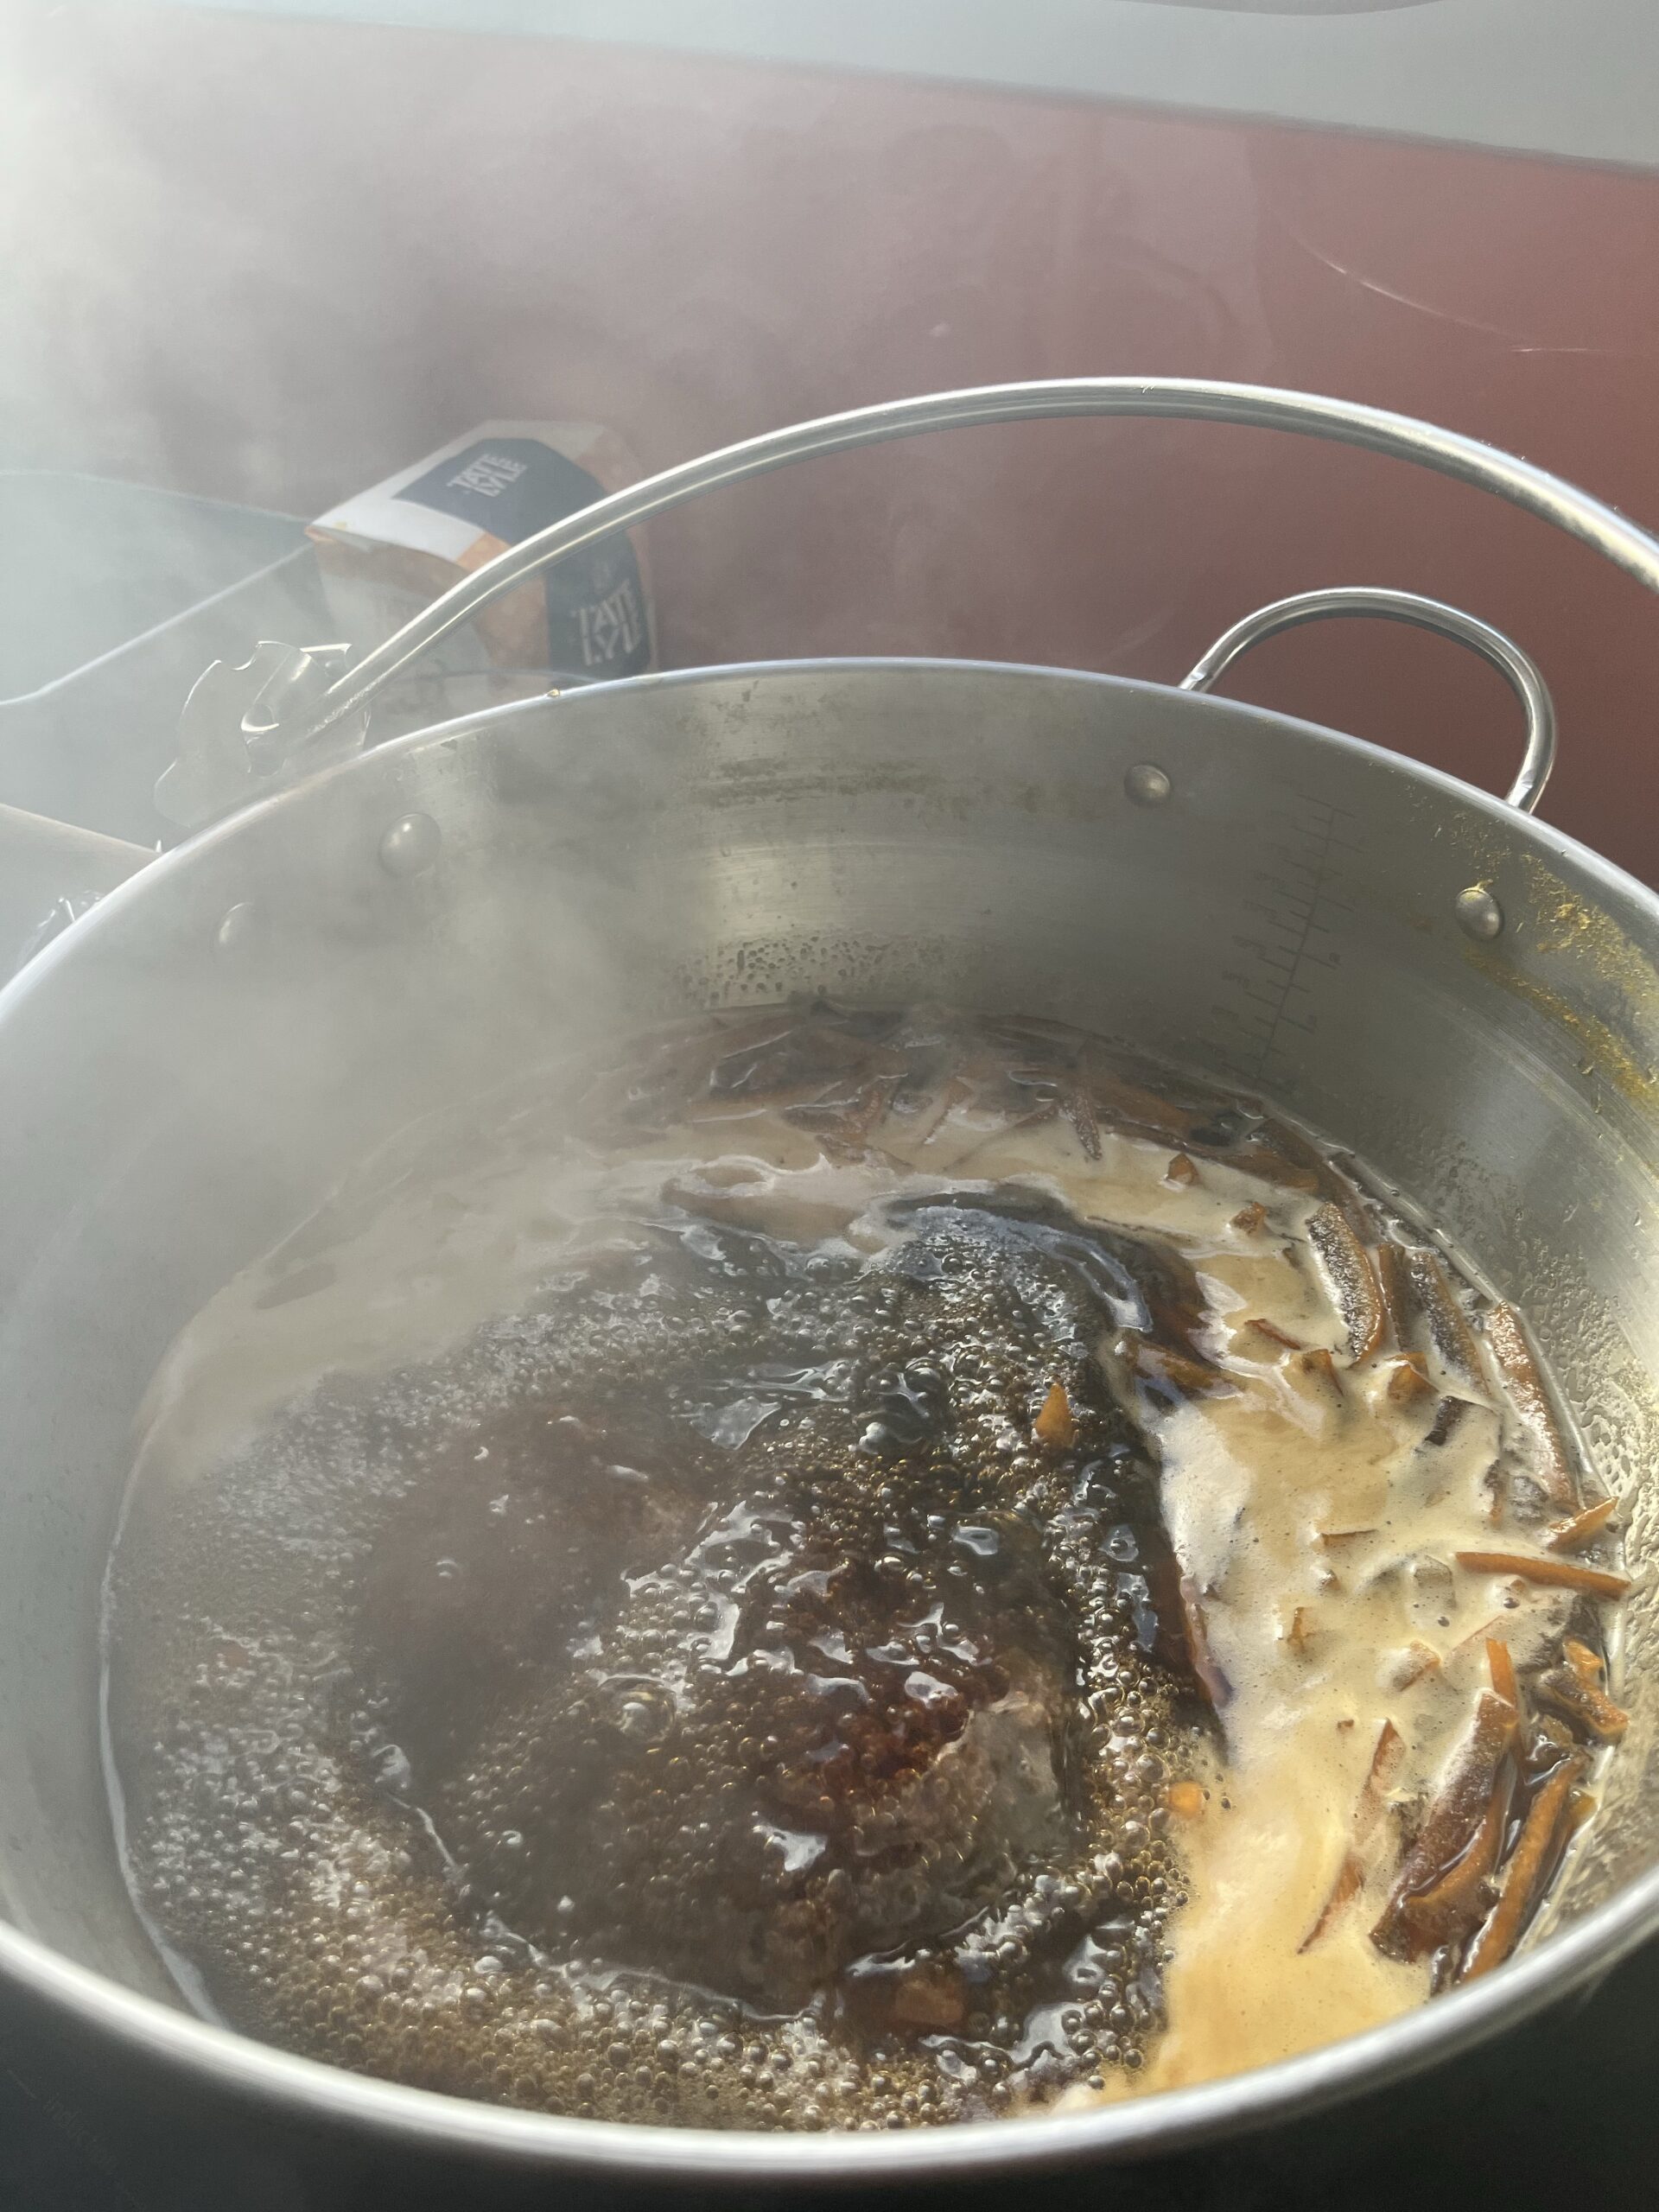
A rolling boil
But if you have none of these, now the saucer comes into play. Get one out of the freezer and put a small dollop of the marmalade on the saucer. Leave it to cool for a bit and then draw your finger through it. If the path your finger has made stays it’s set, If it flows back and covers your track, it isn’t and you need to boil for a little longer and then test again. This is a very important check. You need to get this right. For more info on checking g for set, see here.
When I was a less experienced jammer, I once had to empty all my jam jars back into my clean and dry jam pan and re-boil and re-wash and sterilise all the jars when I came down the morning after making. All because it hadn’t been properly set when put it in the jars. You do t want to have to do this!
Once you’re absolutely sure it will set, you can turn off the heat and leave it to cool for 15 minutes or so. If there is any scum, skim it off and if there is any residue, a knob of butter stirred in will help it dissipate.
After it has cooled, get your clean jam jars and a scrupulously clean measuring jug. Use the jug to put the hot jam in to the jars. Fill them quite generously. I use a jam funnel, which is a handy bit of kit and worth buying if you get the preserving bug. As is a digital thermometer – much easier to read through the steam!
It is important to put the lids on immediately to avoid bugs getting in and turning your lovely tawny concoction mouldy.
You will not know, for sure, whether your marmalade has set until it has fully cooled. I usually leave it until the next morning. If you tip the jars and the contents are mobile it is not set. In that case, it’s back to Step 3 I’m afraid. Good luck!